Follow the steps to migrate custom images to system images.
Go to Administration – Migrate – Migrate Custom Images in the ribbon of Remote Desktop Manager.
Administration – Migrate – Migrate Custom Images
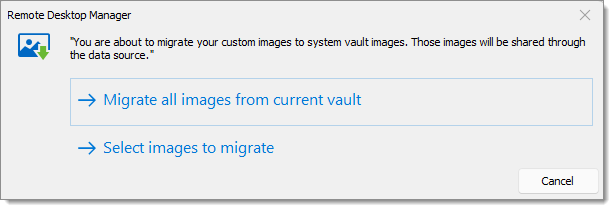
Choose Migrate all images from current vault or Select images to migrate.
Migrate all images from current vault and Select images to migrate
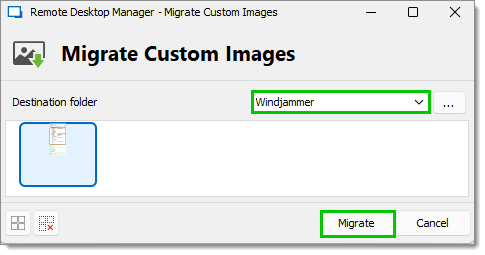
In the Migrate Custom Images window, choose the image and select or create the Destination folder.
Click Migrate.
Choose the image and select or create the Destination folder
A confirmation window appears. Click Yes.
Confirmation window
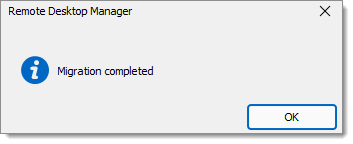
The migration is completed. Click OK.
Migration completed
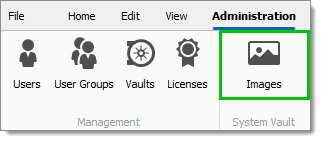
Select Administration – System vault – Images in the ribbon of Remote Desktop Manager.
Administration – System vault – Images
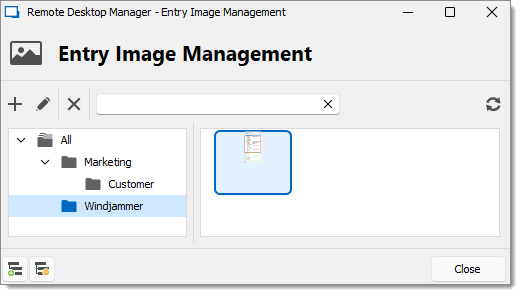
The folder and image are now in the Entry Image Management window.
Entry Image Management window