


- Make sure you have a valid Azure SQL subscription to be able to create your database.
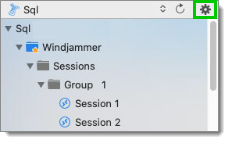
- Click on the gear button in the Navigation pane or go to File – Data sources.
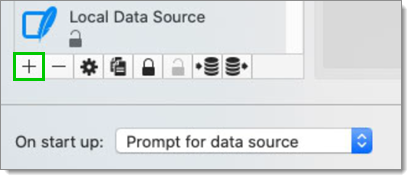
- Click on the plus sign to create a new data source.
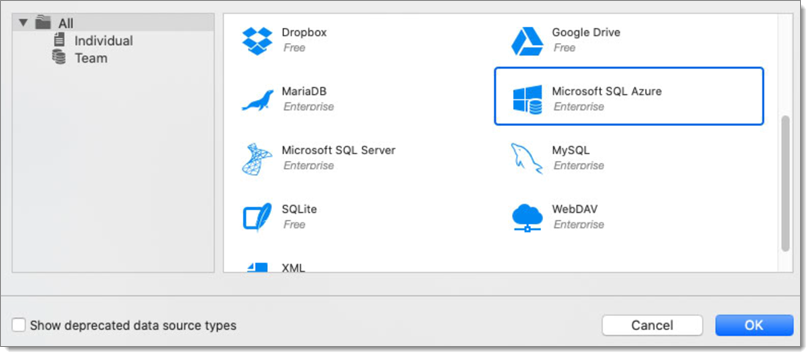
- Select Microsoft Azure SQL.
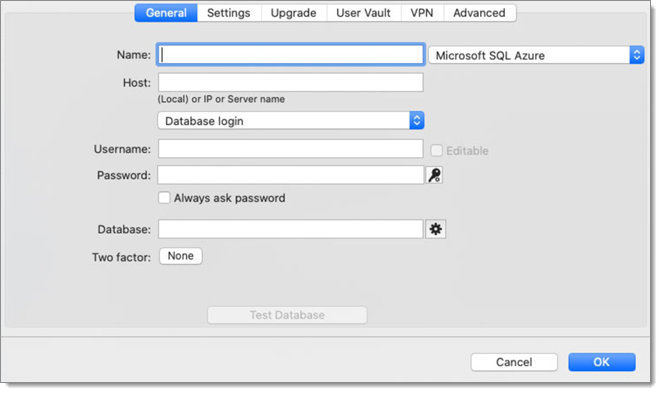
- Configure the connection to your Azure SQL with a user with sufficient privileges to create the database.
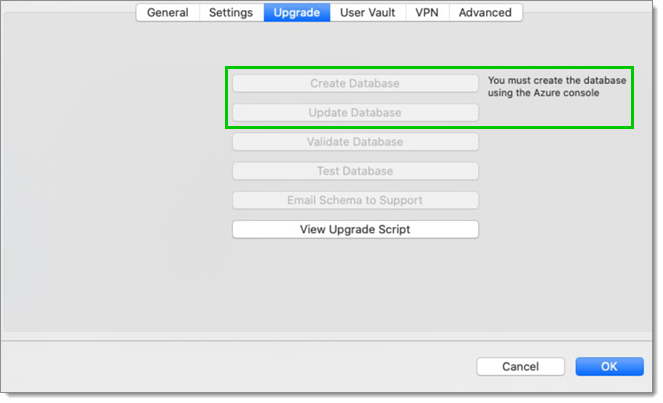
- Click on the Upgrade tab and press the Create Database button. If the database is already created on Azure SQL, press the Update Database button to create the appropriate tables in the database.
- Once the database has been created, create a Remote Desktop Manager administrator account via the Administration – Users menu.
If your database was created using a Super User (example: SA), we recommend that you keep this user only for the creation of the database and/or for the upgrade of the database. A Remote Desktop Manager administrator account must first be created, and then users must be created with this Remote Desktop Manager administrator account.
- Log in to the Azure SQL data source with the Remote Desktop Manager administrator account. To do this, go to File – Data source and click on the settings button to edit your SQL data source. Then enter the Remote Desktop Manager administrator account that you created in the username.
You can now start creating your sessions or creating your users.