The Custom installer service is not supported in Remote Desktop Manager macOS. The alternative would be to copy the CFG file and manually distribute it to the right folder.
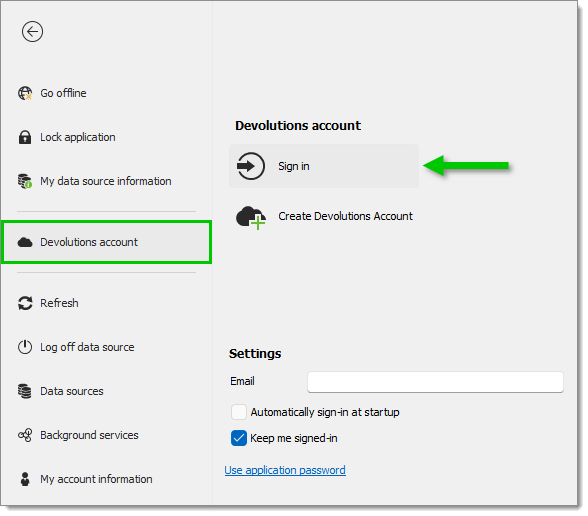
In Remote Desktop Manager, click on File – Devolutions Account – Sign-in if an account is not already logged in.
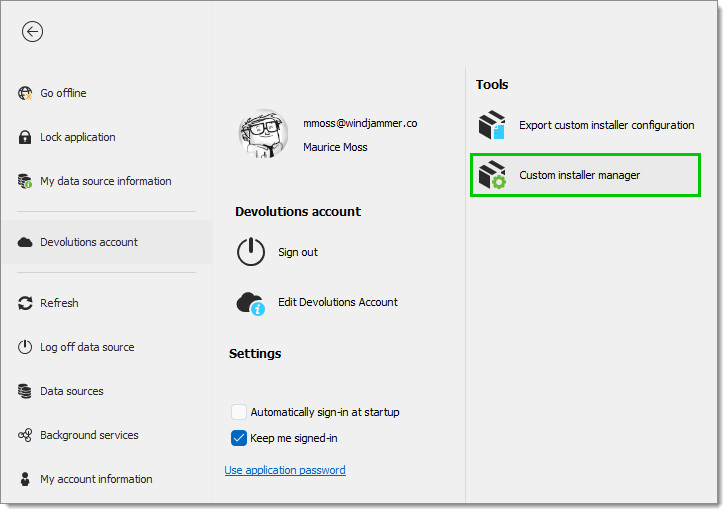
Under Tools, click on custom installer manager.
Set a Version and Name for the configuration.
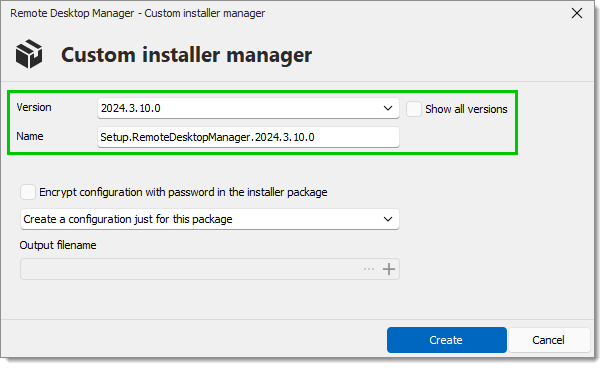
If desired, choose to encrypt the configuration with a password in the installer package.

Create a configuration just for this package or use an existing Remote Desktop Installer (RDI) file.
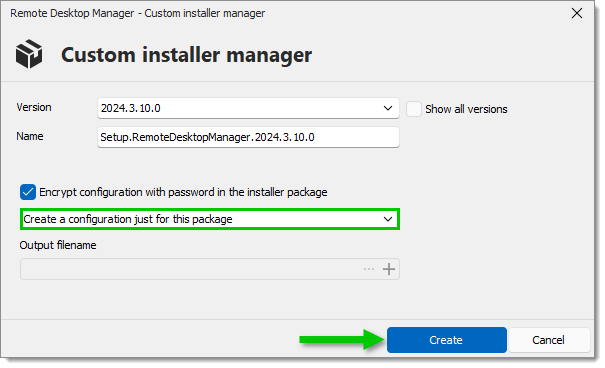
Select Create a configuration just for this package, then click Create.
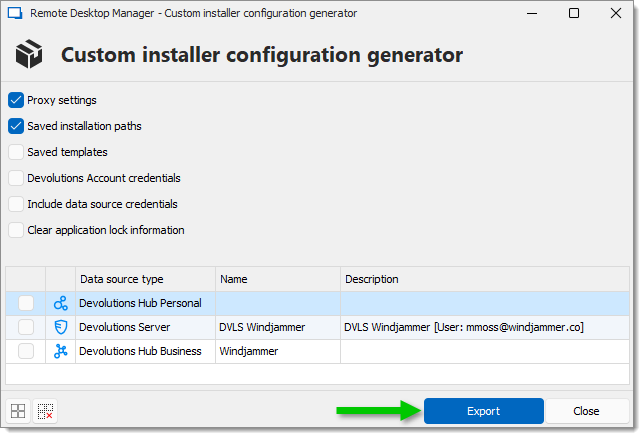
See our RDI file generation options guide for more information about the different options to choose from. When done, click on Export.
When prompted, save the installation package file locally.
Select Use existing Remote Desktop Installer (rdi) file.
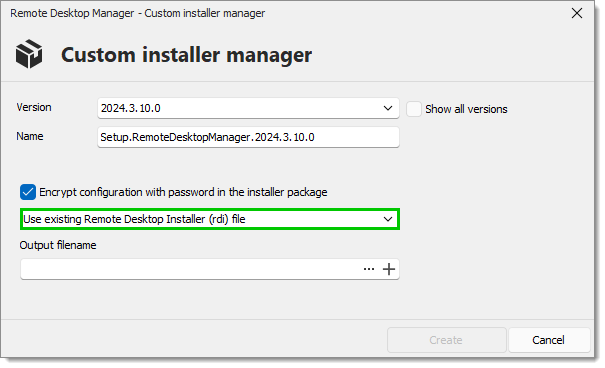
In the Output filename, either:
Search for an existing local RDI file; or
Create one by exporting the configuration from a data source. See our RDI file generation options guide for more information about the different options to choose from. When done, click on Export.
Click Create.
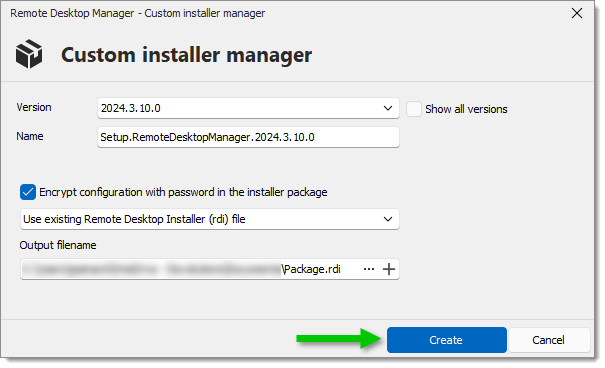
When prompted, save the installation package file locally.