The information below applies to installations with data sources that are using a database as their data store.
Some Remote Desktop Manager releases must alter the database structure. These are performed automatically for you but it is a best practice to perform a backup of your data source beforehand. Additionally, if you are in a team environment, you must be the sole user connected to the database during the upgrade.
Key points to consider:
The user performing the update must have administrative privileges on the underlying database. (SYSDBA or DB_OWNER).
Perform a database backup and ensure that you can quickly perform a restore if required.
If your organization allows for a read/write offline cache, ensure that all of your users have merged their offline edits.
Follow these steps for a successful version update:
Ensure you are the sole user of the database during the upgrade process. If you environment allows for offline use, have your team switch to the offline mode, or have them switch to another data source.
Back up your database using the database tools.
Install the desired version of Remote Desktop Manager, using a portable (USB) deployment model may be desirable if you are doing this on your personal workstation.
Open Remote Desktop Manager while logged on as a user with administrative rights. You must also be SYSDBA or DB_OWNER.
You may be prompted with an upgrade message when your data source is accessed. If so, accept the upgrade.
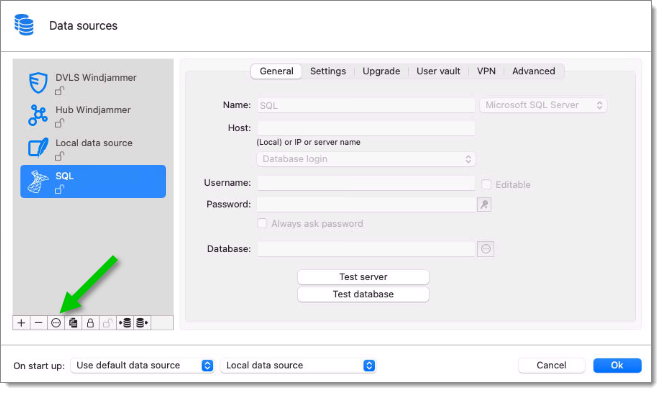
If you were not prompted with an upgrade message, locate your data source to upgrade in File – Data sources and open its property window.
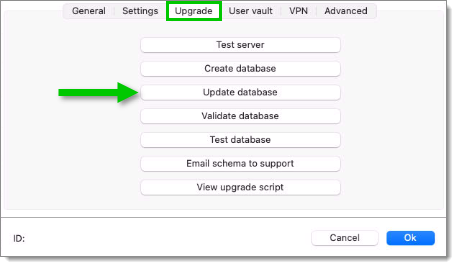
Switch to the Upgrade tab, then click on Update database.
Wait for a confirmation dialog.
Close the dialog.
Ensure your Remote Desktop Manager application is currently using that data source.
Press Ctrl+F5 to force a full refresh.
Validate the content and perform a check of the technologies that are critical in your environment.
Update the client software on all workstations.
Ensure you are the sole user of the database during the upgrade process. If you environment allows for offline use, have your team switch to the offline mode, or have them switch to another data source.
Back up your database using the database tools.
Open Remote Desktop Manager macOS while logged on as a user with administrative rights. You must also be SYSDBA or DB_OWNER.
You may be prompted with an upgrade message when your data source is accessed. If so, accept the upgrade.
If you were not prompted with an upgrade message, locate your data source to upgrade in File – Data sources and open its property window.
Switch to the Upgrade tab, then click on Update database.
Wait for a confirmation dialog.
Close the dialog.
Ensure your Remote Desktop Manager macOS application is currently using that data source.
Press Cmd+F5 to force a full refresh.
Validate the content and perform a check of the technologies that are critical in your environment.
Update the client software on all workstations.