Remote Desktop Manager allows displaying multiple remote screens in an RDP session, provided there are as many local monitors as remote ones. For example, if a technician has a single local monitor, and the remote has two, they will only be able to see the primary screen of the remote session.
To view an application that does not show on the displayed monitor, use the key combination Windows+Shift+Left/Right. Alternatively, many applications let the user right-click the icon in the task bar and use the Move to the current display option.
-
In the Properties of an RDP entry, set the local Display to External.
Multiple monitor display is only available in External display mode.
-
In the remote Display section enable the option Span on multiple screens if possible.
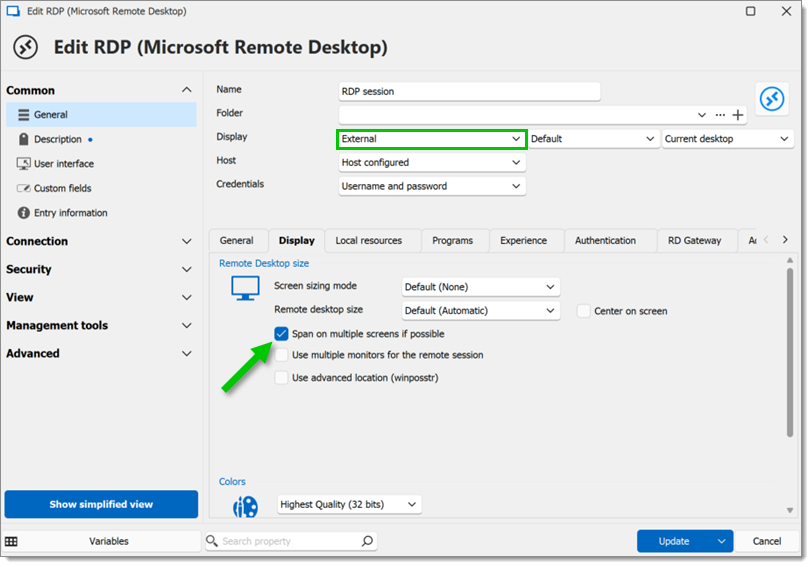
Span on multiple screens if possible button
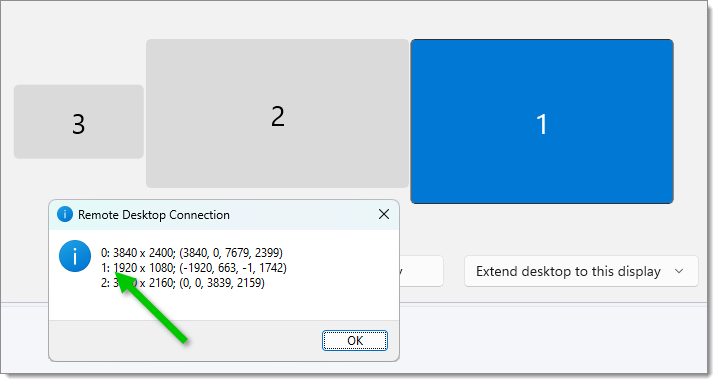
The Windows screen display IDs are not necessarily the same as the RDP. The RDP monitors ID will also start with 0, not 1.
To discover the local RDP screen settings, use the command mstsc /l.
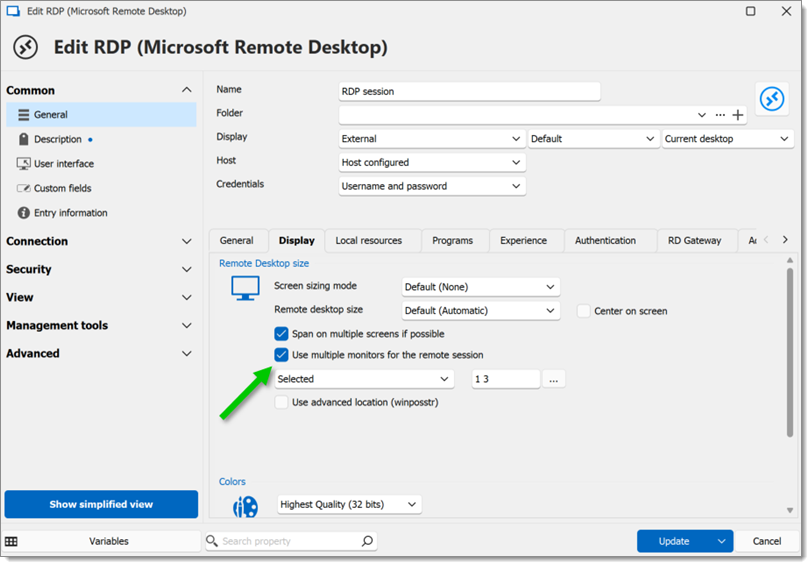
Enabling the Use multiple monitors for the remote session in the General – Display section unlocks the All or Selected settings.
If Selected is chosen, click on the ellipsis button (...) and pick the desired displays in the dropdown menu (put a space or comma between the monitors to identify them). The remote host will then be displayed on the monitor specified in the field.
The remote host will only display and span from the first local monitor selected.
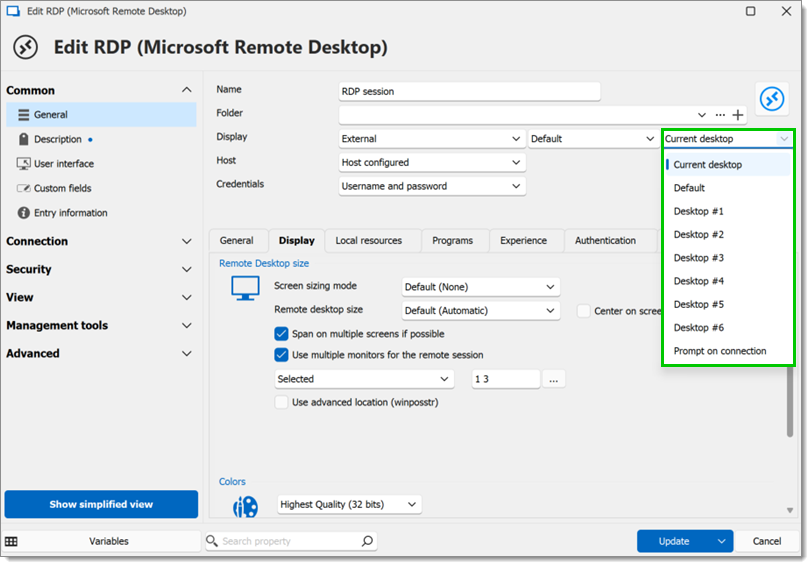
In External display mode, choose on which local monitor the session is to be displayed.
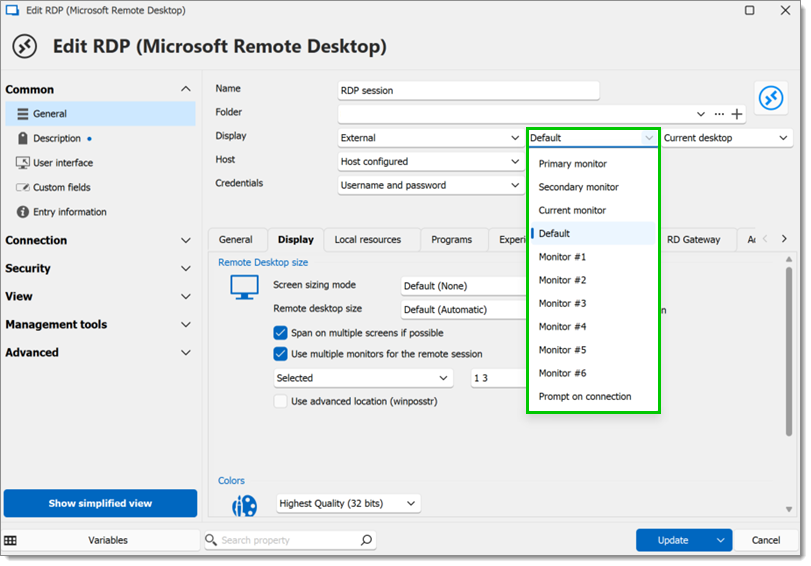
The second drop down menu should always be left to Current Desktop, unless using a local virtual desktop.
