SQL Server installs with limited network connectivity. Therefore, when initially installed, the Database Engine cannot be accessed from another device.
Jump to these connectivity issues troubleshooting help.
Before everything, try to access the database via SQL Server Management Studio.
Login failed for user – reason: token-based server access validation failed
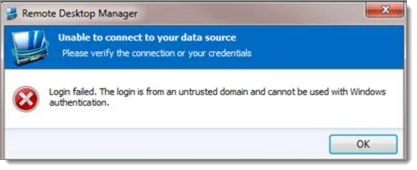
Login failed. the login is from an untrusted domain and cannot be used with windows authentication
On older versions of SQL Server, remote connections must be allowed manually. Follow this Microsoft documentation to enable connectivity.
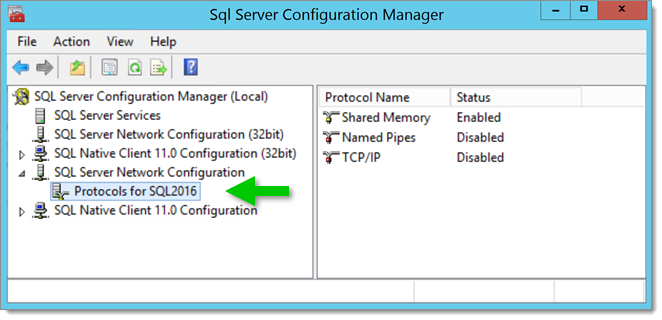
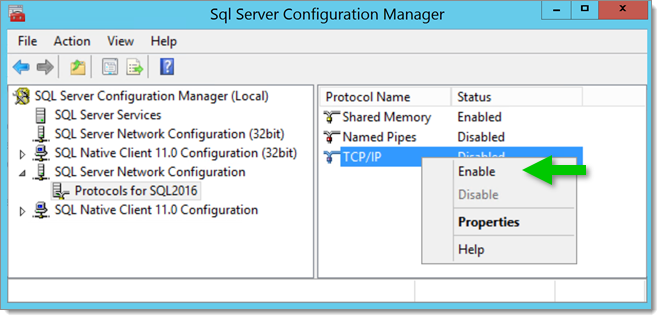
To connect to the Database Engine from another device, a protocol, such as TCP/IP, must be enabled.
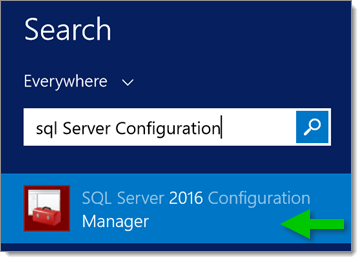
Open the SQL Server Configuration Manager.
Expand the SQL Server Network Configuration.
Select an instance.
Right-click the desired protocol, then select Enable.
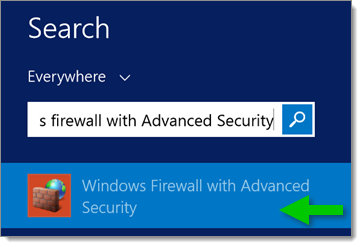
To connect to an SQL Server from another device, a communication port must be opened in the firewall.
The default port for TCP/IP is 1433.
-
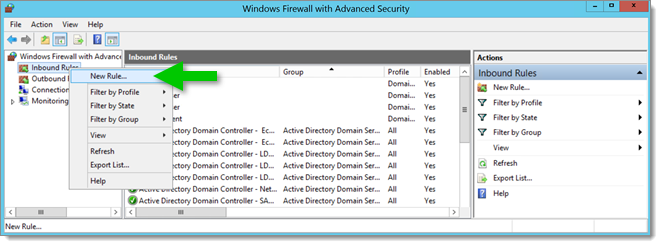
Open the Windows Firewall with Advanced Security.
-
Select Inbound Rules in the left pane.
-
Right-click Inbound Rules and select New Rule.
-
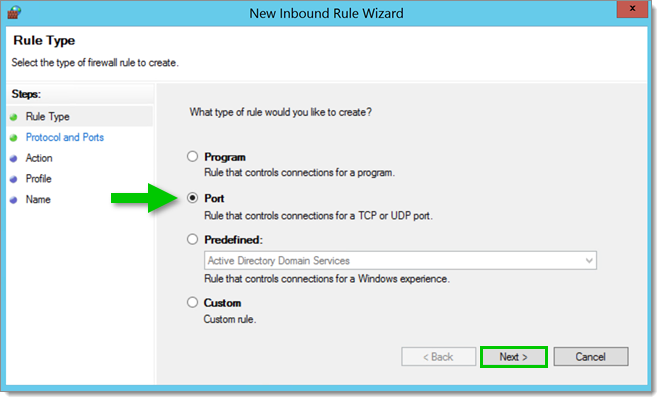
In the Rule Type page, select Port, then click Next.
-
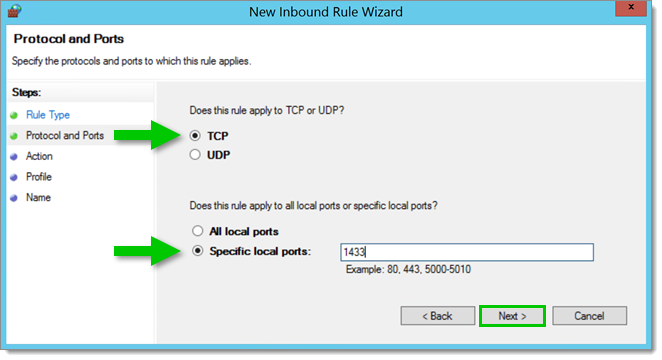
In the Protocol and Ports page, select TCP.
-
Select Specific local ports, then type the port number of the instance of the Database Engine, then click Next.
The SQL Server default instance listens on port 1433.
If you have an Anti-virus running on your server, you should also make sure that the port is allowed.
TCP and specified local ports -
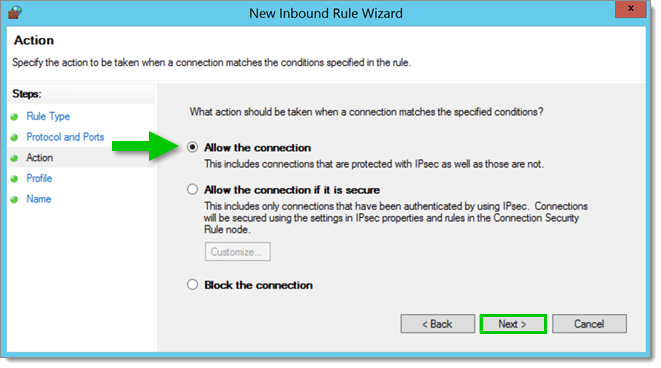
In the Action page, select Allow the connection, then click Next.
-
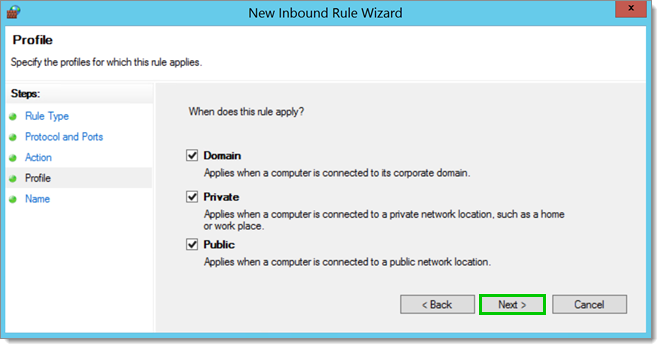
In the Profile page, select the profiles that describe the computer connection environment, then click Next.
-
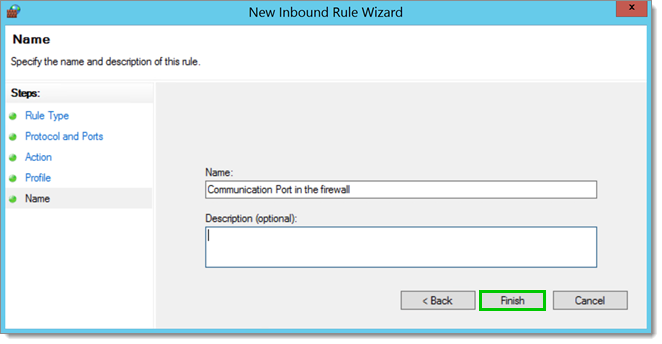
In the Name page, enter a Name and Description for the rule, then click Finish.
Ensure that each SQL Server instances are started and running.
Go in Help – View Application Log to see if relevant error messages are present. There is a good chance that you will see A network-related or instance-specific error occurred...
Create a Universal Data Link (.udl) file to test your SQL Connection (see Universal Data Link (.udl) file).
An Anti-virus or a Firewall could be blocking the application.
Check the network settings connectivity.
This will test that the instance is allowing your workstation to connect. Firewalls and anti-virus software may still prevent Remote Desktop Manager from accessing the network even though the Universal Data Link test is conclusive.
-
Open the Windows File Explorer.
-
Navigate to the folder in which the .udl file will be created and stored.
-
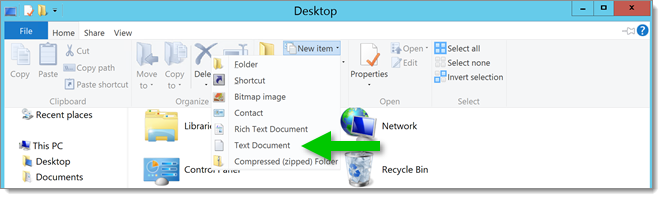
Select the Home tab and, using the New item menu, create a Text Document.
-
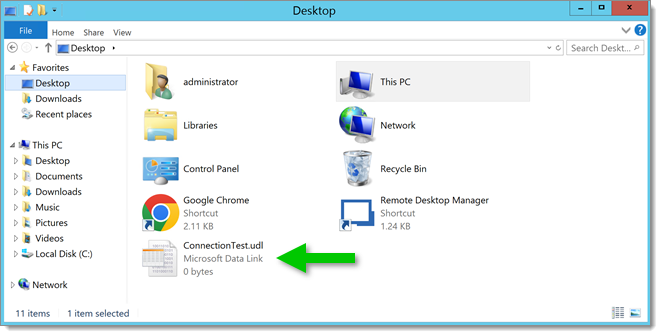
Rename this file and change its file extension to .udl.
Do not include space characters in the name of the file. A warning that changing the file extensions can cause files to become unusable might be displayed, disregard it.
File name extensions might be hidden by the Windows File Explorer. To show the file name extensions, go to the View tab of the File Explorer and enable the File name extensions option.
Rename the text document -
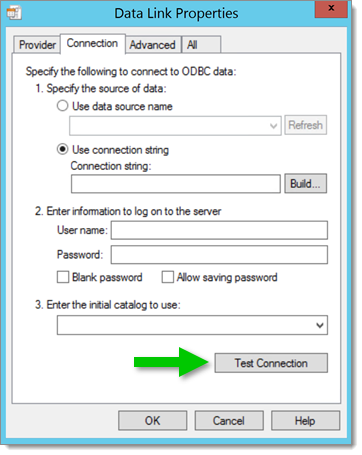
Double-click the .udl file to open the Data Link Properties dialog box.
-
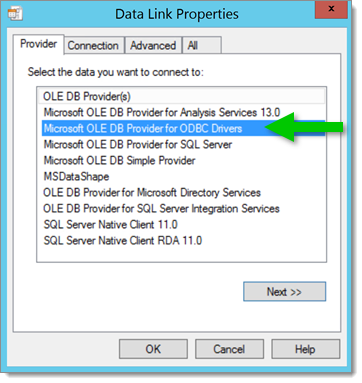
In the Provider tab, select the Microsoft OLE DB Provider for ODBC Drivers provider.
-
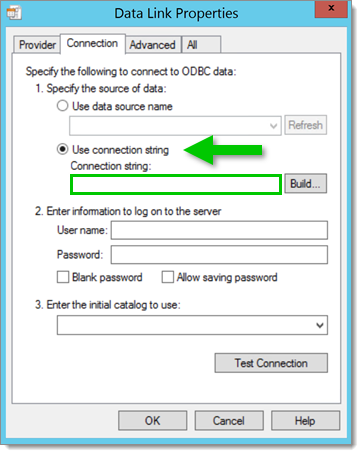
In the Connection tab, select Use connection string and enter a custom connection string.
Example of valid connection string: `Driver={SQL Server};Server=myServerAddress;Database=myDataBase;Uid=myUsername;Pwd=myPassword;`
Validate that the server name is type correctly (known as the Instance name).
Custom connection string -
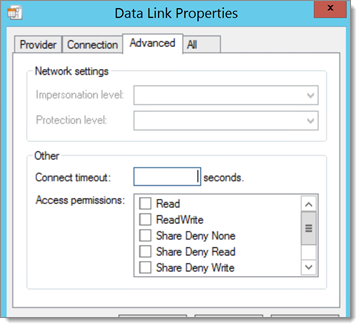
Use the Advanced tab to view and set other initialization properties for your data.
-
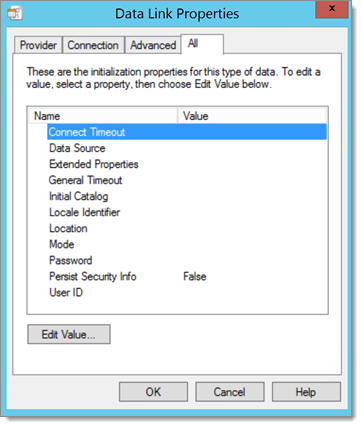
Use the All tab to review and edit all OLE DB initialization properties available for your OLE DB provider.
-
In the Connection tab, use the Test Connection button to test the SQL Server connectivity.
-
Click OK to save the connection string to the Universal Data Link (.udl) file.
Finding the true reason for this is quite a process. A web search reveals so many solutions to attempt, and it is easy to get lost is all those steps. The thing to keep in mind is that the error message is misleading and the cause is often a simple thing.
The first step is to ensure that the issue is not unique to Remote Desktop Manager. Testing with a Universal Data Link (.udl) file as shown above will prove that the workstation configuration is not the issue.
When granting rights to the DB using AD group membership and one of your users as that error message, you must check privileges for ALL the AD groups that he belongs too. Anything with an explicit DENY must be evaluated carefully. The query below will help identify these occurrences.
select princ.*, perm.* from sys.server_principals princ, sys.server_permissions perm
where perm.grantee_principal_id = princ.principal_id
AND state_desc = 'DENY'
The following error message appear when you cannot access Remote Desktop Manager data source with Integrated Authentication when connected to a Dialup VPN.
Locate your VPN connectionspbk file. You can find it in %APPDATA%\Microsoft\Network\Connections\Pbk or, if you have it set to allow all users to use the connection, in C:\ProgramData\Microsoft\Network\Connections\Pbk.
Edit the .pkb file with a text editor and find the line UseRasCredentials=1.
Disable this setting by changing the 1 to 0 as such: UseRasCredentials=0.
This error message means that the server could not be reached, the possible causes are numerous.
These steps are for Client side troubleshooting exclusively. For full guidance on this issue please consult this Technet article.
If the error message indicates that the Named Pipes are in use and you are accessing a remote server, ensure that the TCP IP protocol is used simply by adding tcp: in front of the instance name (for example, tcp:vmtxg.database.windows.net).
| Cause | Diagnostic |
|---|---|
| Server name mistyped (known as the Instance name) | Universal Data Link (.udl) file |
| Is the SQL Server up and running? | Universal Data Link (.udl) file |
| Only server name is specified when there is no default instance on that server | Universal Data Link (.udl) file |
| SQL Server is listening on a non-standard port | Universal Data Link (.udl) file |
| Anti-virus blocking Remote Desktop Manager | Check in the Anti-Virus logs to see blocked threats. |
| Firewall is preventing Remote Desktop Manager to connect | Adjust your firewall to allow RemoteDesktopManager.exe and RemoteDesktopManager64.exe to communicate with external services. |
| Network protocol issues | Validate that both the client and the server side are using the same IPv4 or IPv6 network protocol. |