This article describes the manual method of using RunAs. Some types support built-in RunAs details are available. See Run as another user.
There are two major scenarios when using RunAs: the authentication server is accessible directly from you machine or you need delayed authentication.
This scenario is for when you are already authenticated on a domain/workgroup and you need to switch to another account of the same domain/workgroup.
This scenario is for when it is impossible to log on your machine using the other set of credentials. For example you need to connect to a client's domain using your laptop that is on your company's domain. This will require using the /NETONLY parameter of RunAs.
The RunAs command is invoked from an entry of the Command line type. Create the entry either by pressing the Insert key or by using the menus. Select the Command line type and enter a name for it.
You can use the ellipsis button to browse for the runas.exe command, but if you are in a Team data source and the session is used on various operating systems, it is better to type in "%systemroot%\system32\runas.exe" because it will work on all of them.
Append /user:$DOMAIN$$USERNAME$, keeping it outside of the quotes. Note the use of two variables that will pull the appropriate value from other fields of the same session.
Append the name of the executable you want to run. Enclose it in quotes if the full path contains spaces. In our case we can simply add CMD.

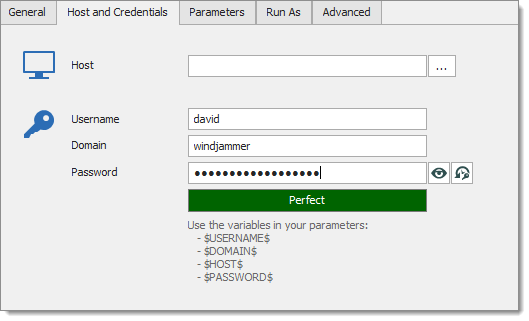
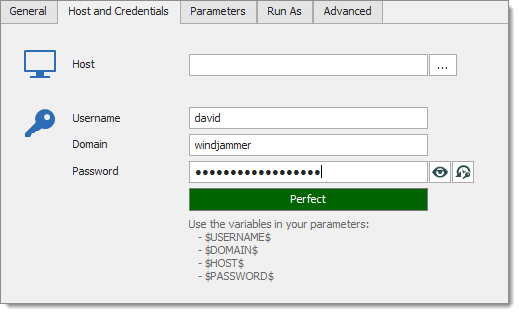
Specify your credentials in the Host and Credential tab. Note that when you are not part of a domain, you should enter the computer name in the domain field.
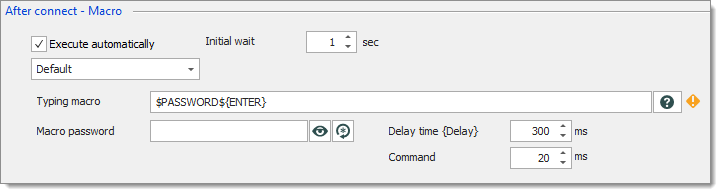
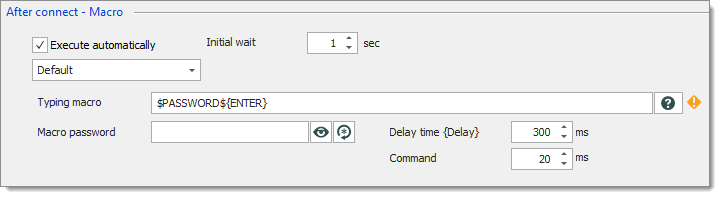
In the Events tab you must define a typing macro.
Set the Initial Delay to the lowest value that will allow the initial prompt to appear. On most systems 1 second is sufficient.
In the Typing macro field, enter the following: $PASSWORD${ENTER}.
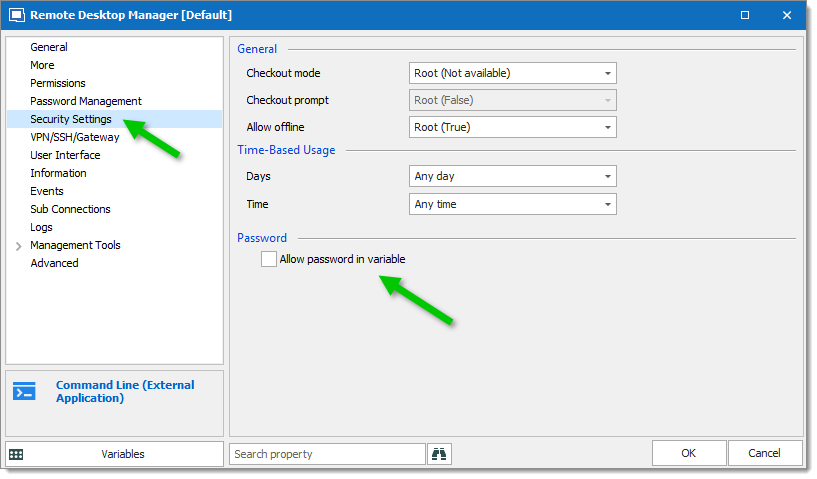
In the Security Settings tab, you must check Allow password in variable.
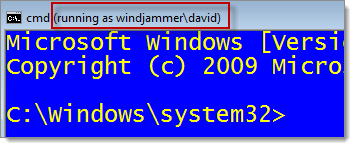
 When you run your session, a command prompt window appears requesting the password for the user. The Typing Macro will fill it in after the 1 second delay. After this, the command window that is running under the different credentials appears. Note that the title indicates the other identity.
Example 2: Running SQL Server Management Studio as a user of a different domain/workgroup for using Windows Authentication
There are minor differences with Example 1, but here is the full procedure to make it easy to read.
Note that most of our entries now support NetOnly as a built in feature.
You can use the ellipsis button to browse for the runas.exe command, but if you are in a Team data source and the session will be used on various operating systems, it is better to type in "%systemroot%\system32\runas.exe" because it will work on all of them.
Append /netonly /user:$DOMAIN$$USERNAME$, keeping it outside of the quotes. Note the use of two variables that will pull the appropriate value from other fields of the same session. Also note the use of the NetOnly parameter, it signals that the credentials will be used for network access only.
Append the name of the Management Studio executable and its parameters. All this needs to be within the same double quotes
SQL Server Management studio is located at C:\Program Files (x86)\Microsoft SQL Server\110\Tools\Binn\ManagementStudio\Ssms.exe on most machines, adapt to your situation if it is not the same.
My parameters look like this: -S sql.windjammer.loc -E -S is for the server name, -E is to use windows authentication, you can even specify the database using -d DB_NAME (i.e. -d rdm).
The result is C:\Program Files (x86)\Microsoft SQL Server\110\Tools\Binn\ManagementStudio\Ssms.exe -S sql.windjammer.loc -E.
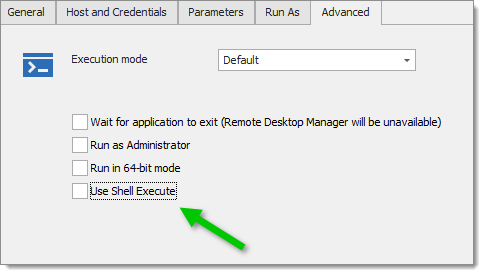
Uncheck Use Shell Execute (this must be done for most Windows Applications)
Specify your credentials in the Host and Credential tab. Note that when you are not part of a domain, you should enter the computer name in the domain field.
In the Events tab you must define a typing macro.
Set the Initial Delay to the lowest value that will allow the initial prompt to appear. On most systems 1 second is sufficient.
In the Typing macro field, enter the following: $PASSWORD${ENTER} For more information please consult Auto Typing Macro.
In the advanced tab, you must check Enable password in variable.
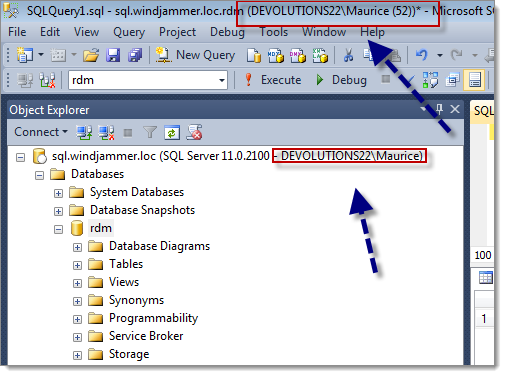
 Run the session and wait for Management studio to appear, attentive users will notice that it looks like you are running under your local credentials because of these.
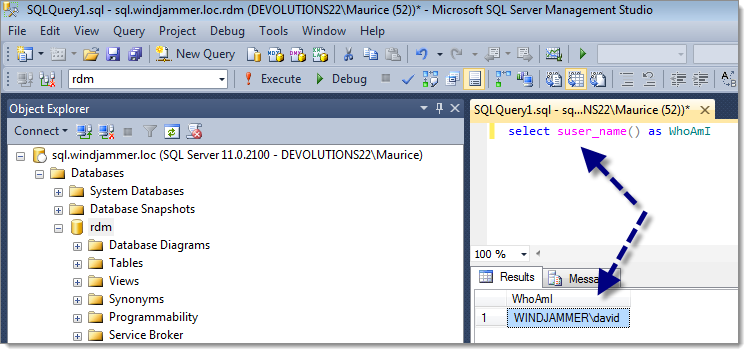
 A simple query will prove that it worked, perform a SELECT SUSER_NAME() query.