The website entry is useful to point with a website and have login information already filled. Some steps are required to properly send the username and password and depending on the website, the process can be automatic or may require additional steps. 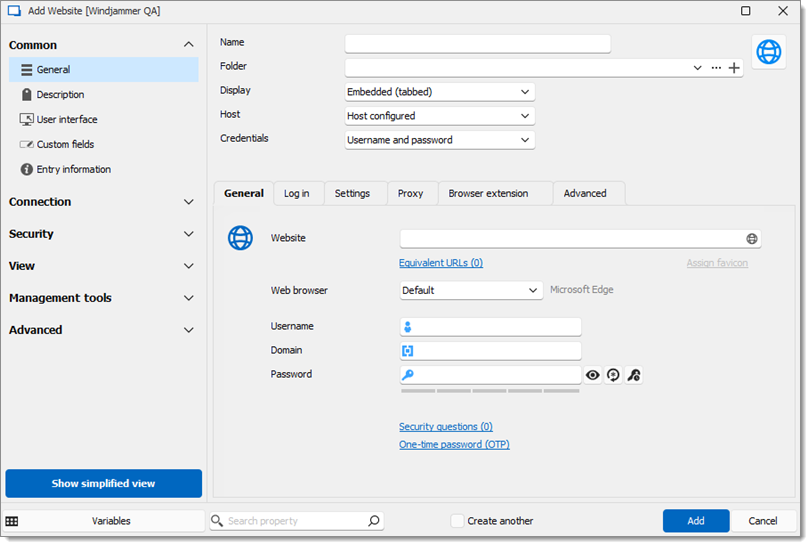
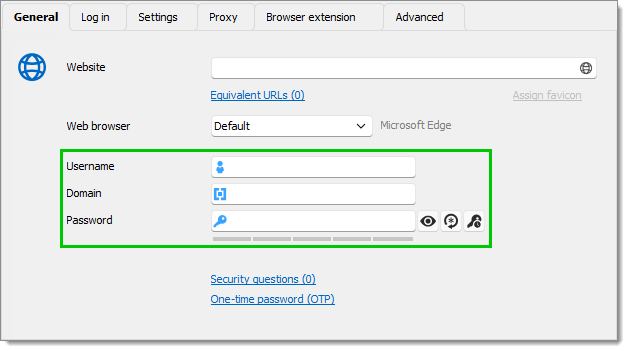
Username: Enter the username for that website.
Domain: Enter the domain for that website.
Password: Enter the password for that website.
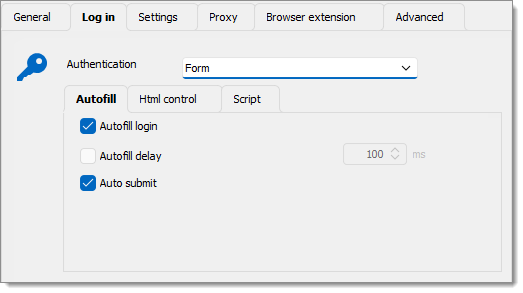
Autofill login: Automatically fills in the credential fields when opening the web page.
Autofill delay: Set a delay between opening the web page and attempting the autofill feature.
Auto submit: Automatically submits the credentials and try connecting to the website.
In the Log in tab, the Authentication needs to be set to Form and the Autofill login and Auto submit options enabled.
The Discover command searches the fields in the web page that correspond to those in the entry. This allows the application to find the appropriate fields to fill when connecting to the website. 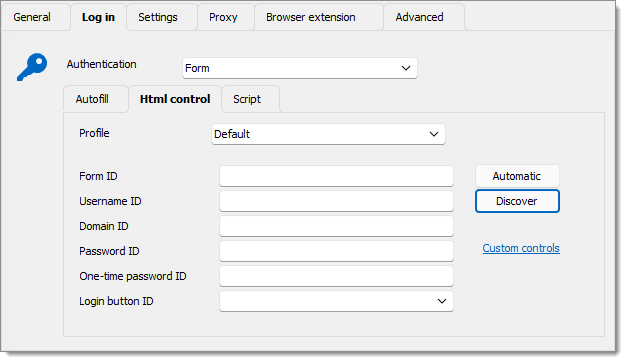
A browser outside of Remote Desktop Manager needs to be used with this troubleshoot method.
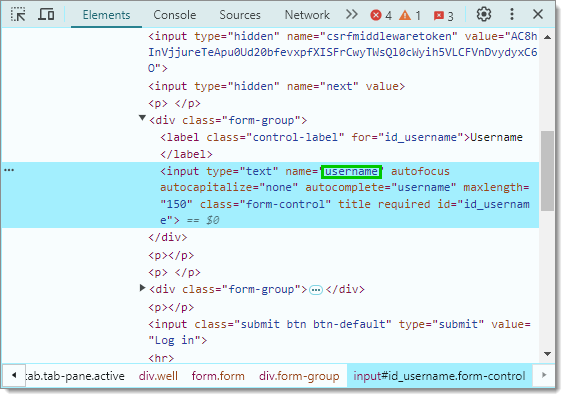
For some websites, the autofill function does not work automatically. It is important to note that some website will prevent you from autofilling your credentials. This method showcases how to manually identify the IDs corresponding to the login fields on the web page.
For both the username and password fields right-click inside each field and click on Inspect. 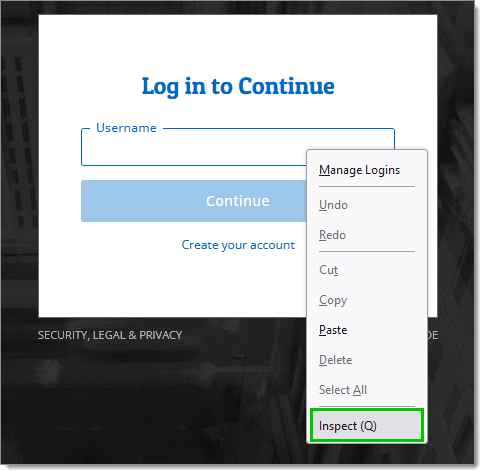
You will see the corresponding IDs to be used in the Html control tab of the Website session in Remote Desktop Manager.
Below is an example of the inspection for the Username field. You can see that the username ID is "username".