Once a solution package has been bought from the Devolutions store, you can register and manage its licences in your preferred advanced data source in Remote Desktop Manager. The Licenses menu (Administration – Licenses) is available for all data source types but behaves differently:
For Devolutions Server, Devolutions Hub Business, and Devolutions Hub Personal, the menu brings up the web page of the corresponding data source. You may be prompted to connect to your account on the web.
For all other data source types, the menu opens in Remote Desktop Manager.
With the license stored in an advanced data source, there is no need to register Remote Desktop Manager as the license serial is retrieved directly from it. When launching the application for the first time, add the data source containing the serial.
The Devolutions store proposes two types of 30-day free trials: Remote Desktop Manager free trial and the Starter Pack free trial. The former gives you access to Remote Desktop Manager and all its functionnalities, and the latter lets you experience Devolutions' entire ecosystem.
-
To add a license serial, navigate to Administration – Licenses.

Administration – Licenses -
Click Add license.

User and security management – Add license -
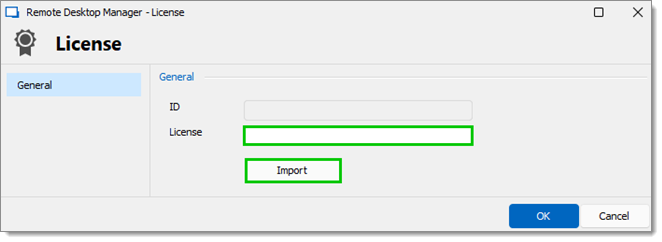
Enter the license or import the license file using the Import button.
Importing the license using the .lic file is most uselful when offline. See the next section about offline registration for more information.

Importing a license -
Click Ok to save the license.
-
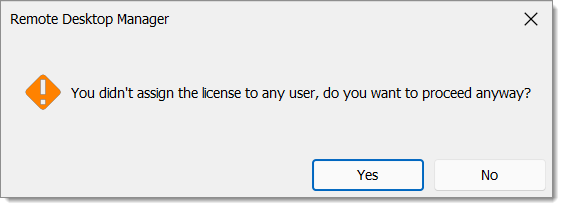
Optional: The Auto assign option will be displayed when you enter the license. The box is already checked to provide the Remote Desktop Manager serial to all newly created users. A warning window will appear if you uncheck the box and click OK.

Warning window
-
To add a license serial, navigate to Administration – Licenses.

Administration – Licenses -
Click Add License.

User and security management – License -
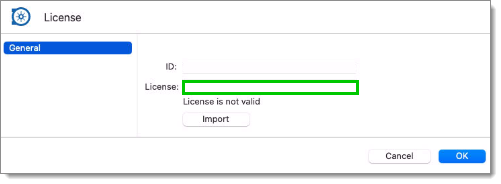
Enter the license serial.

License serial -
Click OK to save the license.
-
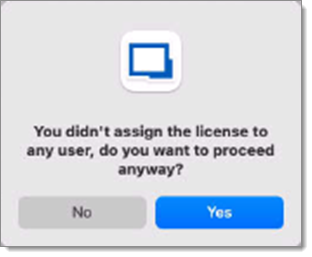
Optional: The Auto assign option will be displayed when you enter the license. The box is already checked to provide the Remote Desktop Manager serial to all newly created users. A warning window will appear if you uncheck the box and click OK.

Warning window
Your license is now saved in the advanced data source. Follow Assign licenses to automatically assign them to selected users, removing the need to interact locally with their Remote Desktop Manager. Licenses have a limited number of users and can be assigned automatically with Auto assign or to specific users in the Assigned to tab.
If you need to register your license while offline (if internet is disabled or if for whatever reason you cannot reach the servers), you can only do it by importing the .lic file provided to you, which contains a JSON Web Token (JWT).