Remote Desktop Manager's global image management uses a dynamic form to easily create virtual folders and subfolders for image storage.
The following file types are currently supported for global and custom images:
.jpg
.jpeg
.bmp
.png
.svg
.ico
-
Go to Administration – Settings – Images in the ribbon of Remote Desktop Manager.

-
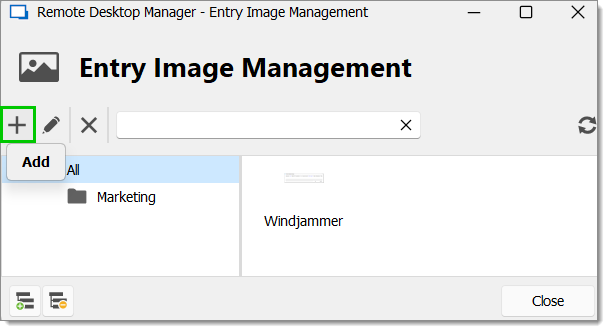
The Entry Image Management window open.
-
Click Add (+) to choose an image.

-
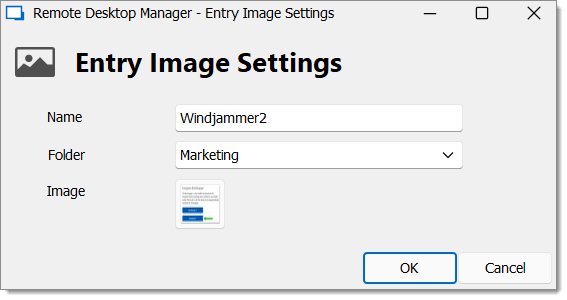
In the Entry Image Settings, enter the Name and virtual Folder of the image.

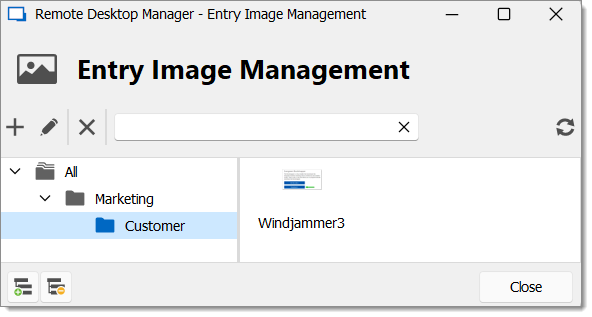
You can add a subfolder by adding a backslash "\" in the Folder field. Clicking on a virtual folder will not display the contents of its subfolder, since it is possible to have an image only in a virtual folder.
-
Click OK to close the window.

Go to Administration – Images in the ribbon of Remote Desktop Manager.

The Entry Image Management window open.
Click Add (+) to choose an image.

Choose the image by dragging, dropping or clicking.
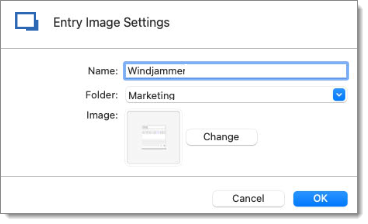
In the Entry Image Settings, enter the Name and virtual Folder of the image.

Click OK to close the window.
The folder, subfolder, and image are saved.


