Create scheduled reports to run automatically and manage who receives the data from your Devolutions Server and when.
For this feature to work, it is mandatory to enable the Scheduler service in the Devolutions Server Console Companions tab.
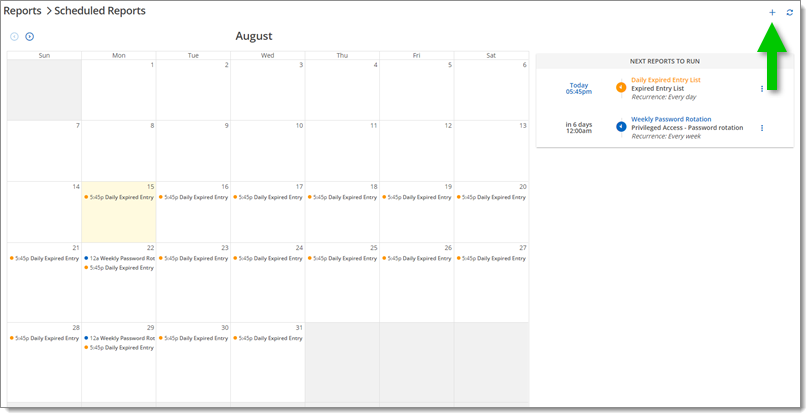
Go to Reports – Scheduled reports.
Click on the Add button.

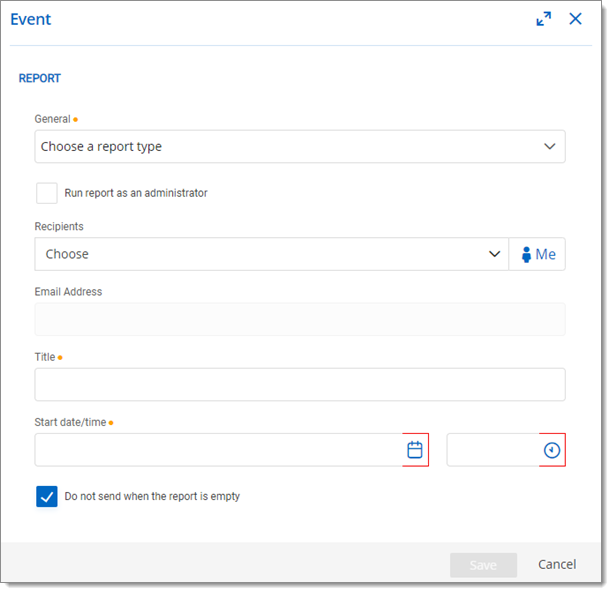
Select a report type in the General drop-down menu.
Available options upon report selection will differ from one to another.

| Report options | Description |
|---|---|
| General | Select the reports type that will be generated.
|
| Run report as an administrator | Will run the report with administrator privileges. |
| Recipients | Select all user accounts from the Devolutions Server that will receive the report. |
| Email Address | If Run report as an administrator is enabled, a custom email address must be provided. |
| Title | Set the title of the report. |
| Start date/time | Set the date and time when the report will be created. |
| Do not send when the report is empty | The report will not be sent to the recipients if the report contains no data. |
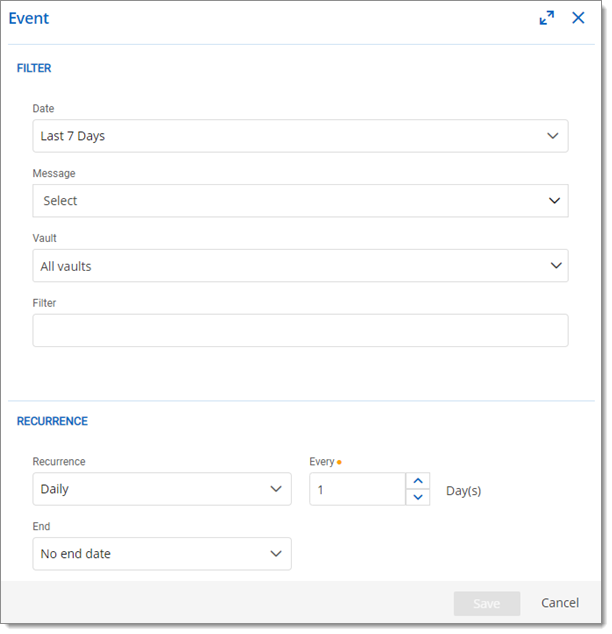
Add filtering and set the recurrence of the report.
Available filter options upon report selection will differ from one to another.

| Filter options | Description |
|---|---|
| Date | Select a date range for the data. |
| Message | Choose specific messages or fail type to refine the report. |
| Vault | Select all vaults or specific vaults. |
| Filter | Enter an expression to match against the fields of the report selected. This is a text filter (not a custom filter) that searches for the specified text in some report fields such as the entry name, entry's vault name, entry's folder name, log messages, and name/username of the user who created the log. |
| Recurrence options | Description |
|---|---|
| Recurrence | None, Daily, Weekly, Monthly, Yearly |
| Every | Set the number of recurrences. |
| End | Set when the scheduled report will terminate.
|
Click Save.


