Install the proper version of the Devolutions Server Console before upgrading the Devolutions Server web application.
The following steps are intended for single-server setups or basic topologies. If the environment differs from these configurations, please contact us for guidance with the Devolutions Server upgrade.
Recommendations and steps to follow before proceeding with the upgrade:
We strongly recommend testing the upgrade process in a staging or test environment before upgrading the production instance. If a staging environment is not available, consider a limited roll-out to ensure that the workflow functions as expected before impacting the entire team.
The upgrade process will be performed with the Devolutions Server Console. Be sure to upgrade to the latest version compatible with the target Devolutions Server version planned for installation.
When Integrated Security is used for database connections, the upgrade must be performed with a Windows user account that has full rights to the database, such as VaultDBOwner. Ensure that the IIS Application Pool Identity and Scheduler accounts have adequate privileges on the database. After upgrading to a new version, additional permissions may be required. Contact us for an updated list of permissions.
For instances of Devolutions Server version 2019.2.9.0 or earlier with a configured security provider, specific operations must be performed prior to the upgrade. Contact us for further details.
We recommend to back up the encryption keys before any operations that could modify database information or before upgrading Devolutions Server. The encryption key file should be securely stored to prevent data loss in the event that Devolutions Server needs to be restored.
-
Perform a full backup of the database, and ensure that measures are in place to prevent the backup file from being deleted by a maintenance plan.
The backup folder contains configuration details of the Devolutions Server instance prior to the upgrade. After a successful upgrade, ensure that the contents are either moved to a secure location or deleted.
Administrators who independently upgrade their copies of Remote Desktop Manager may trigger schema updates required for new features. This can prevent other users from accessing the system. It is strongly recommended to set both the maximal and minimal versions allowed to connect to the instance.
If Integrated Security is used for database connections, as configured in the database tab, ensure that the IIS Application Pool Identity and Scheduler accounts have sufficient privileges on the database.
-
Archive the contents of the web application folder containing the Devolutions Server instance, and store it in a secure location.
-
Install the appropriate version of the Devolutions Server Console. The required client version for each Devolutions Server version can be found in the corresponding sub-topics.
-
Go to the Support tab and click Check for updates.
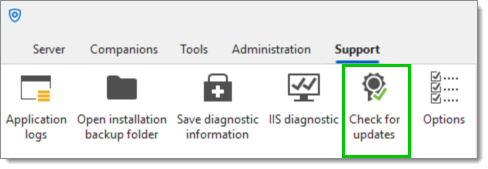
Check for updates -
Install the necessary updates, if any.
-
Click and run the IIS diagnostic.
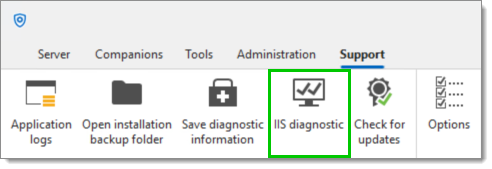
IIS diagnostic -
Click the Install prerequisites button if any are missing.
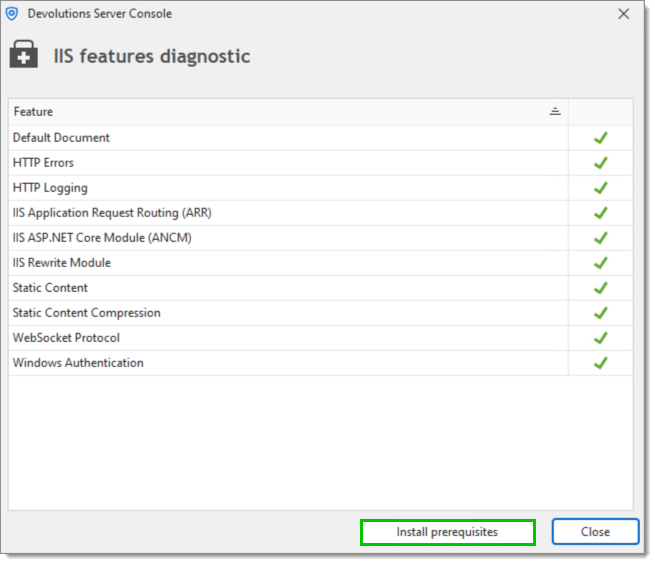
-
Run the Devolutions Server Console with elevated privileges.
-
Open the Devolutions Server Console.
-
Select the instance to be upgraded.
-
Set the instance to Offline mode with the Go offline button. In a high availability / load balancing topology, all instances must be set to Offline mode before initiating the upgrade process.
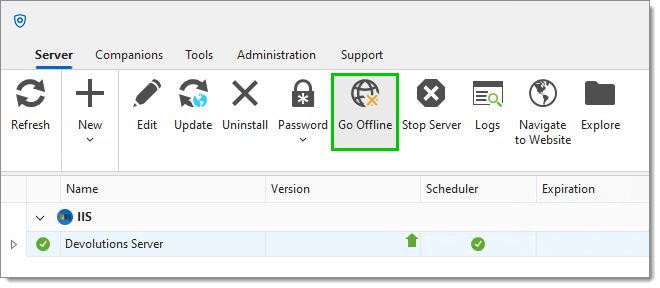
Server – Go offline -
Click Update.
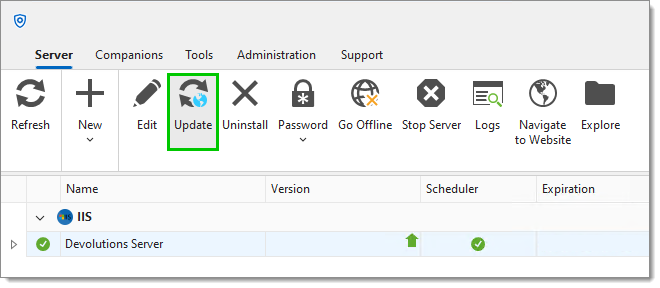
Server – Update -
Select the upgrade source. Either choose the latest or stable release available online, or specify the path to a downloaded ZIP file. This option is typically used for beta releases or earlier versions.
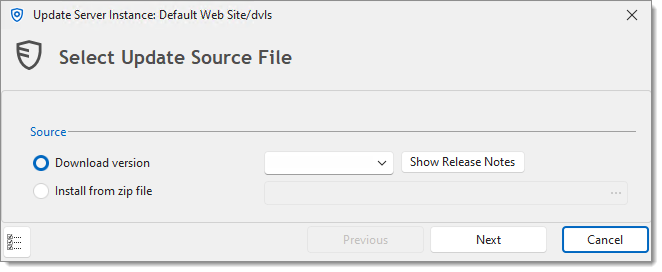
Update source file -
Click Next.
-
Review the summary and click Update once details have been confirmed.
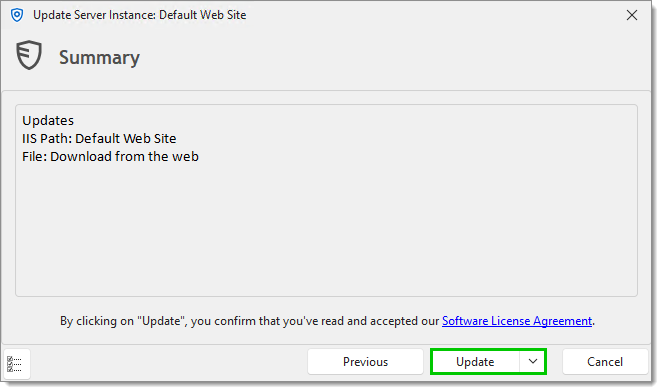
Summary
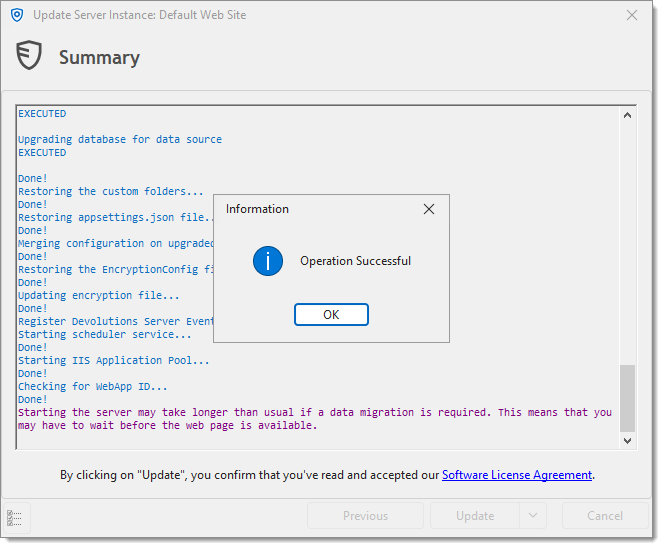
The process will begin, and upon completion, a confirmation message will indicate that the operation was successful.
Have a user upgrade their workstation with the version of Remote Desktop Manager supported by the Devolutions Server version and test connectivity with the server instance.
Ensure that computers running PowerShell scripts update the Devolutions.PowerShell module to the version supported by the Devolutions Server version, and verify the script results.
Once testing is complete and satisfactory, instruct the rest of the staff to upgrade to the same version of Remote Desktop Manager.
Update the maximal and minimal version of Remote Desktop Manager in Administration – System settings – Version management.