For any question or for assistance with this procedure, contact us at service@devolutions.net.
The Security provider was implemented in earlier Devolutions Server versions. It was deprecated in Devolutions Server version 2019.2.9.0. It is no longer considered as secure as mentioned in Update on Devolutions Server Security Provider Deprecation.
The following procedure explains how to remove the Security provider and implement the encryption at rest using the encryption keys.
Ensure that no user is connected to the Devolutions Server data source or to the Devolutions Server web interface. It is possible to verify and disconnect all users in Reports – Connected user list in the Devolutions Server web interface.
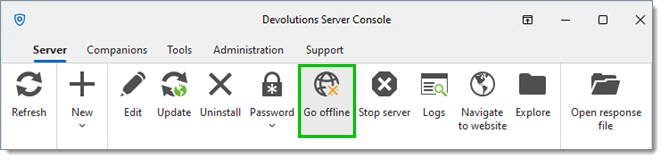
Switch the Devolutions Server instance to offline with the Go offline button in the Server tab of the Devolutions Server Console.
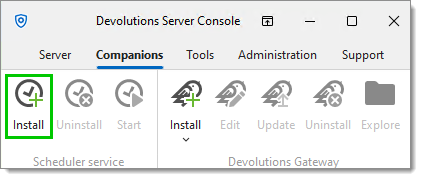
If the scheduler is installed, uninstall it from the Devolutions Server Console in Companions – Scheduler service – Uninstall. If a service account is configured to run the scheduler service, make sure you have the service account's password to reinstall it at the end of the procedure.

Back up the Devolutions Server web application folder or, if possible, take a snapshot of the virtual machine where Devolutions Server is hosted.
Make a full database backup.
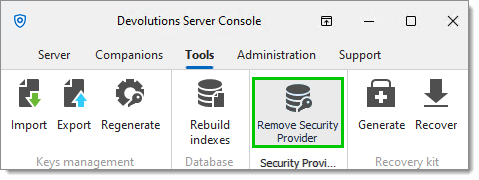
In the Tools menu of the Devolutions Server Console, click on Remove security provider.
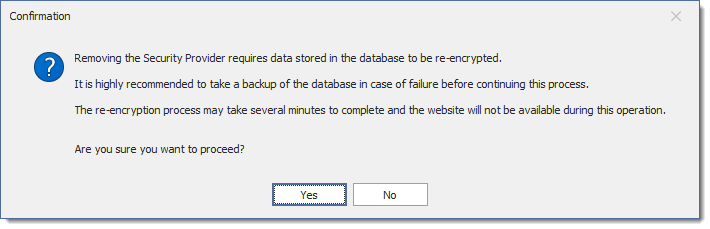
Click Yes when prompted to confirm the removal of the Security Provider.
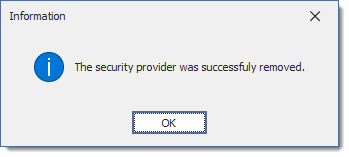
The security provider was successfully removed. Click OK to close the window.
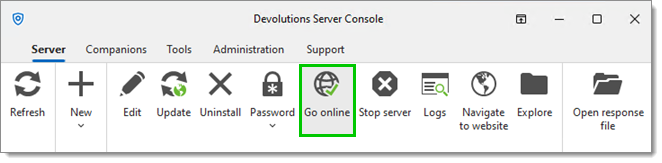
Switch the Devolutions Server instance to online mode using Go online in the Server tab of the Devolutions Server Console.
Once completed, verify that the data is available (entries' configuration, passwords, etc.). Verify the documents or attachments that exist in the database.
If Devolutions Server is installed in a load balancing / high availability topology, only remove the Security Provider on one node. Then, refresh the other nodes to notice that the Security Provider has been removed.
On success, switch the instance to offline mode, make another database backup, and a screenshot of the virtual machine where Devolutions Server is hosted. If for any reason, any of the next steps fail, a backup will be available to get back to this step instead of starting over.
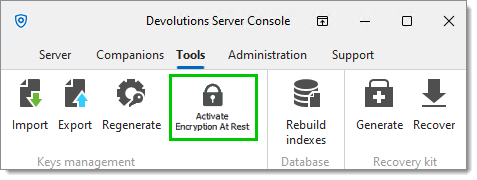
If the Activate encryption at rest button is not visible in Tools , it means that it is already enabled. In that case, please jump to step 15.
Go in Tools in the Devolutions Server Console, then click on Activate encryption at rest. This step is essential to properly encrypt the data in the SQL database.
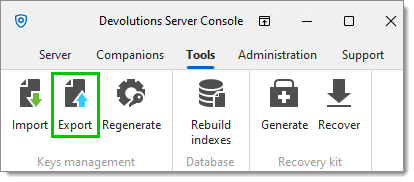
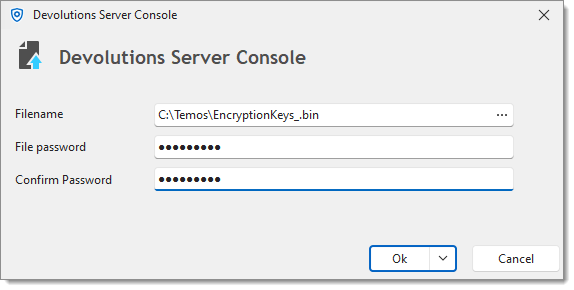
Once completed, export the Encryption Keys. Make sure to save that file and the password in a secure place to be able to build another Devolutions Server instance connected to the same SQL database. Without those encryption keys, it is impossible to access the data.
We recommend not to store the encryption keys file and its password in your Devolutions Server instance.
Once completed, verify again if the entries, documents, and attachments are available.
If the scheduler service has been uninstalled in step 3, install it back from the Devolutions Server Console in the Companions tab.
On success, one last database backup and virtual machine screenshot can be done.
If Devolutions Server is installed in a load balancing / high availability topology, refresh the Devolutions Server Console and import the encryption keys to ensure using the same on every node.