The following guide explains how to move the Devolutions Server web application on the root and set it as a web site. It is recommended to first have a working Devolutions Server instance according to this guide for Creating Devolutions Server Instance. Backing up the current working installation before modifying any parameters in IIS Manager is highly recommended.
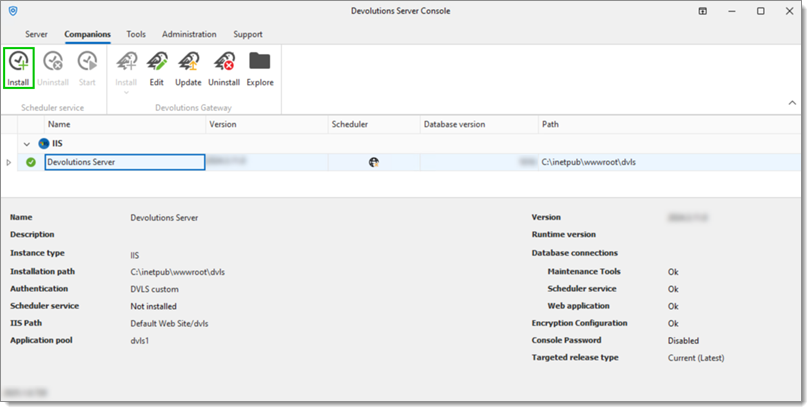
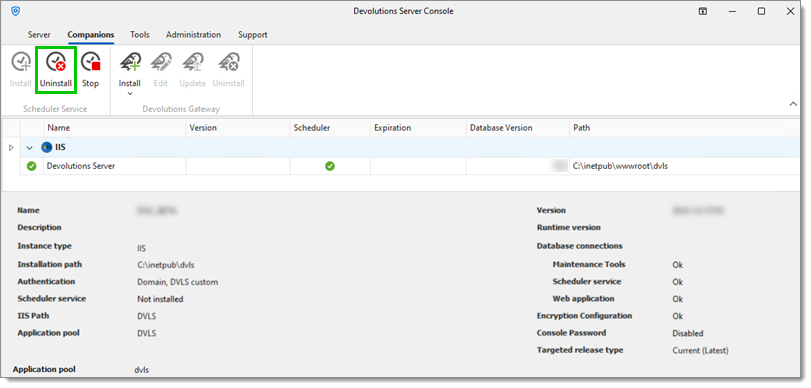
From the Devolutions Server Console, uninstall the Scheduler in the Companions tab.
Close the Devolutions Server Console.
Open IIS Manager.
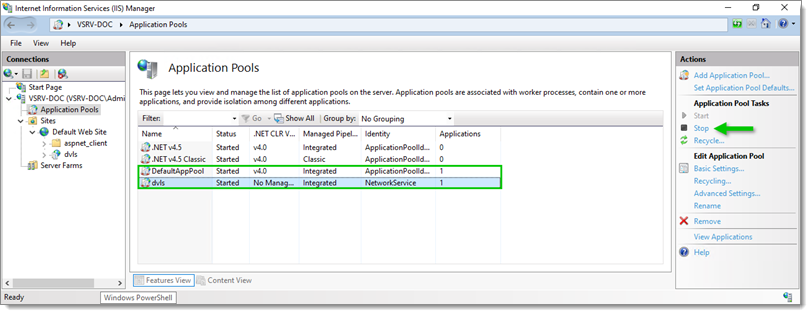
Expand the root node and select Application Pools.
Stop the DefaultAppPool and the Devolutions Password application pool (dvls on the following screen capture) using the Stop button in the Actions pane.
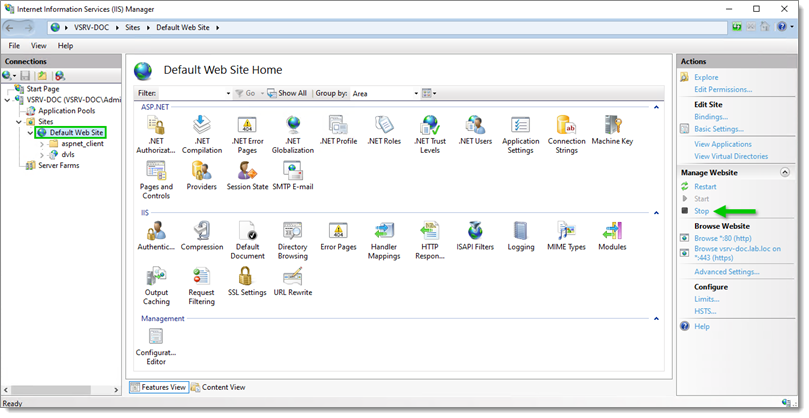
Under Sites, select Default Web Site and stop it using the Stop button in the Actions pane.
Remove the Devolutions Server web application under Default Web Site.

Open the File Explorer.
It is not recommended to set the installation folder to C:\Program Files, C:\Program Files (x86), or C:\inetpub. Devolutions Server is a web application and this could result in unwanted behavior and issues because IIS do not have enough permissions to run web applications that are located under those folders. To set the web application folder in a location different than the default C:\Inetpub\wwwroot folder, the IIS_IUSRS built in local machine group will need Read and Read & Execute permissions on the entire Devolutions Server web application folder structure.
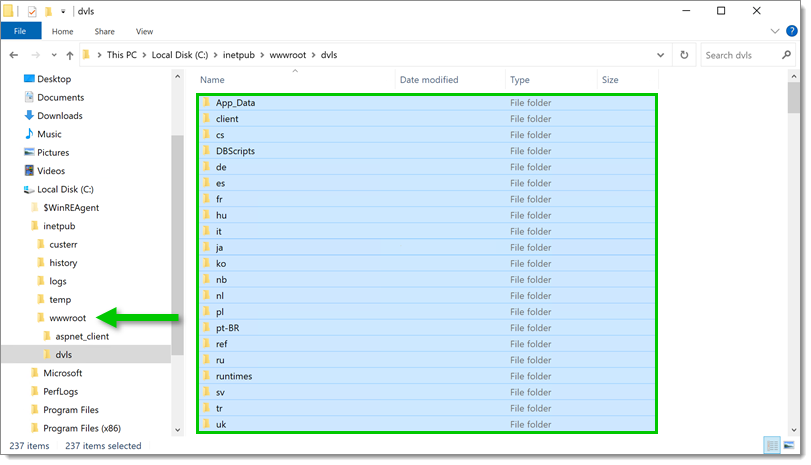
Navigate to the installation folder of the Devolutions Server web application (i.e., C:\inetpub\wwwroot\dvls for this installation). The web application folder may differ depending on the installation.
Select all files and folders and move them under the root folder of the default web site (C:\inetpub\wwwroot here).
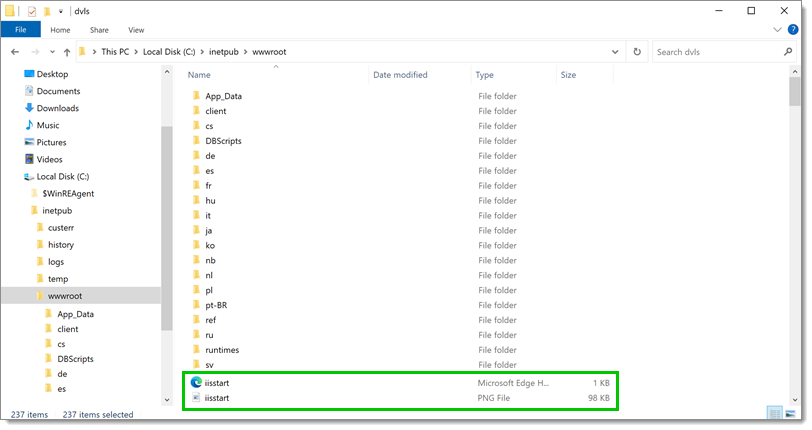
Navigate to the default web site folder (C:\inetpub\wwwroot).
Delete the iisstart.png and iisstart.htm files.
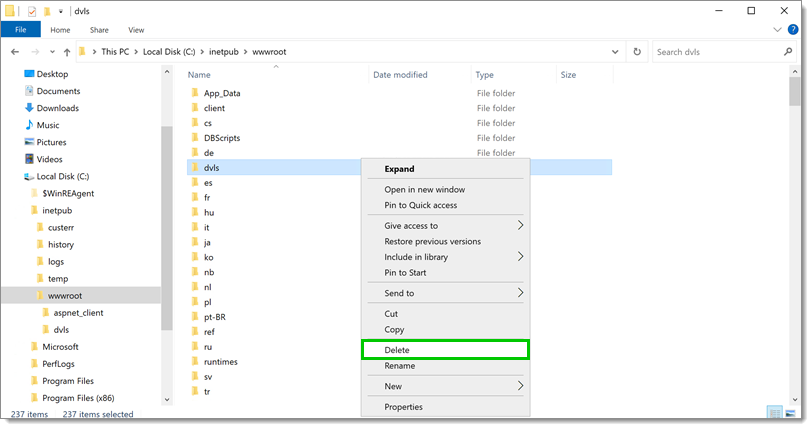
Delete Devolutions Server web application's folder (dvls in this installation).
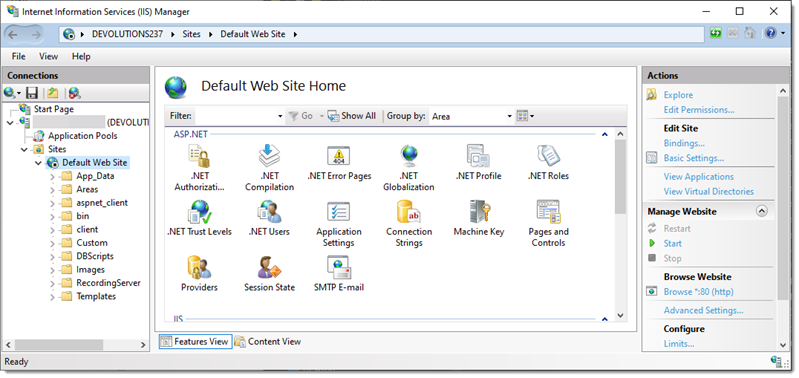
Go back in IIS Manager and refresh the Default Web Site node. Devolutions Server's web application folder should disappear.
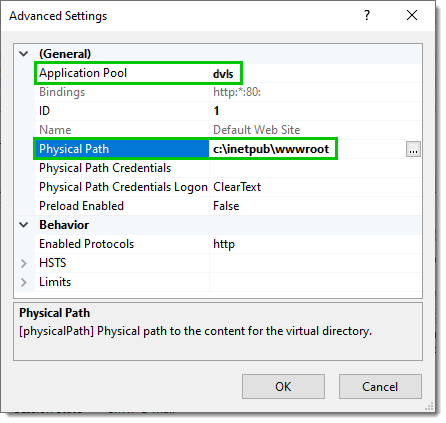
From the Actions pane, open the Advanced Settings... dialog.
Select the Devolutions Server Application pool.
Remove the %SystemDrive% environment variable from the path and set it with c: instead as the Devolutions Server Console cannot access the environment variables.
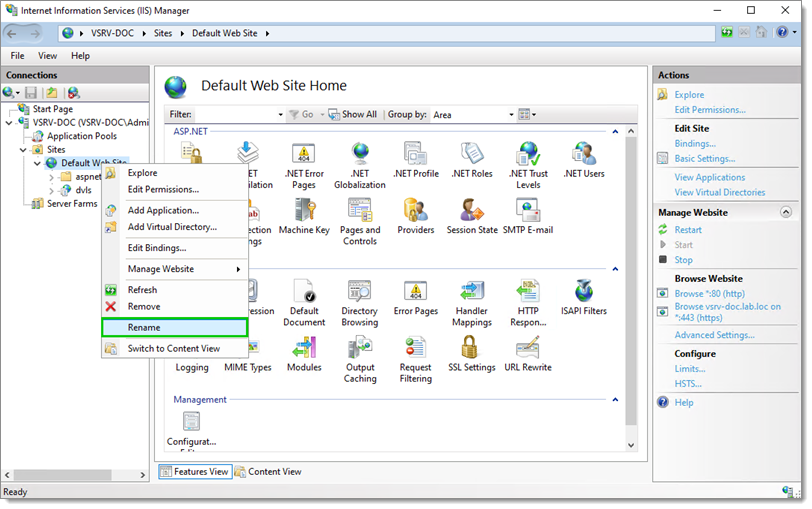
Before starting the Default Web Site, it is possible to rename it. But it is not mandatory.
Start the Default Web Site and the Devolutions Server application pool.
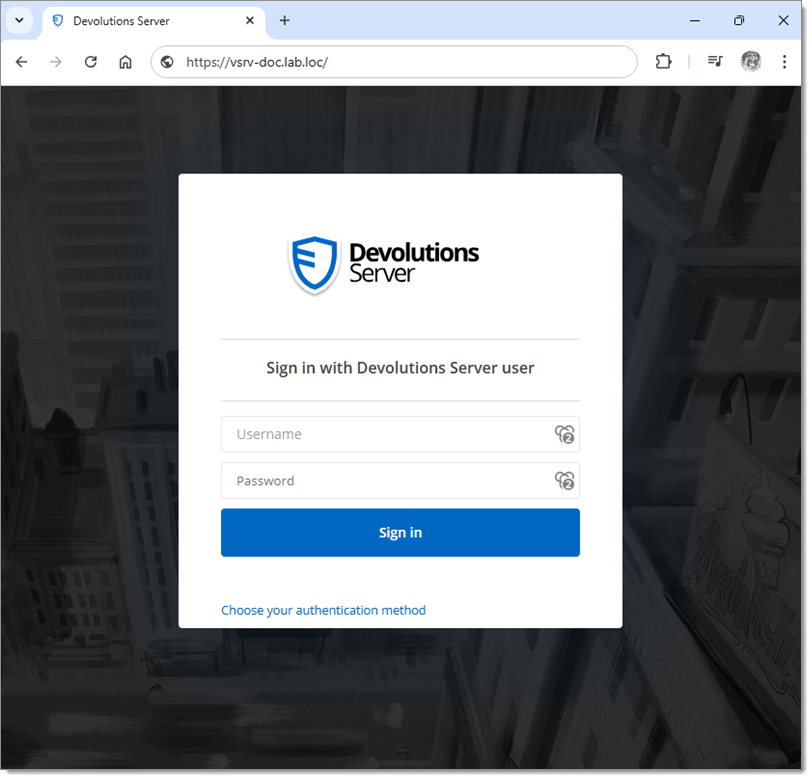
Browse to the website and it should load the Devolutions Server login page.
Update the Access URI with the new Devolutions Server URL to reach its web page.
If required, update the URIs with the new Devolutions Server URL in the Azure App Registration for the Microsoft Authentication.
Finally, install the Scheduler.