The machine hosting Devolutions Server must be joined to the configured domain for domain single sign-on (SSO) to work.
These steps provide the information to enable the domain single sign-on (SSO) feature in Devolutions Server.
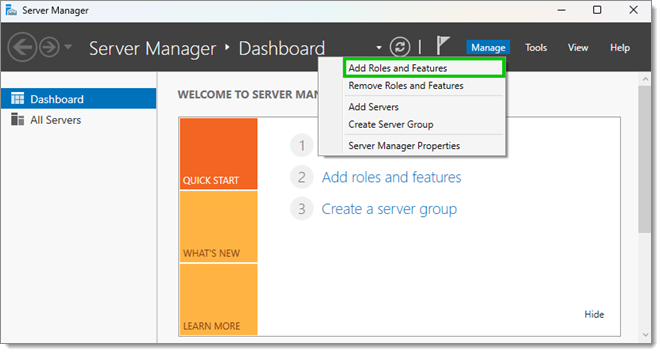
Open the Server Manager desktop application and go to Manage – Add Roles and Features.
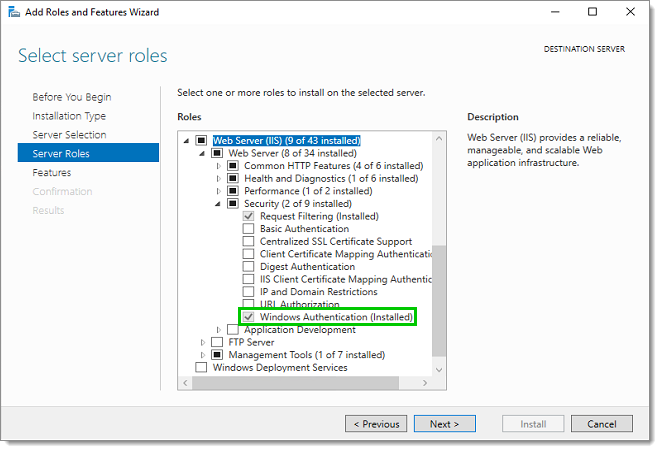
In the Server Roles section, ensure that the Windows Authentication server role is installed.
When done, you can close the Add Roles and Features Wizard and Server Manager windows.
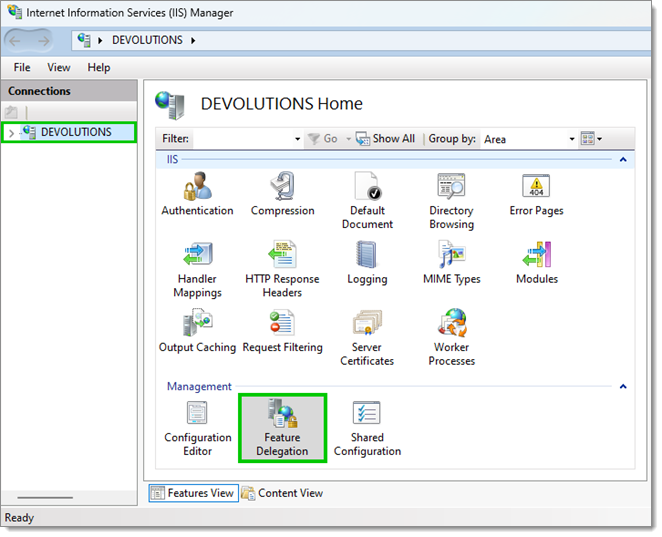
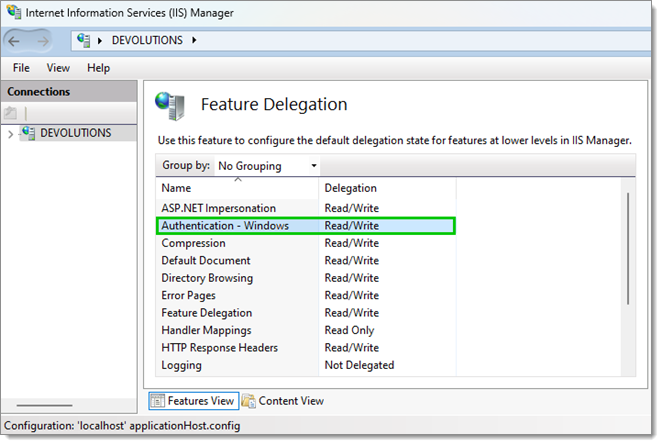
Open the IIS Manager. Select the server in the tree view and open the Feature Delegation in the Management section.
Set the Authentication - Windows feature to the Read/Write value.
When done, you can close the IIS Manager.
In Administration – Server Settings – Authentication of the Devolutions Server instance web interface, check the Enable domain single sign-on (SSO) option box. When done, click on the Save button.

Set the administrator credential properties in the Administration – Server Settings – Authentication – Domains.
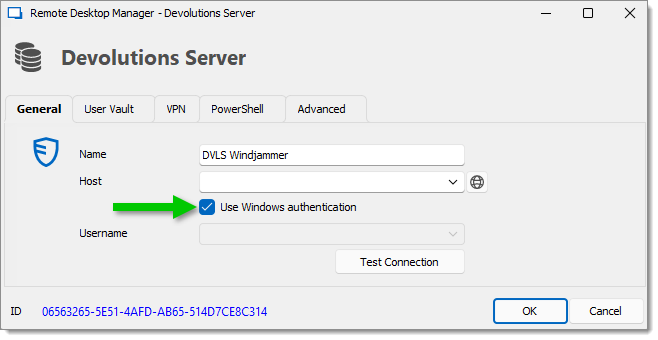
Finally, in the data source configuration of each client in Remote Desktop Manager, enable the Use Windows authentication option, then click OK when done to save your modifications.