Please perform these steps only after you have configured the Devolutions Server instance and that you have indeed connected through a client application. Performing these steps right from the start may add a layer of complexity that may prevent you from succeeding in the initial configuration.
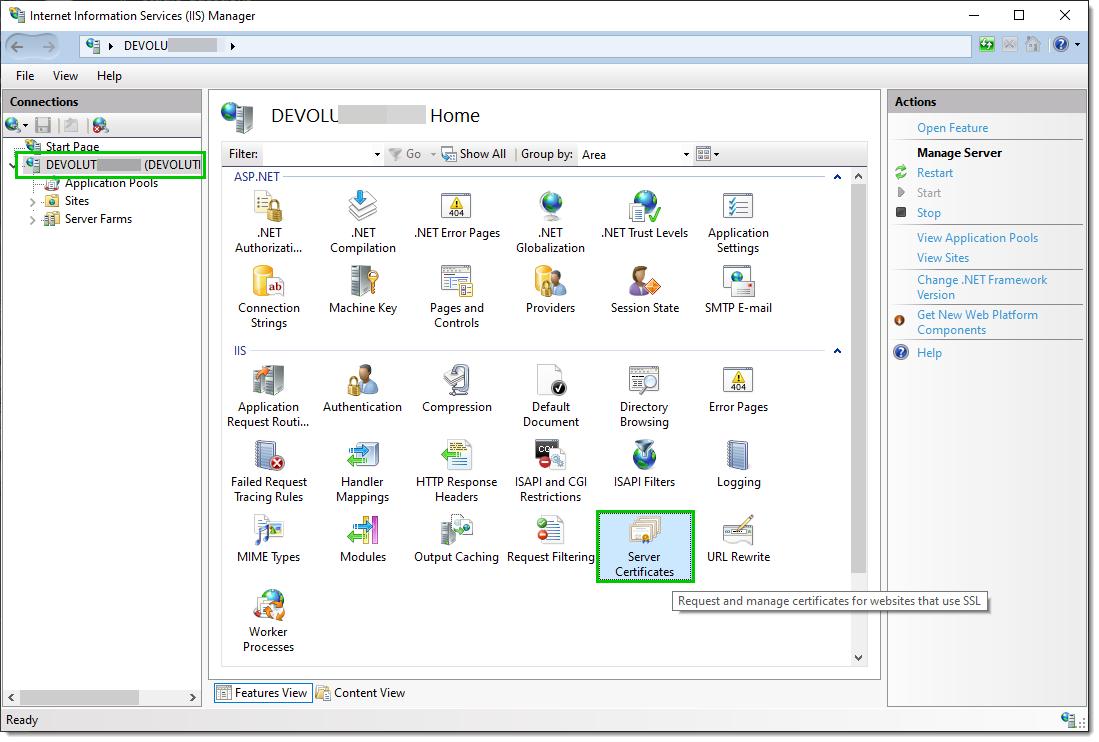
Select the server node in the Tree View and double-click the Server Certificates feature in the List View:
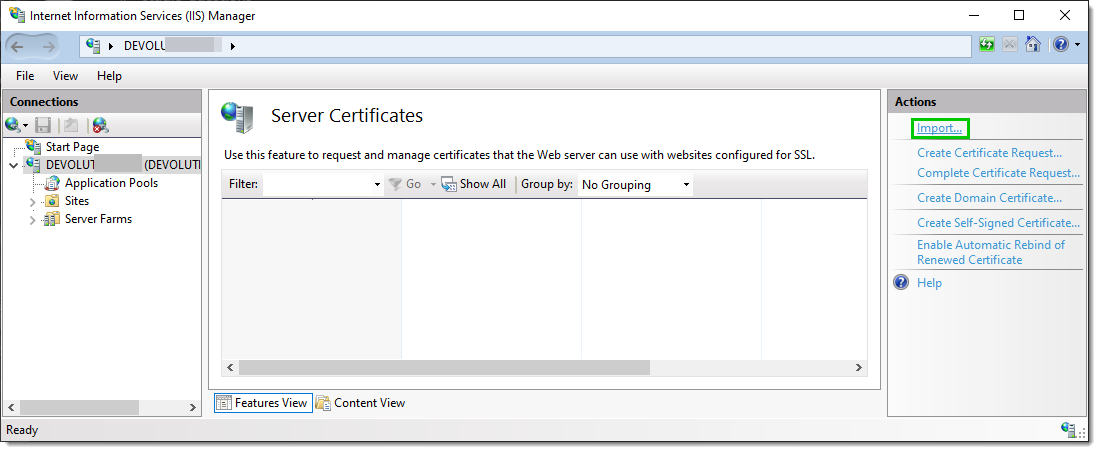
Click Import... in the Actions pane.
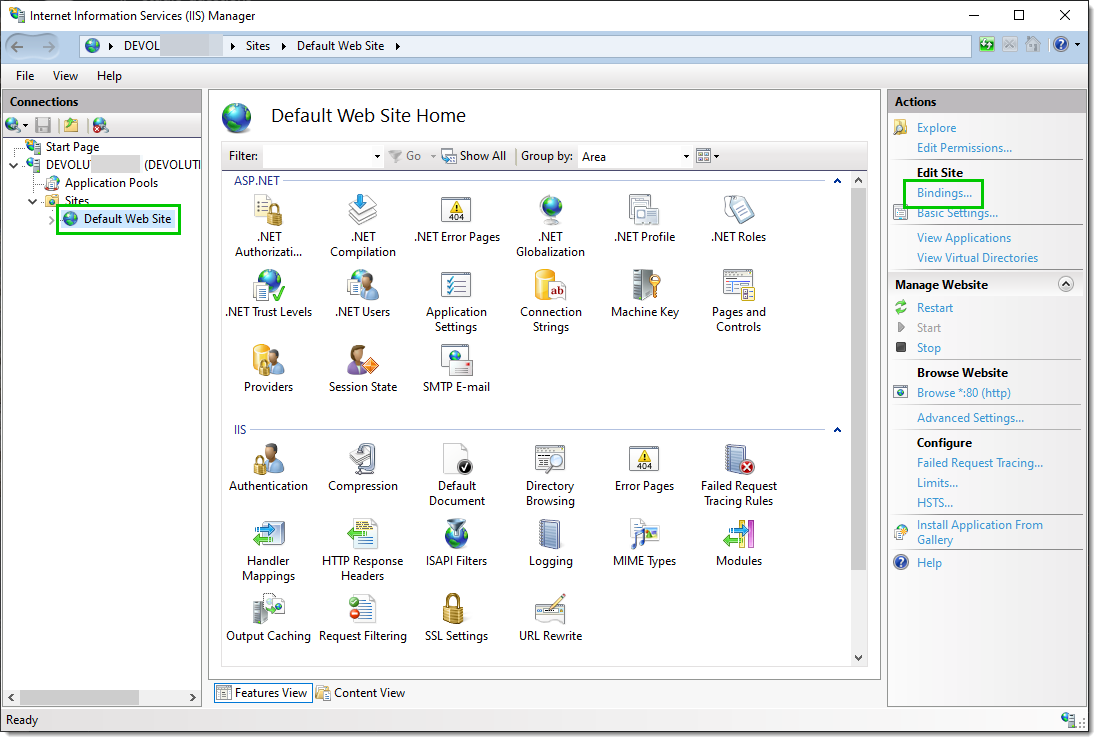
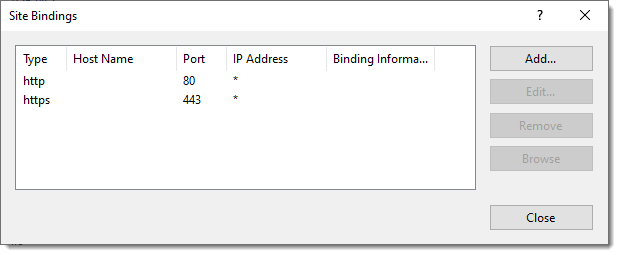
Select the web site in the Tree View. Click Bindings... in the Actions pane. This brings up the binding editor that lets you create, edit, and delete bindings for your Web site.
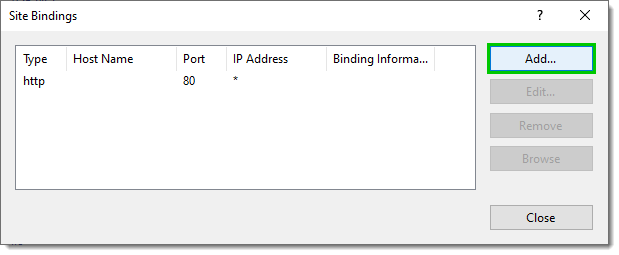
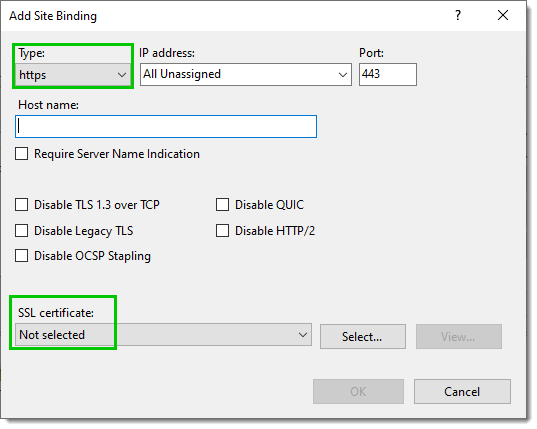
Click Add... to add your new SSL binding to the site.
Select https in the Type drop-down list. Select the certificate you have imported or created from the SSL Certificate drop-down list and then click OK.
Now you have a new SSL binding on your site.
From the Devolutions Server Console, edit the Devolutions Server instance.
Go in the IIS tab and uncheck the Disable HTTPS option.
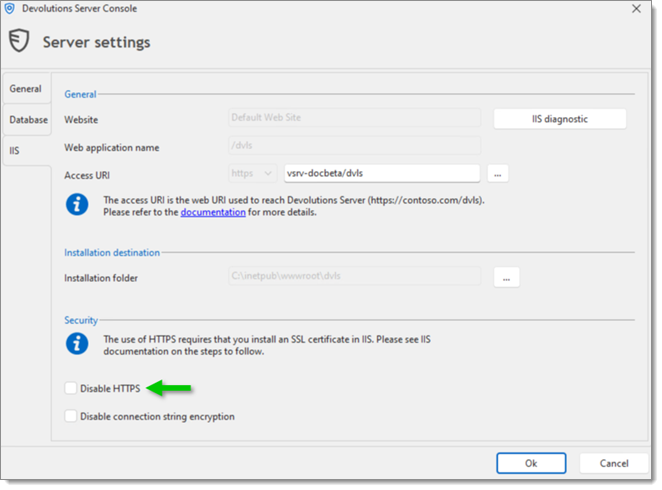
Save the modification with the Save button.
Edit the Devolutions Server data source
Change the server URL to use the https:// protocol.