Configure Microsoft Entra ID and Devolutions Server properly to use Microsoft authentication by following the instructions below.
Devolutions Server scheduler installed and running
A Microsoft Entra ID subscription
An Entra ID web application for the Devolutions Server web application and the cache
To simplify the configuration steps and to easily copy and paste all the required parameters, keep the Devolutions Server and Azure Portal web pages open side by side throughout the whole process.
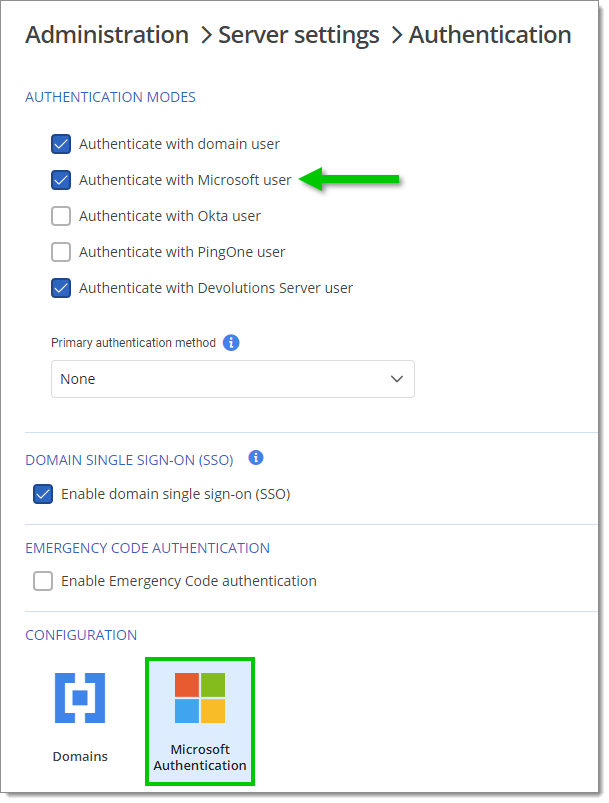
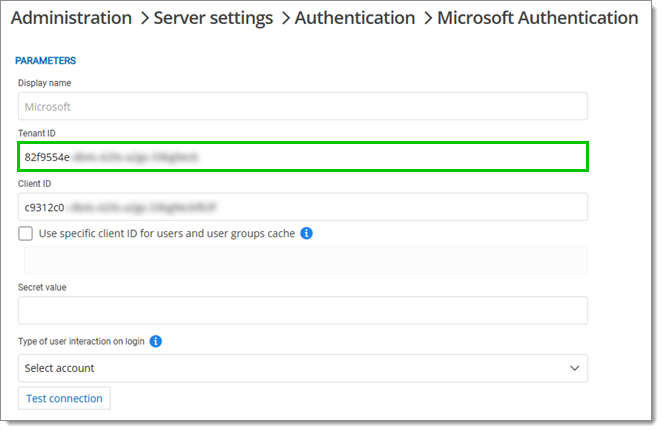
Log in to your Devolutions Server and navigate to Administration – Server settings – Authentication.
Under Authentication modes, ensure Authenticate with Microsoft user is enabled.
Under Configuration, click on Microsoft authentication.
Log in to your Microsoft Azure Portal using administrator credentials.
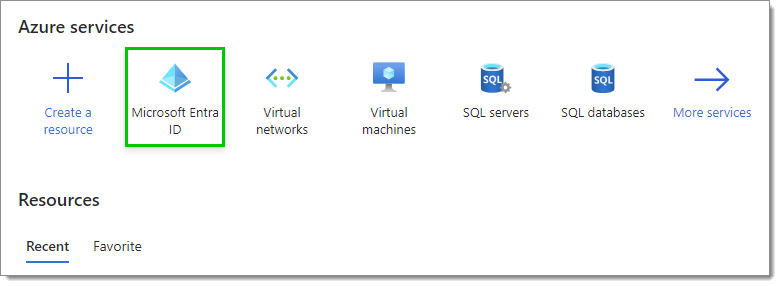
Once logged in, select Microsoft Entra ID in the Azure services section. If you do not see it, click on More services to make other services appear or search for it in the search bar.
In Properties, copy the Tenant ID value.
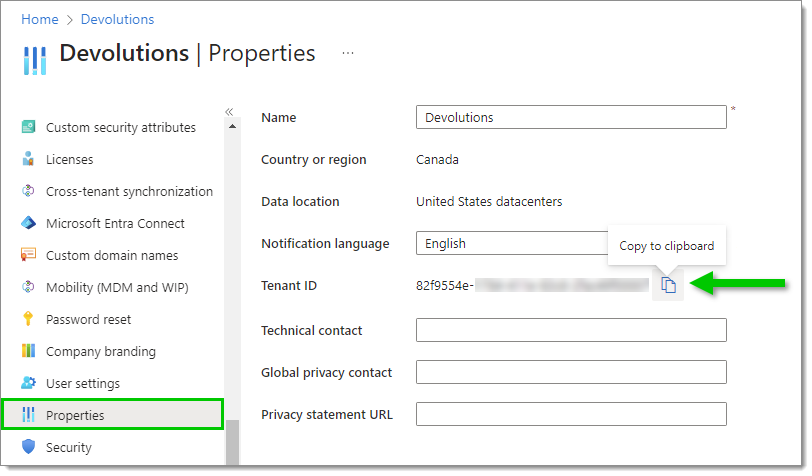
Paste this value in the Tenant ID field of the Devolutions Server Microsoft Authentication configuration page.
The Use specific client ID for users and user groups cache option should only be check to support configurations when migrating from an older Devolutions Server version.
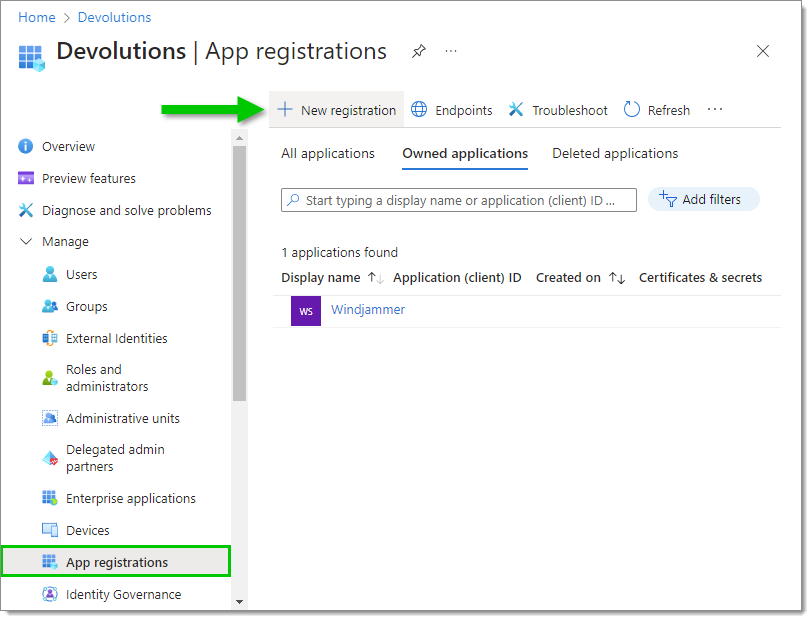
In the Manage menu section, click App registrations then New registration.
Enter a significant name for the application. This name will not be used outside of the Azure Portal.
Set which Supported account types are allowed to connect. Usually, selecting Accounts in this organizational directory only is more than enough for your Entra ID authentication.
Set the Redirect URI to Web and enter a valid URL, the URL to reach your Devolutions Server instance, with /api/external-provider-response at the end.
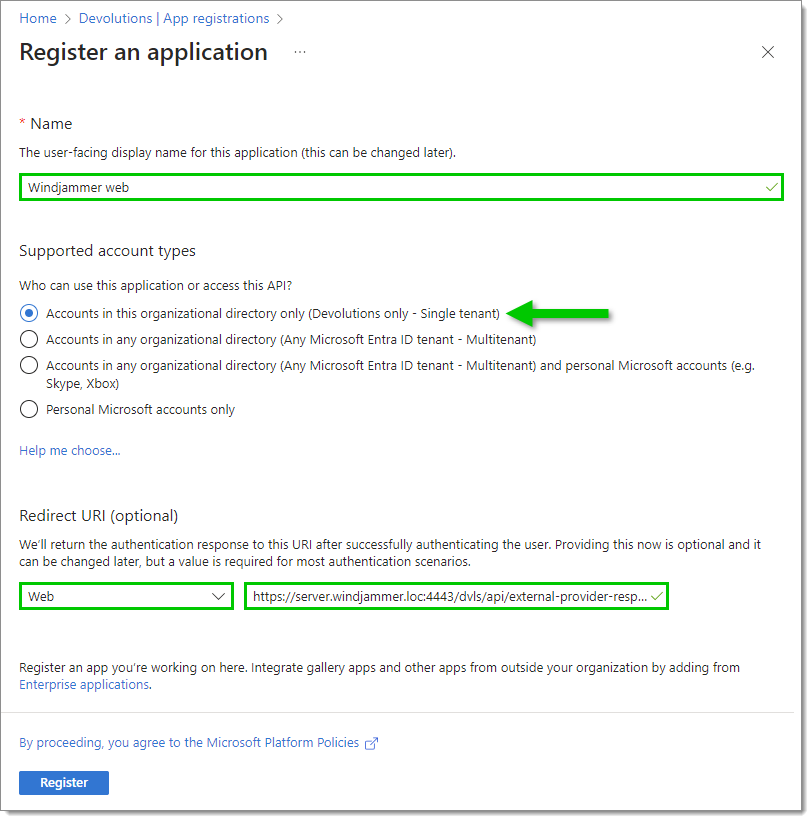
Click on Register.
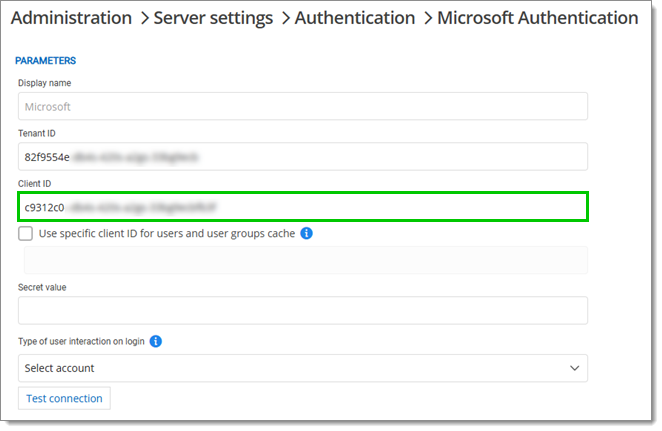
Click on Copy to clipboard next to Application (client) ID.
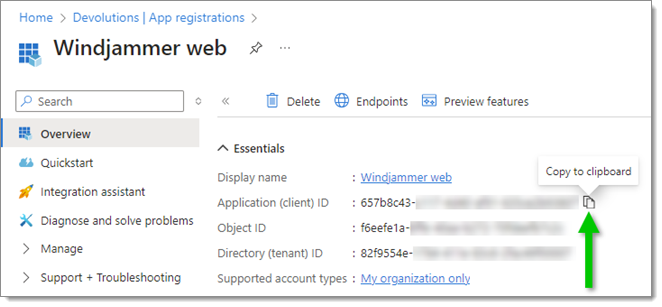
Paste the Application (client) ID in the Client ID field.
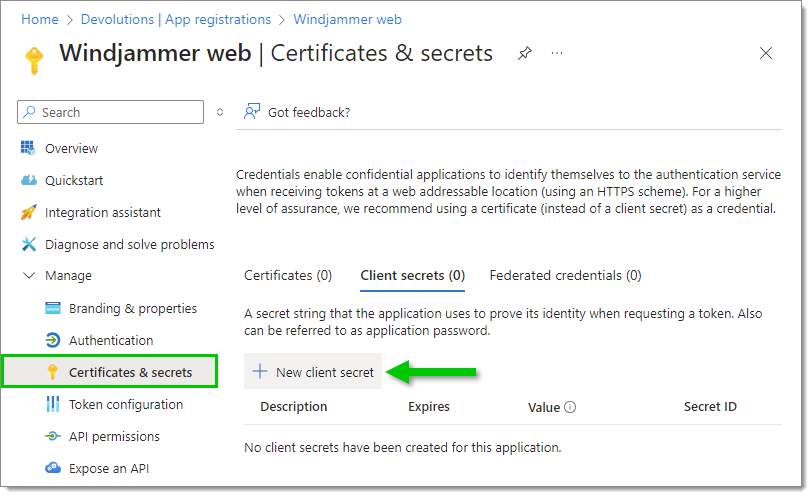
In the Certificates & secrets section, click New client secret.
Enter a description and set an expiry date.
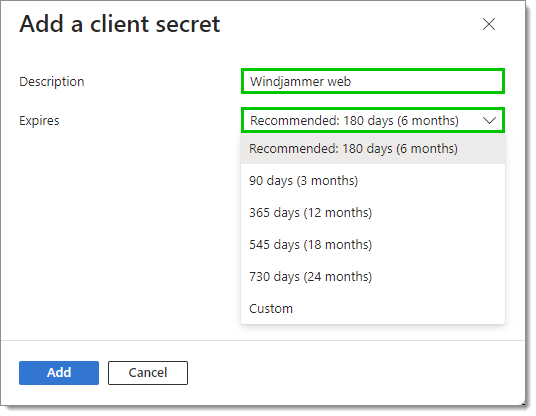
Click Add.
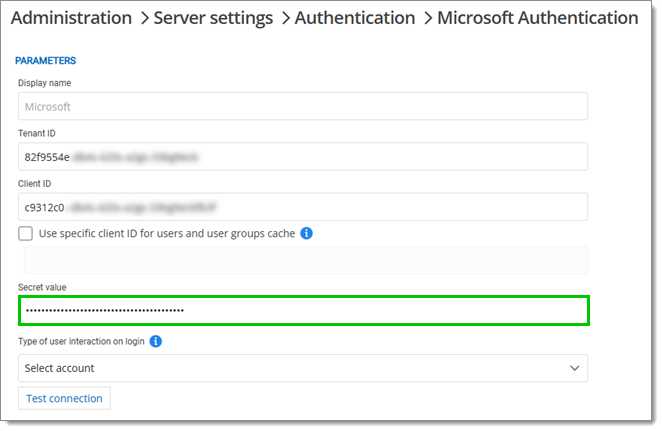
Copy the Value. Be sure to save the Value in a safe place before switching to another Azure Portal page, as the copy button will no longer be available.

Paste the Value in the Secret value field.
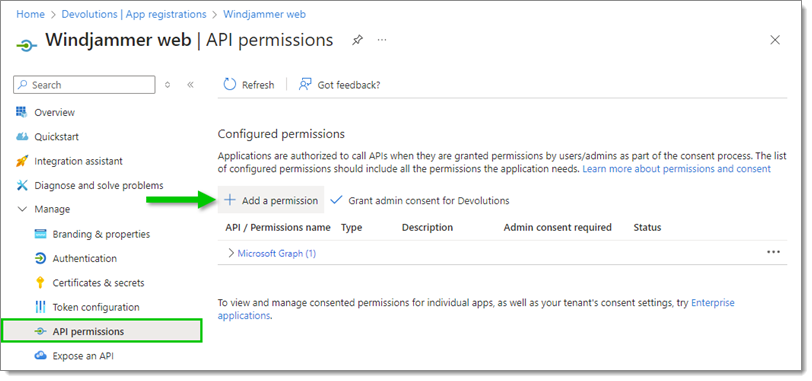
In the API permissions section, click on Add a permission.
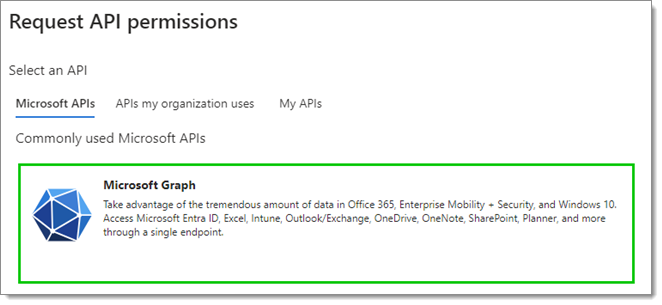
Select Microsoft Graph.
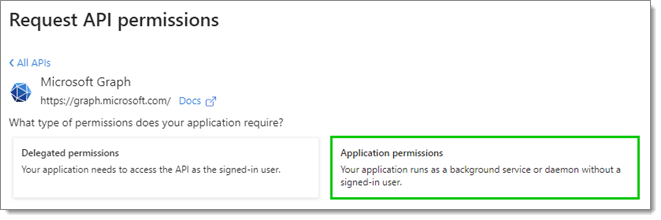
Select Application permissions.
Select Group.Read.All under the Group section and User.Read.All under the User section.

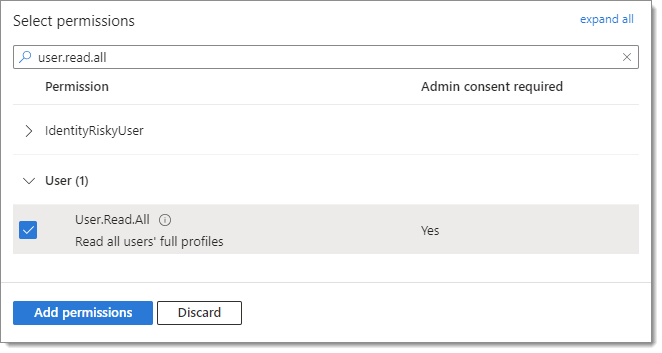
Click on Add permissions.
Click the three dots next to the User.Read permission and remove it.
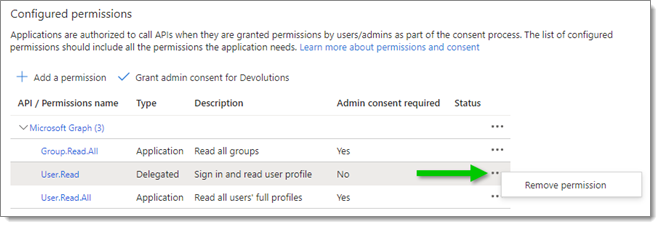
Confirm the removal by clicking Yes, remove since this permission is not required for the sync application.
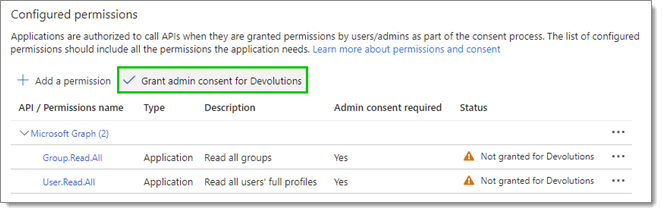
If the Status of the User.Read.All and Group.Read.All permissions is set to Not granted, an administrator must grant consent. If the account used to create the application is already an administrator in Azure, click on Grant admin consent for <your organization>.
Click Save.
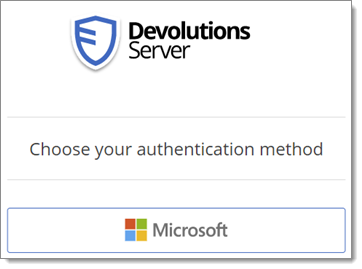
You should now be able to use the Microsoft button on the web interface.
After activating the Microsoft authentication, it may take a while for the cache to load before being able to import users and user groups. If the issue persists, please consult Unable to import Entra ID users or groups for troubleshooting via the Devolutions Server Console.
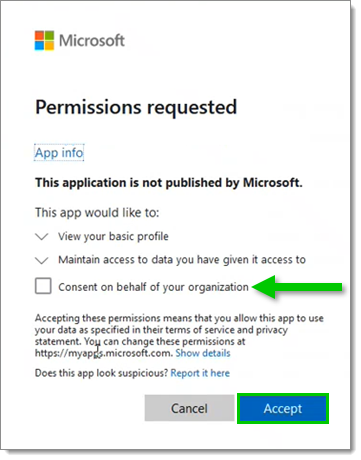
Following the login process, you may get a prompt to authorize the application to read the user accounts and groups. Check the Consent on behalf of your organization box then click Accept.