Devolutions Server Console includes a Migrate SQL data source wizard to ease transitions from Microsoft SQL Server (MSSQL), including Azure, to Devolutions Server. When operating a Remote Desktop Manager SQL advanced data source, the recommendation is to use a security provider for additional encryption of data. Devolutions Server does not support security providers, but has equivalent protection via encryption keys stored on the IIS web host for Devolutions Server.
You must remove the Remote Desktop Manager Security provider, before running the migration wizard, or an error message will prompt you to do so.
When removing a Security provider, it is important to complete these steps beforehand:
Prior to removing an existing security provider, make sure that all users are disconnected from the data source.
Removing a security provider does process the whole database, therefore we advise you to create a backup prior to this operation.
-
Go to the desired Microsoft SQL Server data source.
-
Select the Administration tab in the ribbon.
-
Click on Security provider.

Security Provider -
Click on Change security settings.
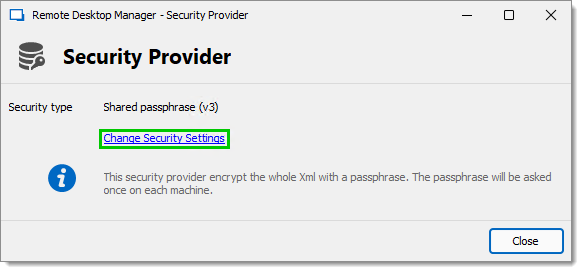
Change Security Settings -
In the dropdown select the Default option and click Apply.
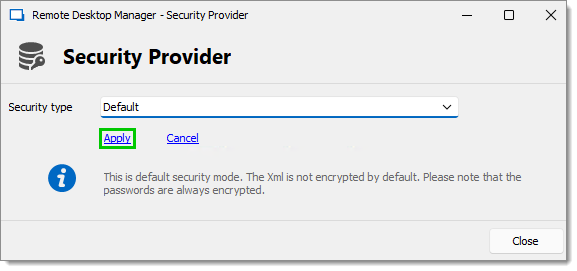
Default security type -
Click Yes after the warning window appears (this may take some time with larger data bases).

Warning window -
Click Close.
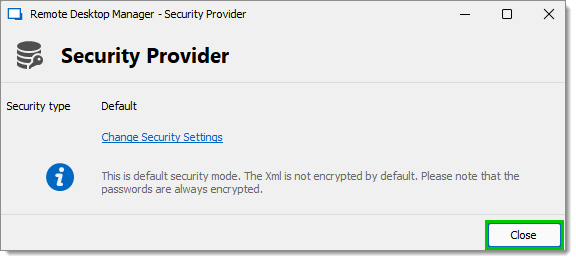
Close
This operation assumes that you have Devolutions Server Console installed on your target Devolutions Server Console host. You may migrate an MSSQL data source prior to fully installing an instance of Devolutions Server.
This procedure operates on the existing SQL database (not a copy), and transforms it irreversibly. To revert this process, you would need to restore from a backup, therefore it’s recommended to make a full backup.
-
Open the Devolutions Server Console.
-
Navigate to Server – New – IIS Web Server – Migrate SQL data source.

Migrate SQL Data Source -
Enter the information in the Database and Credentials sections.
-
Enable Activate encryption at rest. With this option enabled, a new
encryption.configfile is generated and data re-encrypted via the newly created key. -
Click on Test connection.
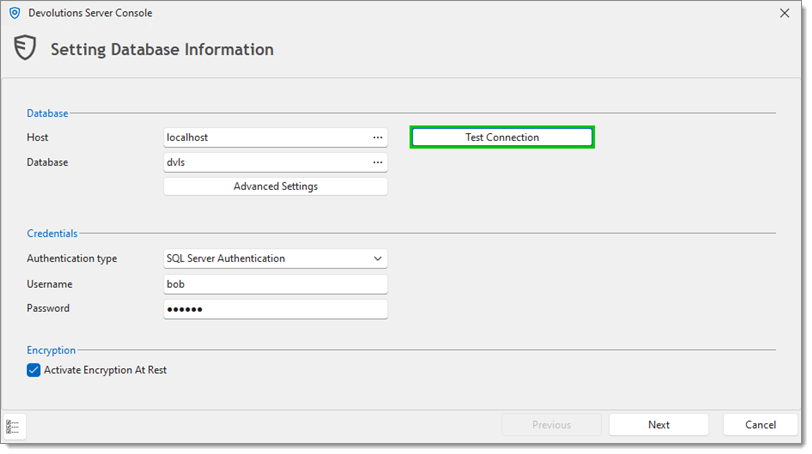
Test Connection -
Click OK.
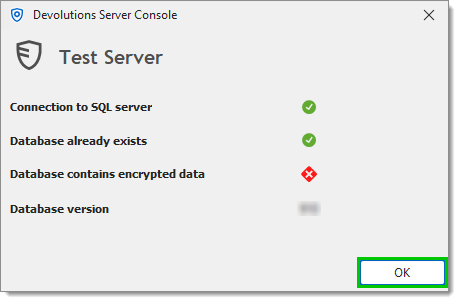
Finish the connection test The “Database contains encrypted data” warning is specific to Devolutions Server encryption keys and not default Remote Desktop Manager data encryption.
-
Enter the Server name and click Next.
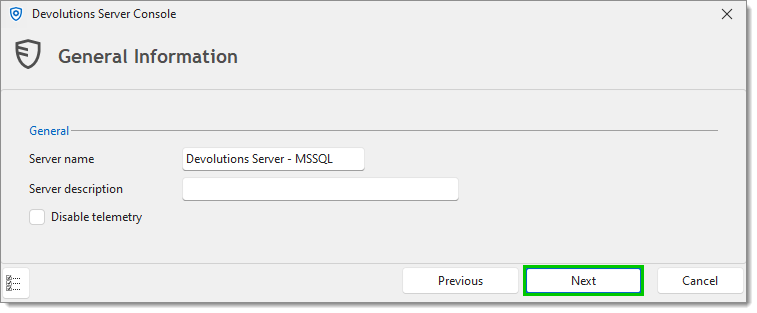
Enter the server's name -
Choose which version of Devolutions Server to download and click Next.
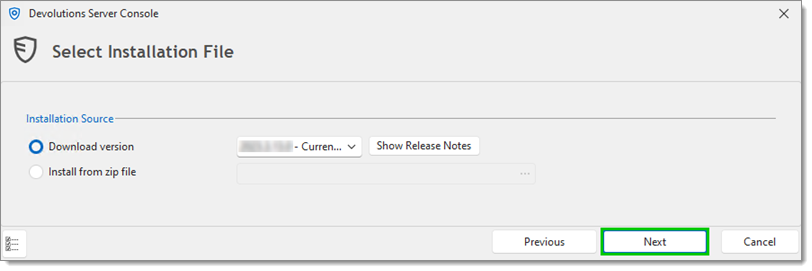
Download version -
Fill the information fields for the IIS settings of the new Devolutions Server installation.
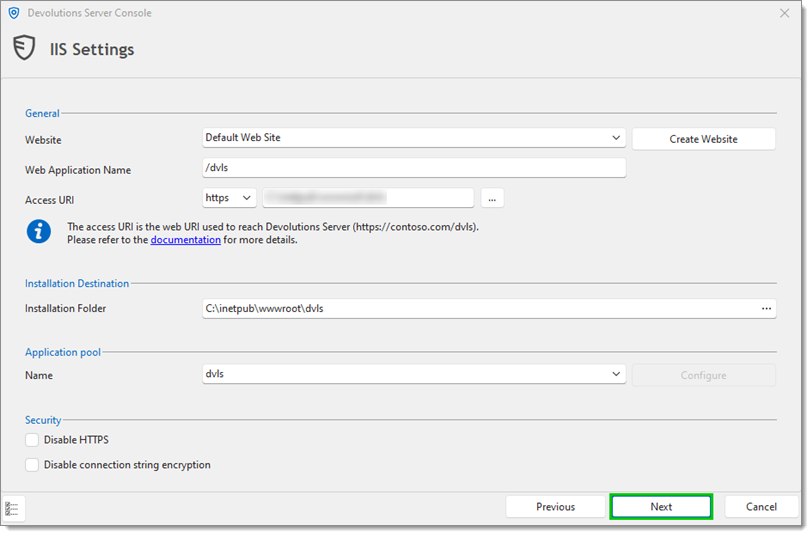
Fill the IIS settings information fields -
Enter the information for the new administrator user.
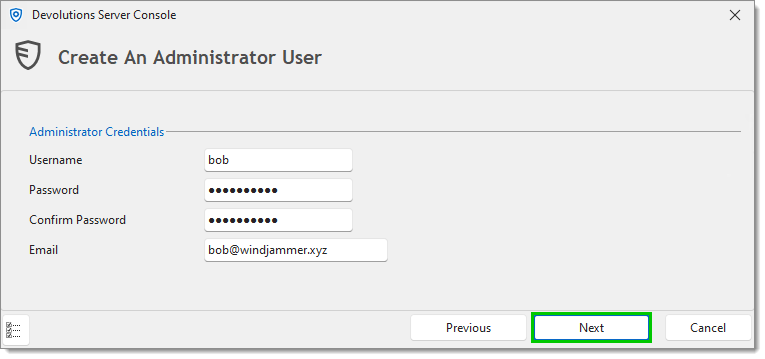
Create an Administrator user Install the Scheduler Service if this is the first instance of Devolutions Server Console.
-
Configure the Recovery kit and click Next.
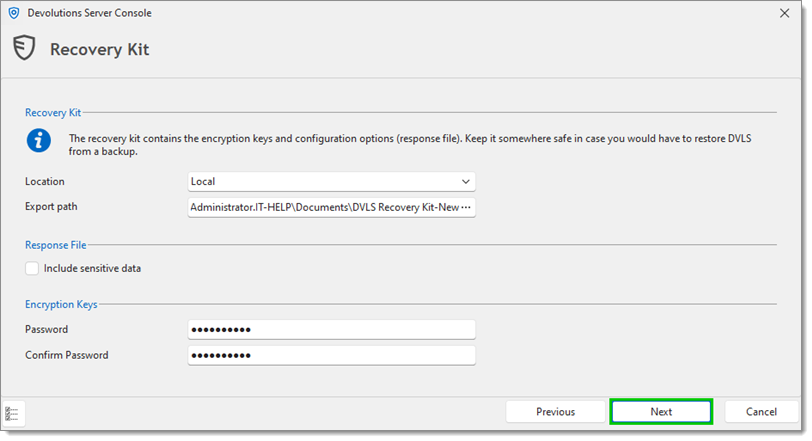
Recovery kit configuration -
Click Install.
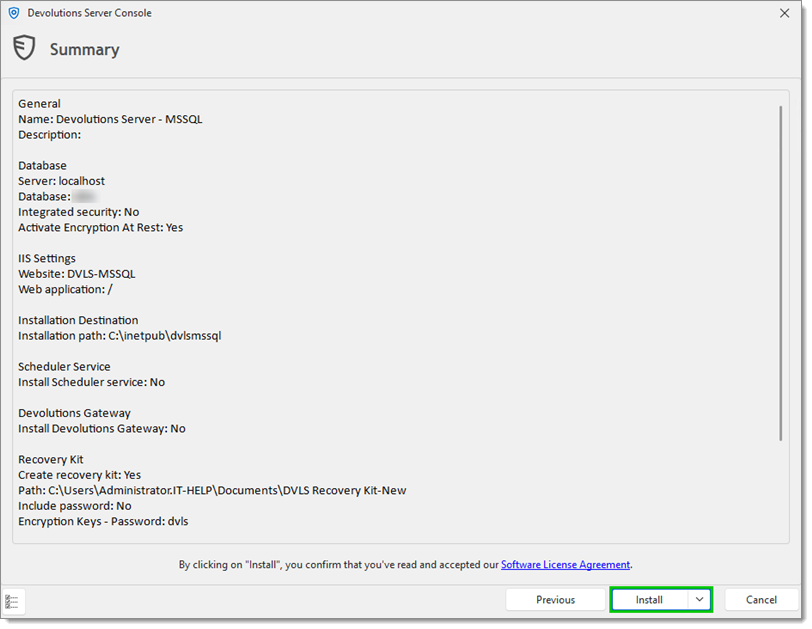
Complete the installation
Once the process is completed, the new Devolutions Server installation will be immediately available for use. At this time, you will want to add a new data source for your Remote Desktop Manager clients to connect to the Devolutions Server data source.
For security reasons, it is strongly advised to migrate data source users to a new Authentication method using the Authentication migration tool. The tool is only available if an authentication method is already configured in Administration – Server settings – Authentication.