Using an Azure template to configure the encryption service is the recommended method, but specific use cases may call for the Devolutions Hub Services method instead.
The following prerequisites are necessary to enable and configure the encryption service:
A configured and active Single Sign-On (SSO) setup.
An application identity in your Hub.
A trusted SSL certificate.
A reachable network port within the local network and, if applicable, from the internet.
An active Azure services subscription.
Create an application identity and assign it the following system permissions:
Manage users and user groups.
Manage system configuration (includes system permissions, system settings, and IP allowlists).
If you are using an IP allowlist, the encryption service IP must be added as the allowed IP. Failure to do so will prevent the service from communicating with the Hub, rendering it non-functional.
You need to have a subscription to Azure services to set up the Encryption service with an Azure template. If you do not have one, first follow these instructions:
-
Log in to your Microsoft Azure Portal account.
-
Select Subscriptions in the Azure services. If you do not see it, search for it in the search bar at the top of the page or click on More services to show other services. This service can be found under the Management and governance services category.
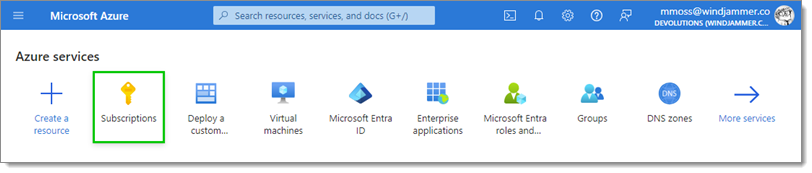
Subscriptions -
Click Add then select the Pay-As-You-Go subscription offer.
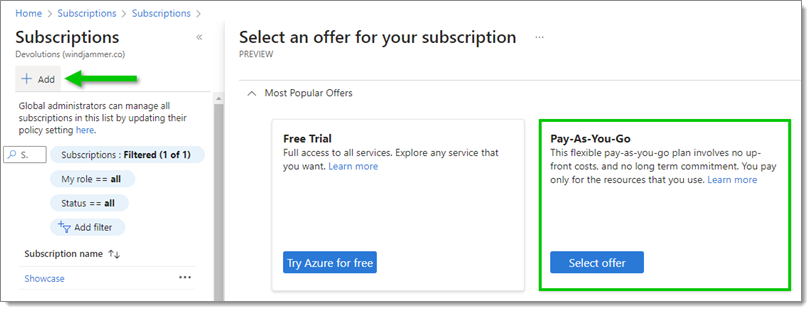
Pay-As-You-Go offer -
Enter the required information and sign up to the service.
Make sure the requirements are fulfilled before moving forward, and plan every change in advance in order to avoid configuration issues, in which case it is better to deactivate the feature altogether while working on a fix.
-
In Devolutions Hub Business, go to Administration – Authentication – Encryption service and click on Generate Azure template.
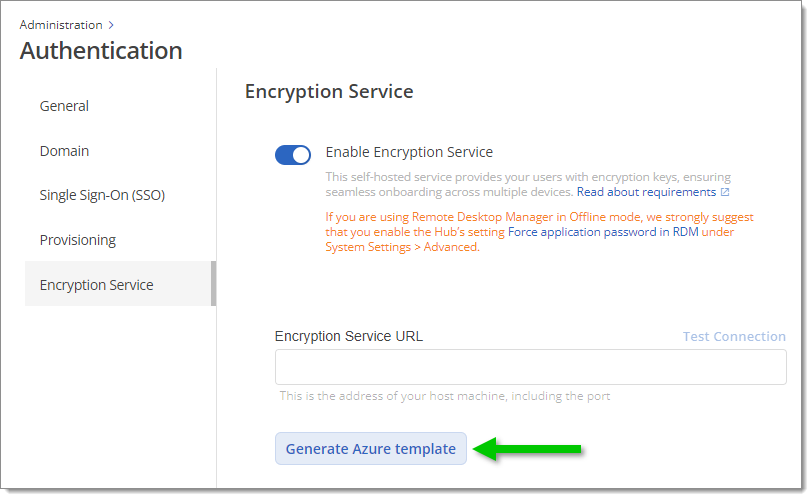
Administration – Authentication – Encryption service – Generate Azure template -
Copy the generated template.
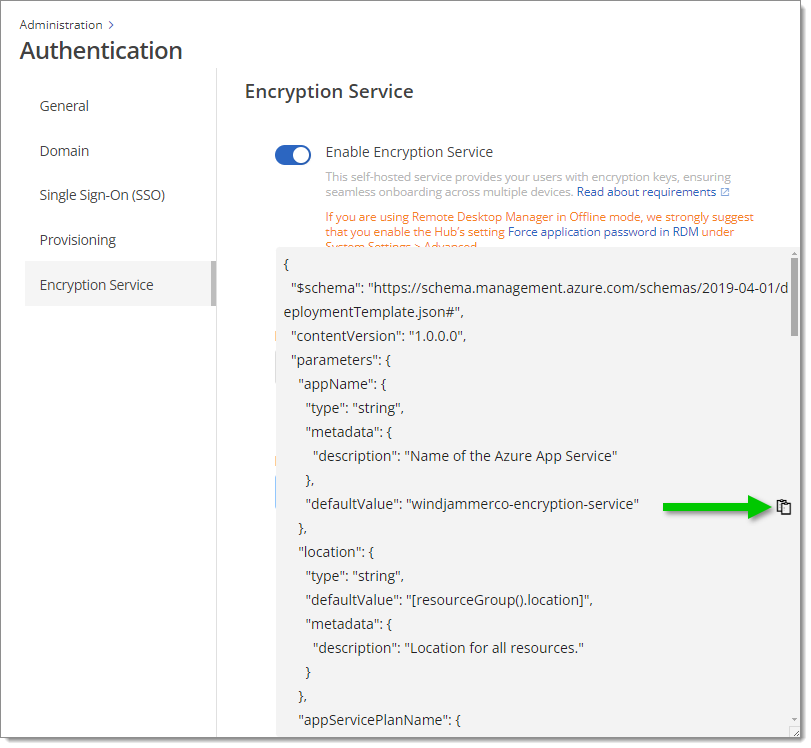
Copy the template -
On the Microsoft Azure Portal home page, select Deploy a custom template in the Azure services. If you do not see it, search for it in the search bar at the top of the page or click on More services to show other services. This service can be found under the General services category.
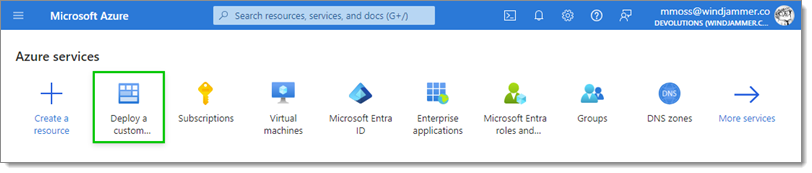
Deploy a custom template -
Click on Build your own template in the editor.
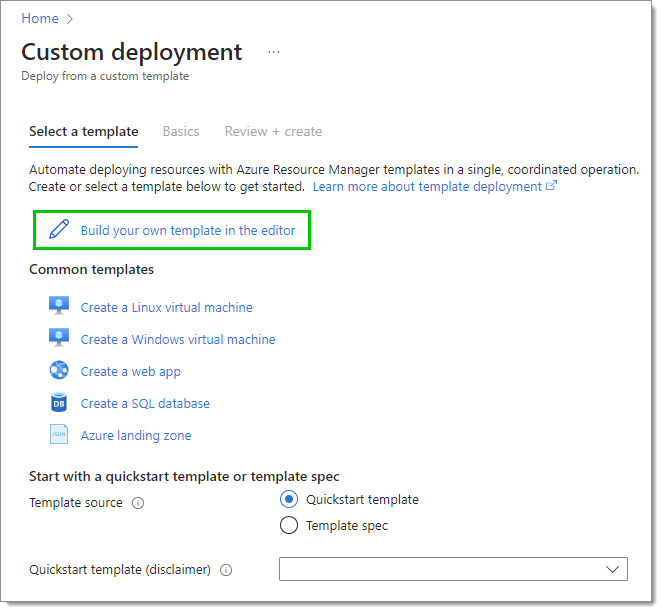
Build your own template in the editor -
Paste the generated Azure template you obtained from Devolutions Hub into the Azure template editor, replacing any pre-existing content within the editor.
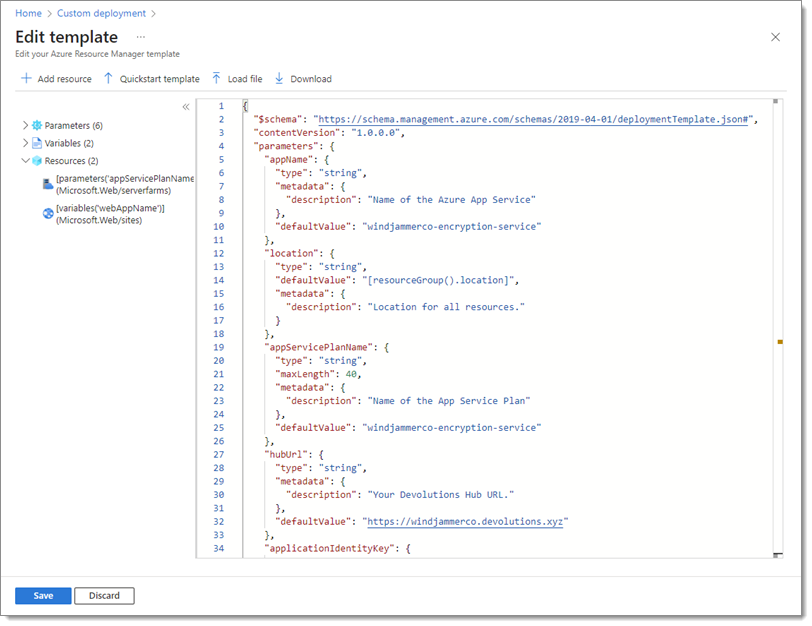
Paste the Azure template -
Click Save.
-
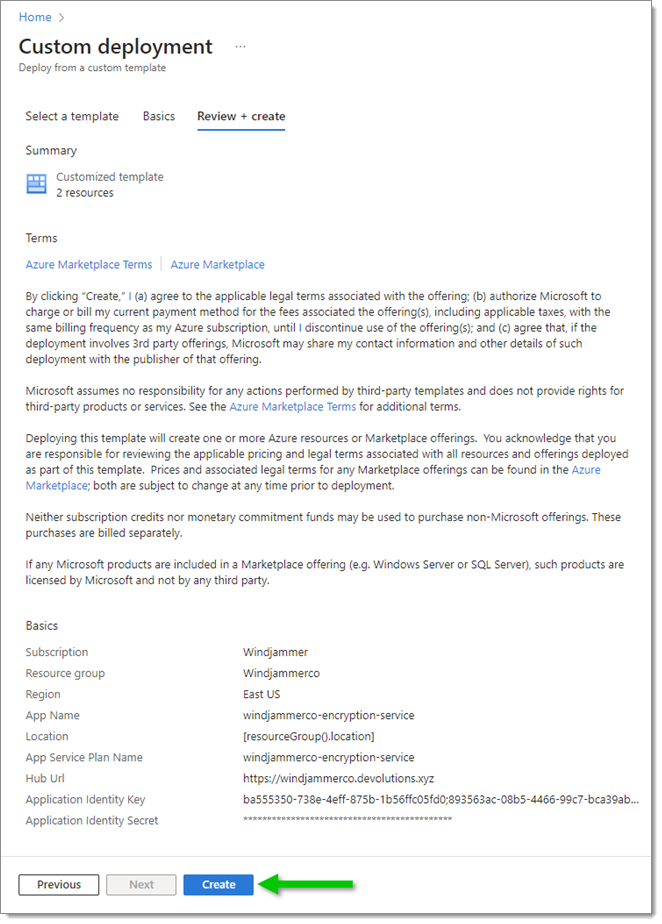
On the Custom deployment page, configure your information as outlined below:
Subscription: Select a subscription if none is selected.
Resource group: Select or create a resource group if none is selected.
App Name and App Service Plan Name: Leave the default names or change them according to your preferences.
Hub URL: Ensure that it is set to the URL of your Devolutions Hub Business.
Application Identity Key and Application Identity Secret: Enter your application identity key and secret in the corresponding fields. Your application identity should have the Manage system configuration and Manage users and user groups permissions, as stated in Application identity permission.
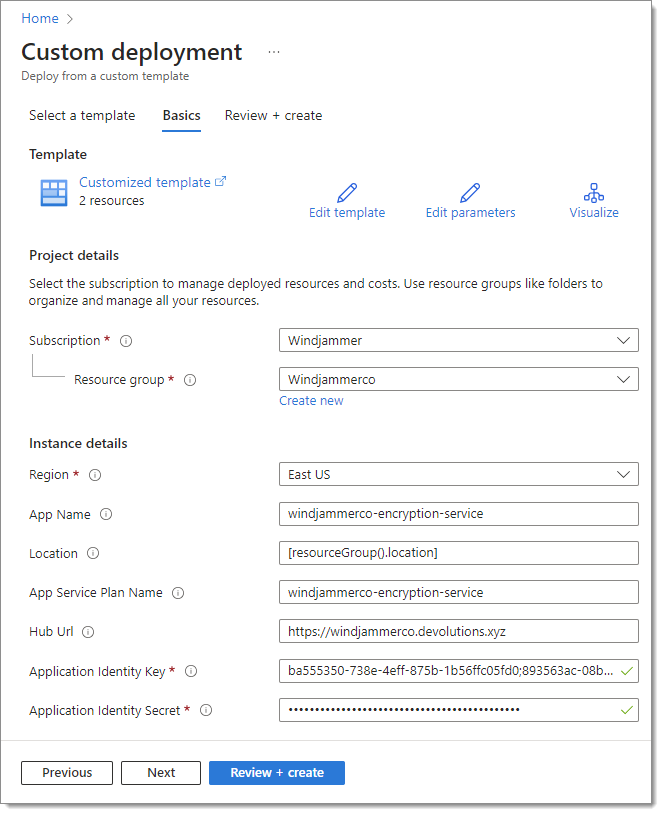
Custom deployment configuration -
Click on Review + create.
-
Click on Create.
Create the custom deployment -
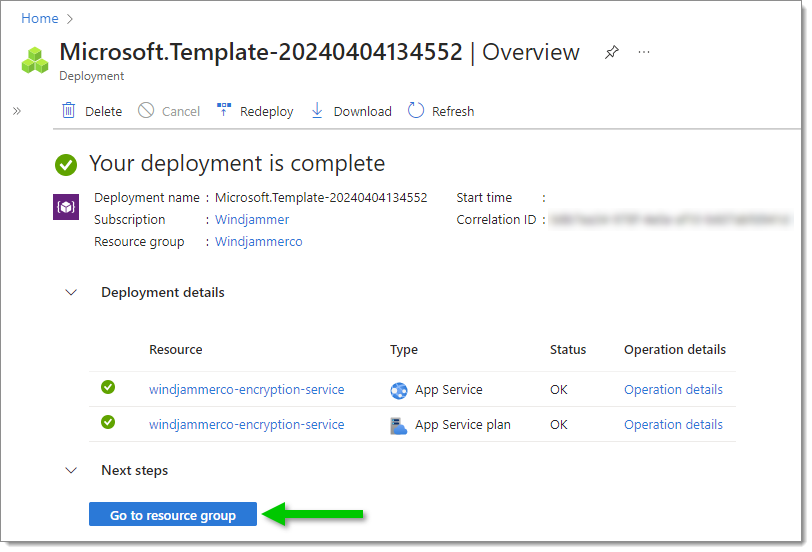
Upon completion of the deployment, which may take a few seconds, click on Go to resource group.
Go to resource group -
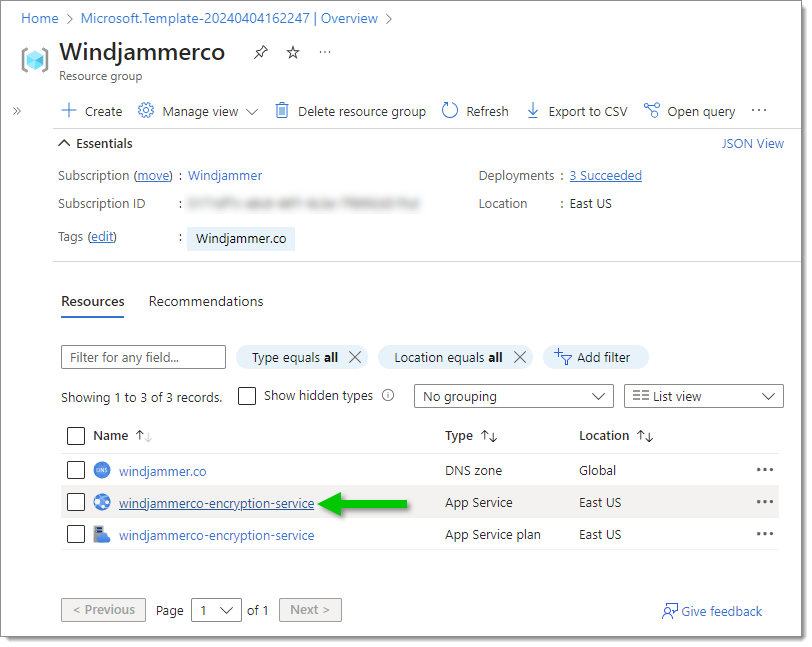
Select your new App Service in the list.
App Service -
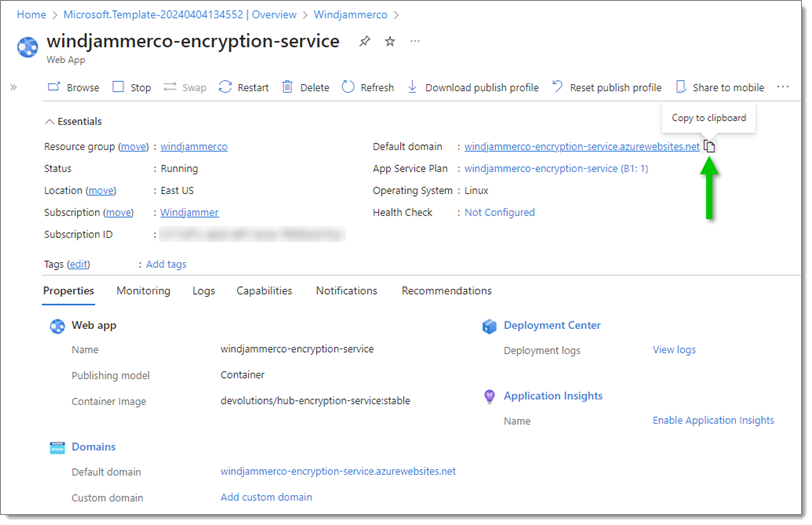
Copy the given Default domain (https://your-app-name.azurewebsites.net) or the Custom domain (https://yourdomain.com) if you decided to create one.
Copy the default or custom domain -
Add this domain to the list of redirect URIs in your enterprise application. Follow the instructions below to guide you through this process:
-
Go back to the Microsoft Azure Portal home page and select Enterprise applications in the Azure services. If you do not see it, click on More services to show other services.
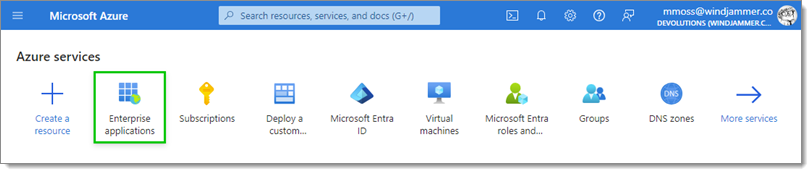
Enterprise applications -
Select your application from the list.
-
In the left menu, click on Properties.

Properties of the application -
In the text at the top of the page, click on application registration.
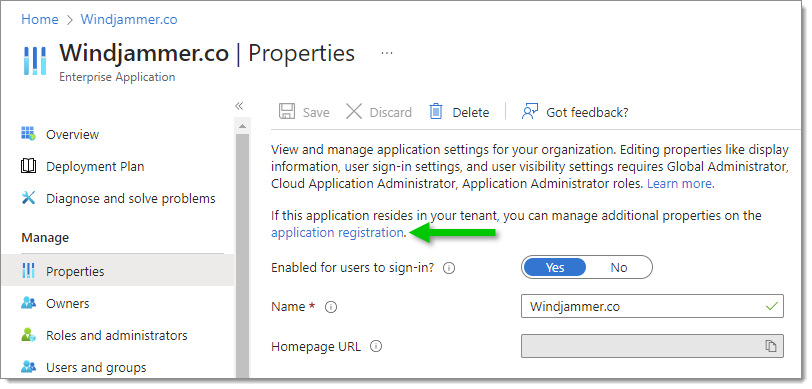
Application registration -
In the left menu, click on Authentication.
-
Click on Add URI and paste the domain in the redirect URI field. Add /auth/callback at the end of the URL and ensure it starts with https://. The end result should look like this:
https://your-app-name.azurewebsites.net/auth/callback.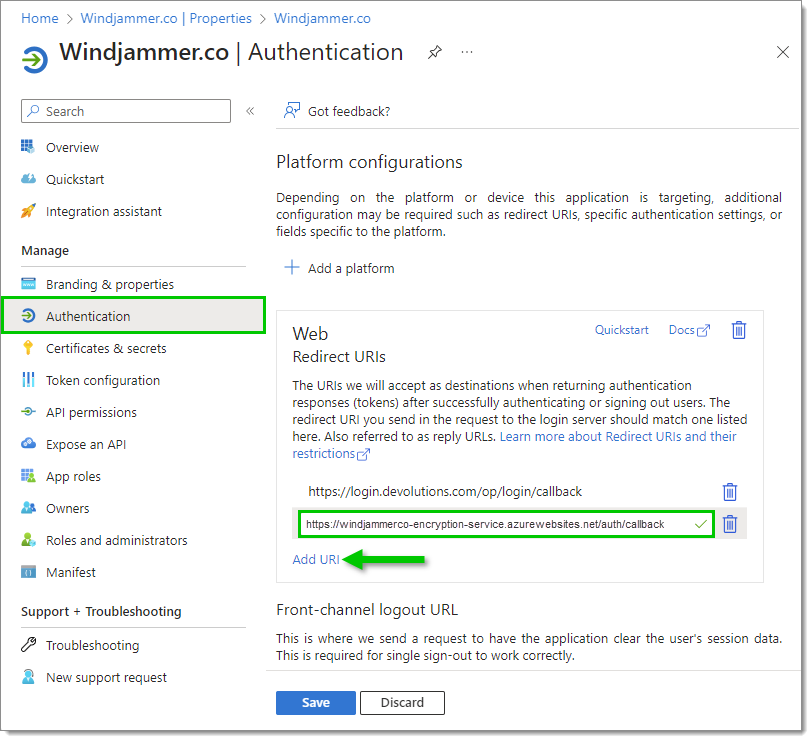
Add URI -
Click Save.
-
-
In Devolutions Hub, go back to Administration – Authentication – Encryption service and enable the encryption service if not already done.
-
Paste your default or custom domain in the Encryption Service URL field, ensure that it starts with https://. The end result should look like this: https://your-app-name.azurewebsites.net. This is where the encryption service will listen for incoming requests. This URL or IP address only needs to be reachable by clients logging in using the encryption service.
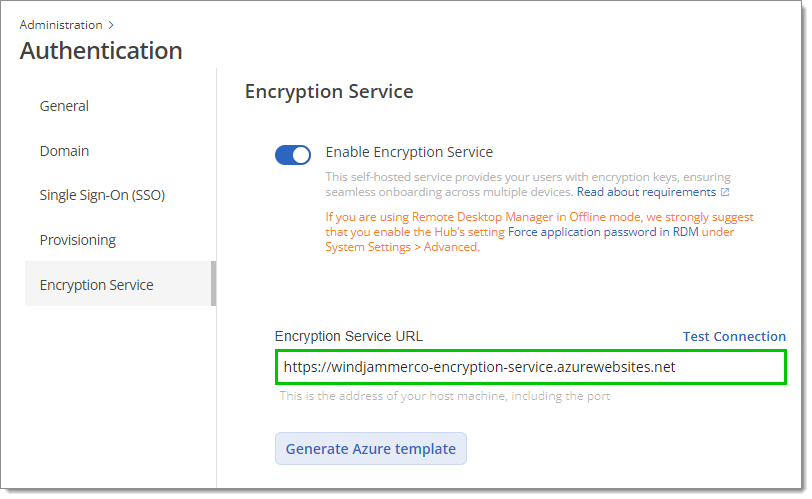
Paste the domain -
Test the connection. If the connection fails, check the validity of the information you have entered and try again. If you are still experiencing connection problems, please contact our help desk technicians at service@devolutions.net.
All users from your SSO provider can now log in and gain access to your Devolutions Hub automatically, bypassing the need for invitations. It is also not necessary for users to have a private key set up to use the Hub. The server operates on a self-hosted basis; it therefore plays a vital role in the infrastructure. Should the server experience downtime or fail to run, users lacking private keys will encounter issues connecting to the Hub.