Send and receive Secure messages with users within your hub. Click the Messages icon next to your avatar to get started. 
To enable this feature, sending messages must be enabled under Administration – Users.
-
Click the Messages icon next to your avatar.

Messages -
Click on New message.
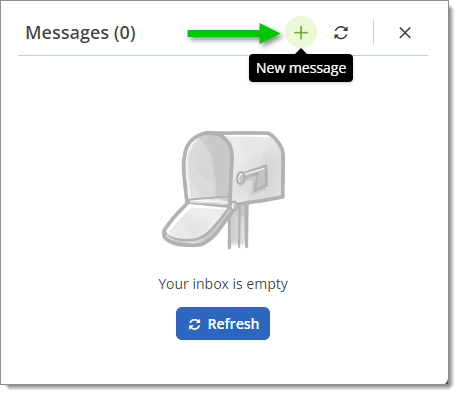
New message -
Select Send in-app.
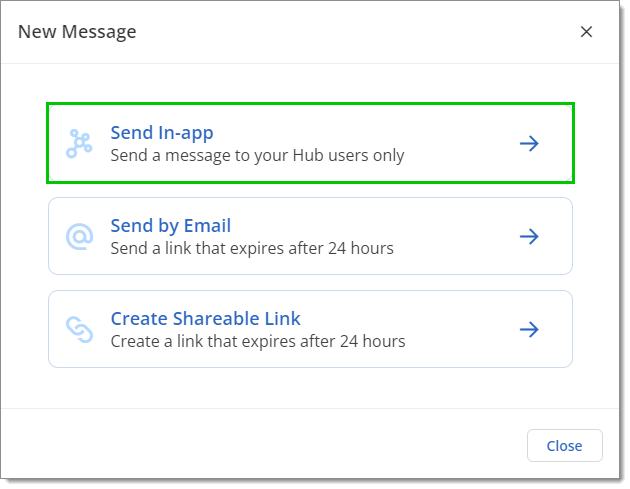
Send In-app To learn about the Send by email and Create shareable link options, visit Devolutions Send.
-
Select at least one recipient from the drop-down menu.
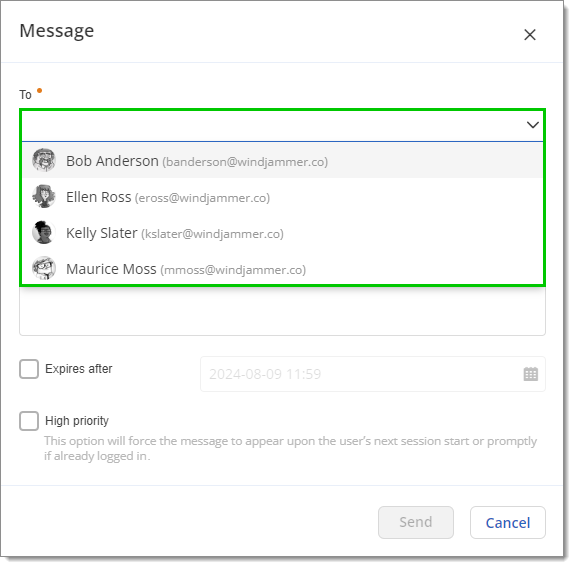
Recipient(s) -
Fill in the Subject and write the body of your Secure message.
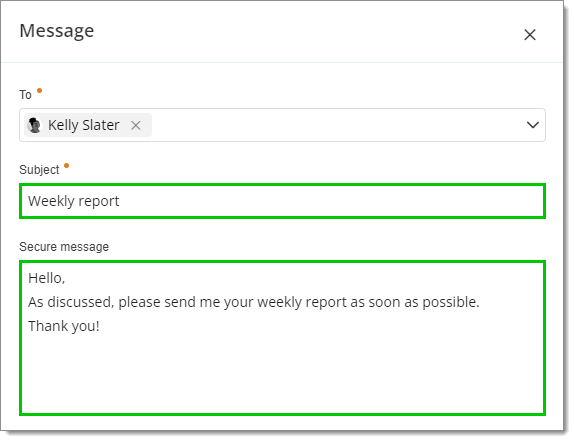
Subject and body text -
Optional:
Expires after: Set a date and time for the message to automatically delete after sending.
High priority: Force the message to appear directly in the web interface upon the user's next session start or promptly if they are already logged in. This feature is especially useful when onboarding new users to your hub.

Expiration and priority -
Click Send to forward the message.
You can send a copy of one of your folders or entries to other users with secure messages. Sending a copy of a folder also sends a copy of the entries it contains. This also applies to entries containing sub entries. Copies of all the attachment(s) will be sent without history or logs.
To enable this feature, ensure that attachments are allowed when sending messages under Administration – Users.
-
Select the folder/entry in your Navigation pane.
-
Click More, then select Send copy.
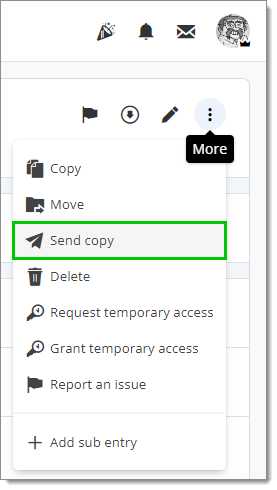
More – Send copy -
Select at least one recipient from the drop-down menu.
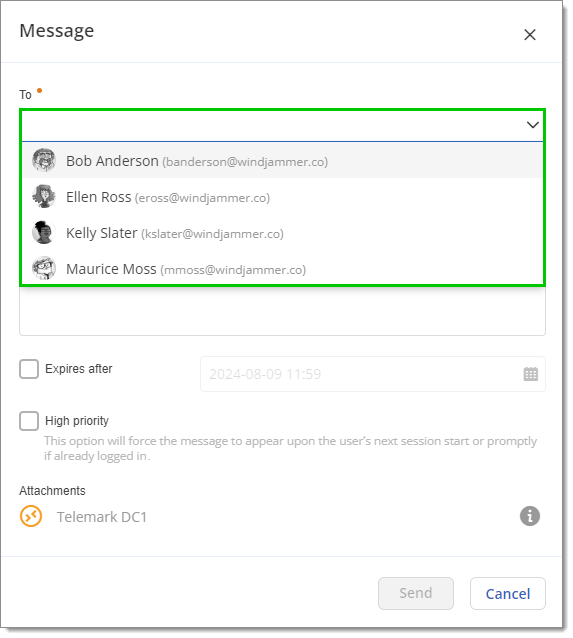
Recipient(s) -
Fill in the Subject and write the body of your Secure message.
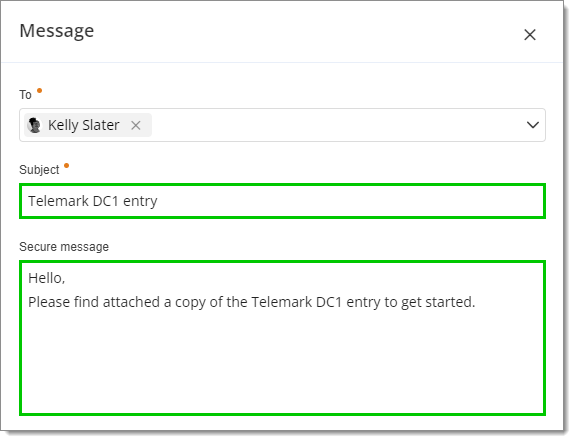
Subject and body text -
Optional:
Expires after: Set a date and time for the message to automatically delete after sending.
High priority: Force the message to appear directly in the web interface upon the user's next session start or promptly if they are already logged in. This feature is especially useful when onboarding new users to your hub.

Expiration and priority -
Click Send to forward the message. A copy of the attachment(s) will be sent without history or logs.
If the secure message was flagged as High priority, it will appear directly in the web interface upon the user's next session start or promptly if they are already logged in. If not, a blue dot will appear on the message icon to signify the user has unread messages.
-
Click on the Messages button.
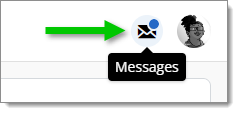
Messages -
Click on the new message in the inbox. Unread messages have a blue tint.
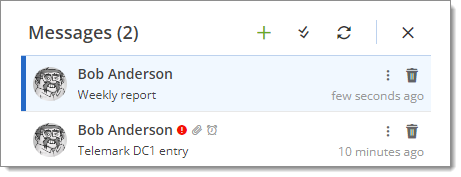
New messages
This is what the message interface looks like:
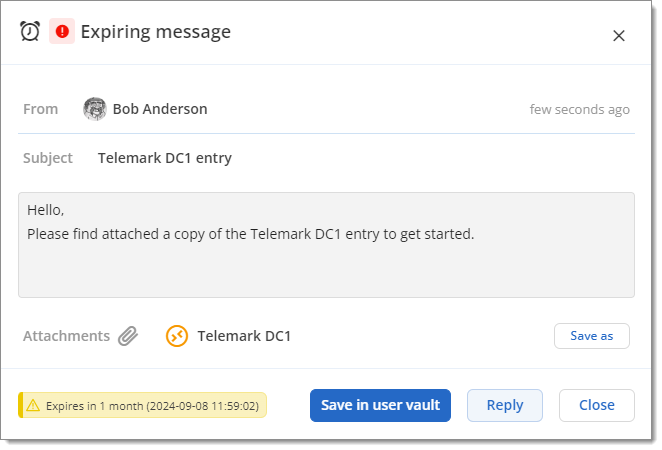
When viewing a message, the recipient sees the following information:
The sender's name.
The subject and body text of the message.
The time the message was sent and, if applicable, its expiration time.
The name of any attachments.
The user has access to the following actions:
Reply: Opens a window to reply to the currently viewed message.
Close: Closes the currently open message window without deleting it. The message will be marked as read.
Save in user vault: Automatically saves all attachments in the recipient's user vault. This action is available only if the message includes attachments.
Save as: Opens a window allowing the recipient to specify the location for saving the attachments within the Devolutions Hub. This action is available only if the message includes attachments.