In the Users section, you can manage users and user settings.
Learn how to add users or add an administrator.
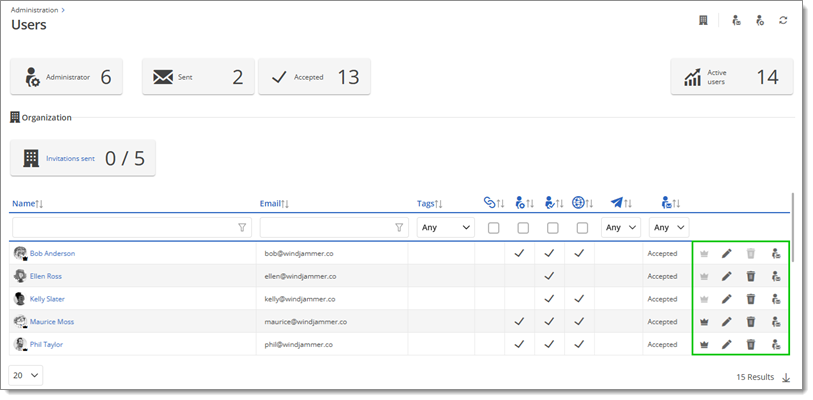
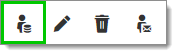
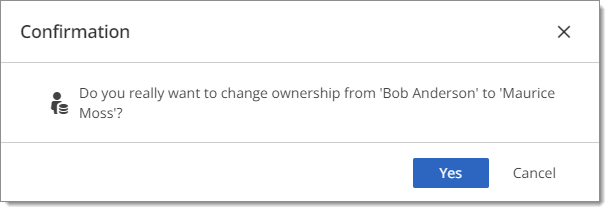
If you click on the Set as owner icon, you will be asked if you really want to change ownership from the current owner to this user. Click Yes to confirm.
The owner has a crown icon next to their name and cannot be deleted.

For security reasons, only current administrators can be set as owners. It is also recommended to minimize the number of administrator accounts, and assign standard user privileges to all other accounts.

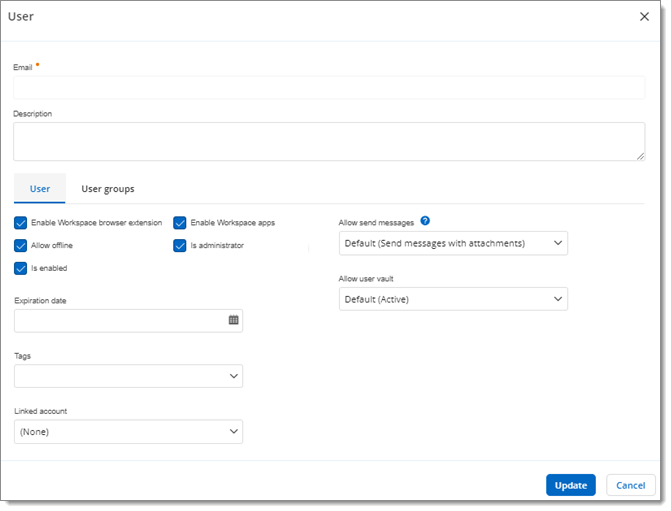
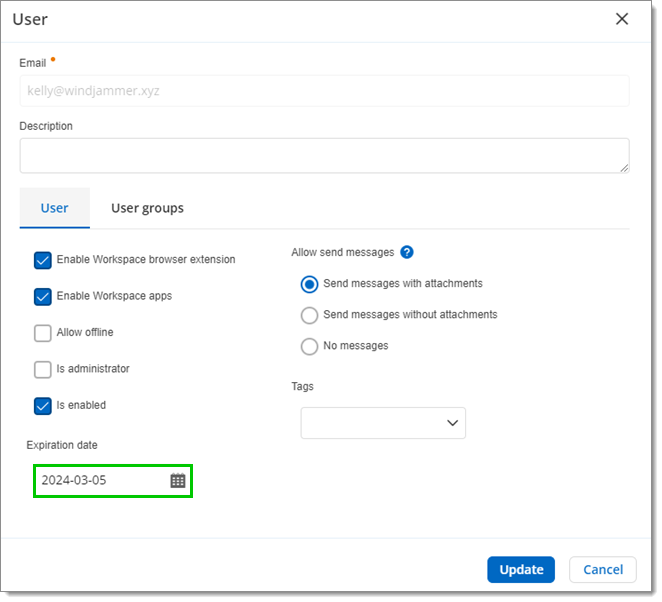
When editing a user, you can add a short description of the user, their roles and responsibilities, etc. You can also change some of what they are able to do within the hub.
In the User groups tab, you can assign them to one or more user groups with defined permissions and access.
| OPTION | DESCRIPTION |
|---|---|
| Enable Workspace browser extension | Allows the user to use the hub with Workspace browser extension. |
| Enable the Workspace apps | Allows the user to use the hub with Workspace appscompanion tool. |
| Allow offline | Allows the user to use the hub as a data source in offline mode in Remote Desktop Manager. |
| Is administrator | Sets the user as an administrator of the hub. This option cannot be changed if the user is the owner of the hub (as seen in the image above). |
| Is enabled | Enables the user in the hub. |
| Allow send messages | Select if the user is allowed to send messages with attachments, without attachments, or is not allowed to send messages. |
| Allow user vault | Select to enable and disable user vaults both globally and on a per-user basis. |
| Tags | External and Privileged tags can be added when creating or editing users. They are useful for temporary users, although contractors have a special, mandatory tag just for them. Tags appear in the Account menu under User information and are displayed in Devolutions Hub data sources in Remote Desktop Manager. |
| Expiration date | Set an expiration date for the user. Mandatory for contractor users. |
| Linked account | Link another account under the same user. |
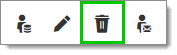
If you click on the Delete icon, you will be asked if you really want to delete this user from this hub. Click Delete to confirm.
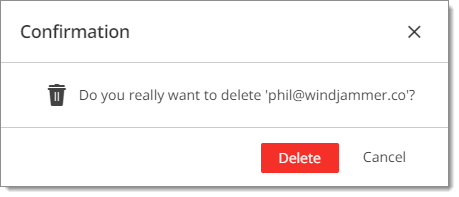
For security reasons, it is not possible to delete yourself nor the owner of the hub.
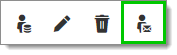
As soon as you click on this icon, the user is sent a new invitation email. They then have to open the hub via this invitation.
You can determine in advance when a user account should no longer be used. This is particularly useful for external and privileged users such as contractors.
Select the user.
Choose an expiration date.
A warning message is displayed to the user if the account expires in less than 24 hours.
Click Update to save.
Devolutions Academy - Managing System Permissions and Users (Remote Desktop Manager)
Devolutions Academy – Managing users, user groups, and system permissions (Devolutions Hub)