The administrator can Invite Users to log in with single sign-on (SSO), which is a way to identify a user with a single identifier, to Devolutions Hub Business. The end user invitation experience is different with SSO, as the email the user receives asks them to use the “Sign in with Microsoft“ option to log in. If this is the case, please refer to End User Invitation Experience for SSO.
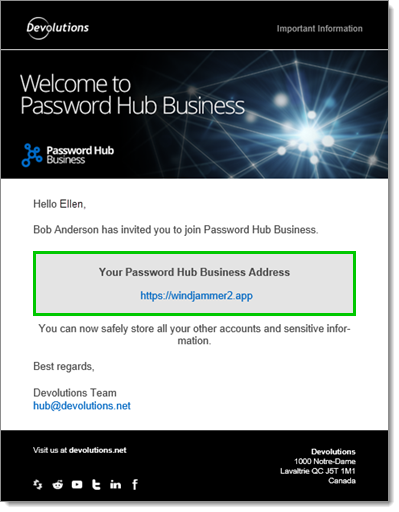
Users that are invited to join Devolutions Hub Business by an administrator receive an invitation email. This email varies depending on whether or not the user has a Devolutions Account and on the settings of the administrator who sent the invitation. To learn how to invite users, visit Create and invite users.
For information regarding the user's first login to Devolutions Hub Business, visit one of the sections below based on the user's situation.
To skip the login instructions and go straight to essential features of Devolutions Hub Business, go to the First Steps in Devolutions Hub Business section.
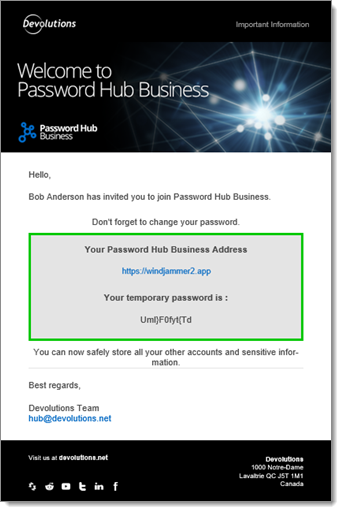
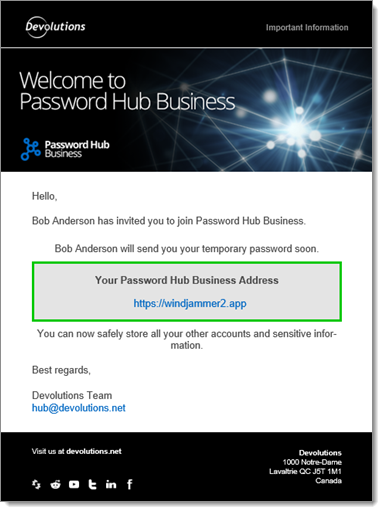
If the user does not have a Devolutions Account, they will need a Temporary Password to access Devolutions Hub Business. The administrator who invited the user may include this password in the invitation email or not.
If the temporary password is included, the user receives an invitation email with a link to Devolutions Hub Business with their temporary password.
If the temporary password is not included, the user receives an invitation email with a link to Devolutions Hub Business and a notice that the administrator will soon forward them the temporary password.
Once the users have received their temporary password, they are ready to connect to Devolutions Hub Business.
-
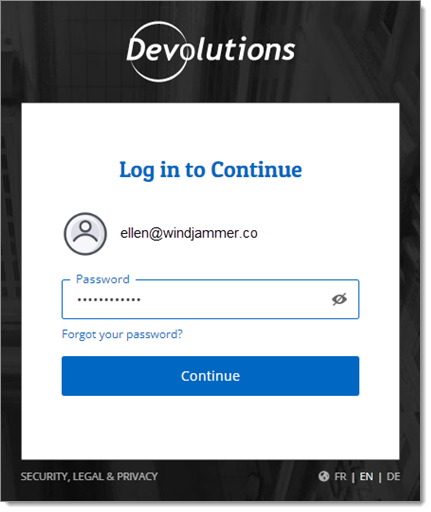
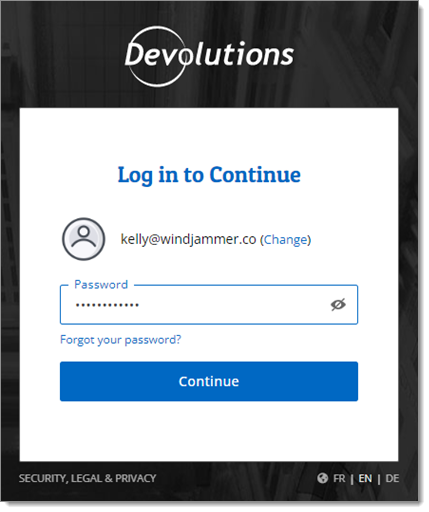
Access the Devolutions Hub Business URL link.
-
Enter the temporary password, then click on Continue.
-
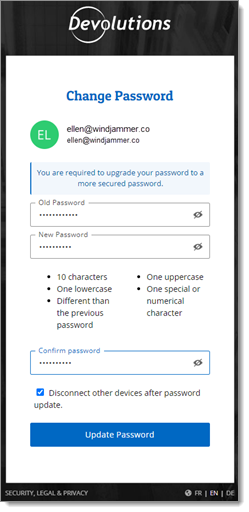
Create a new password for the account by following the password restrictions, then click on Update Password.
Now that you have access to Devolutions Hub Business, you can skip to the First Steps in Devolutions Hub Business section.
If the user already has a Devolutions Account, they receive an invitation email with a link to Devolutions Hub Business.
-
Access the Devolutions Hub Business URL link.
-
Enter your Devolutions Account credentials, then click on Continue.
Now that you have access to Devolutions Hub Business, you can continue to the following section.
After logging in, Devolutions Hub Business opens on the Vault tab. In this view, it is possible to interact with the vaults and entries you have access to. You can change vault using the vault selector menu at the top.
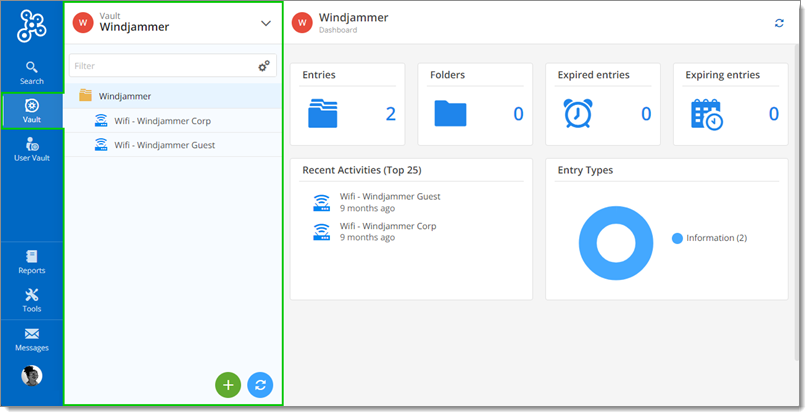
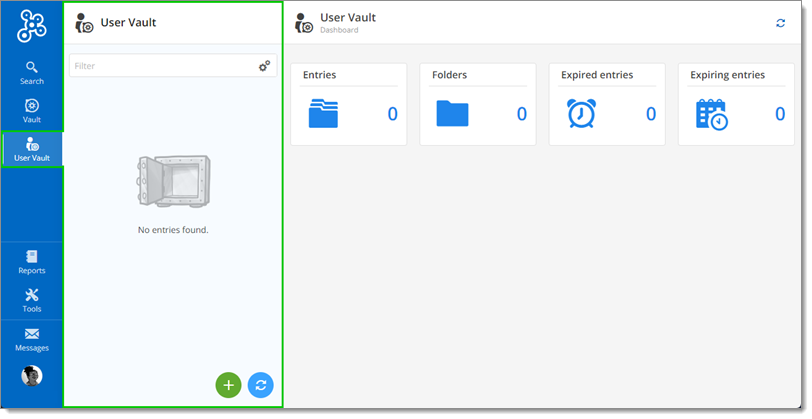
You can also access your user vault, which is user centric and is used to store information such as personal account credentials, by clicking on the User vault tab in the side menu.
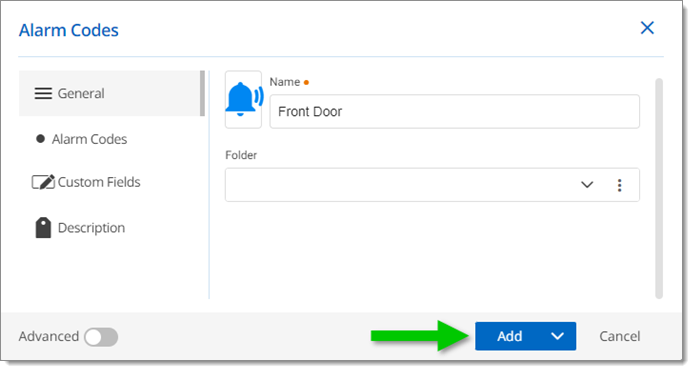
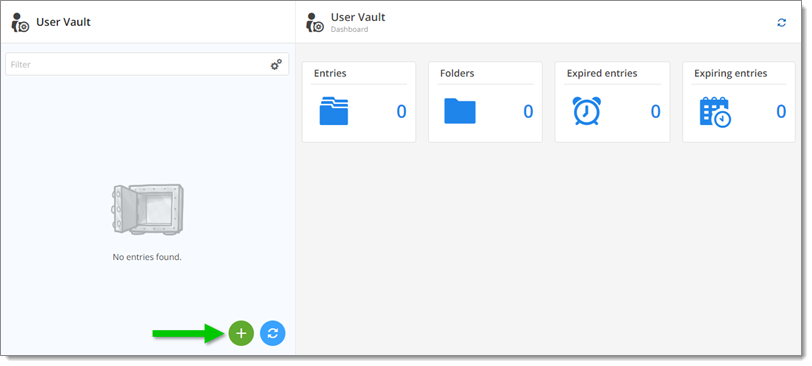
The Workspace browser extension is our web browser password plugin. It is the preferred client to use in conjunction with Devolutions Hub Business to create and manage website credentials entries. Visit Add a website entry in Devolutions Hub Business with the Workspace browser extension for steps on how to add a website entry with the Workspace browser extension, or visit Create entries manually for how to create them directly within Devolutions Hub Business. You can also follow the steps below to manually create an entry in your user vault:
-
Select the folder where you want to create the new entry, if applicable. If not, skip this first step.
-
Click on the Add button located in the navigation pane.
-
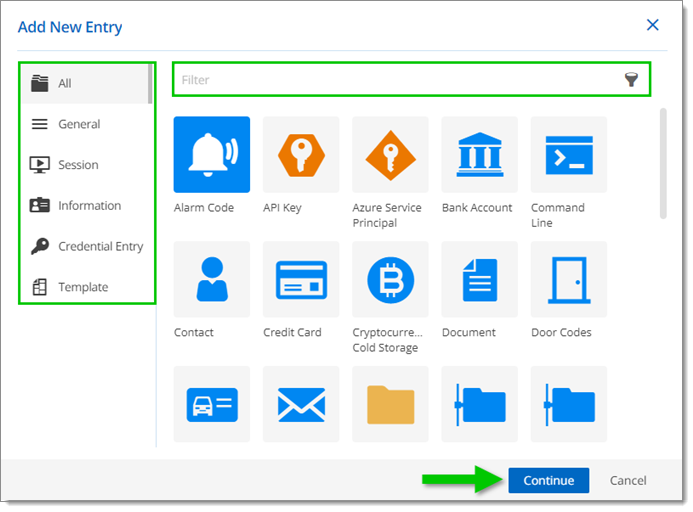
Select the type of entry you wish to create. You can search by categories with the side menu or apply a filter with the search bar. Click on Continue when your entry type is selected.
To learn more about entry types, visit Entry Type.
-
Fill out the relevant information for the type of entry you selected, then click on Add.