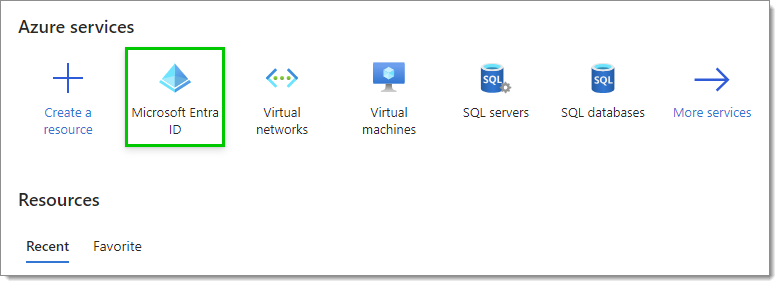
Select Microsoft Entra ID (formerly Azure Active Directory) in the Azure Services section. If you do not see it, click on More services to make other services appear.
Microsoft Entra ID service
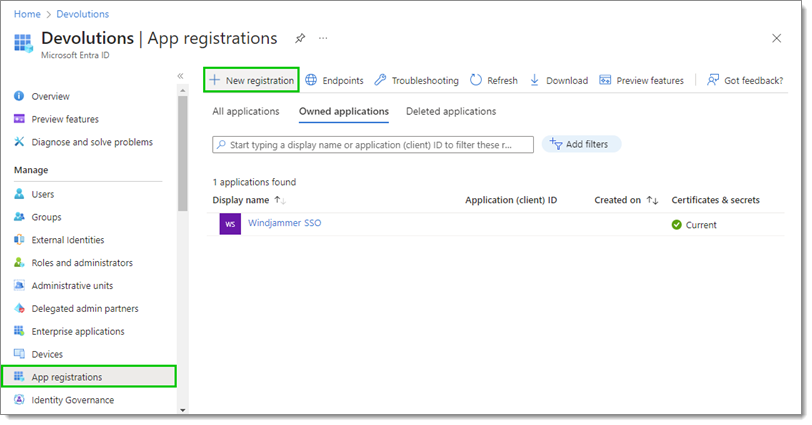
In App registrations, click on New registration.
App registrations – New registration
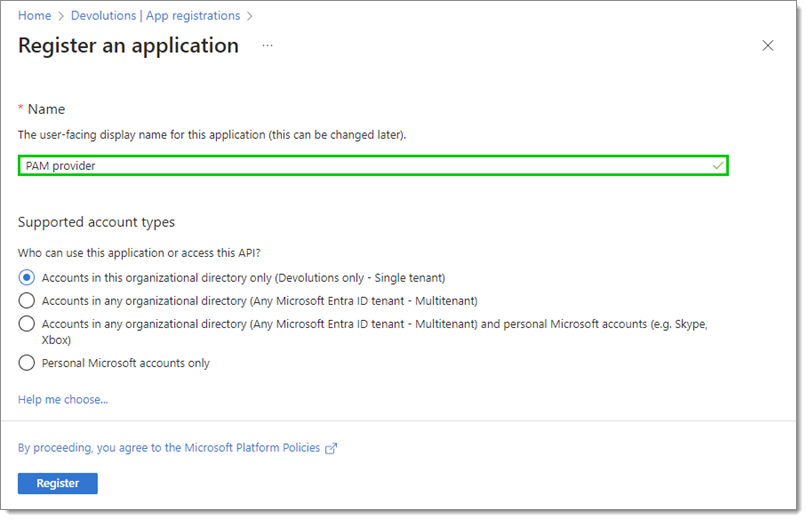
Set the Name of the new registration.
Name
Click Register at the bottom when done. You will be presented with an overview of your application.
Locate the Application (client) ID and Directory (tenant) ID. You will need this information in later steps, so do not close this window.
Application (client) ID and Directory (tenant) ID
In Devolutions Hub Business
Connect to your hub.
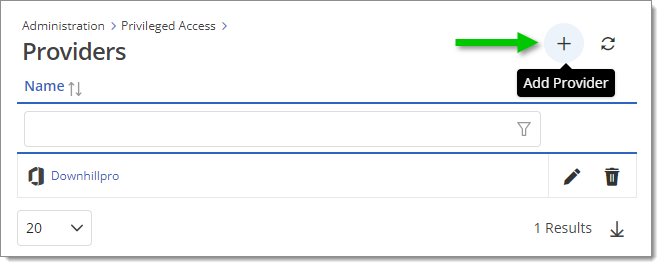
Go to Administration – Privileged Access – Providers.
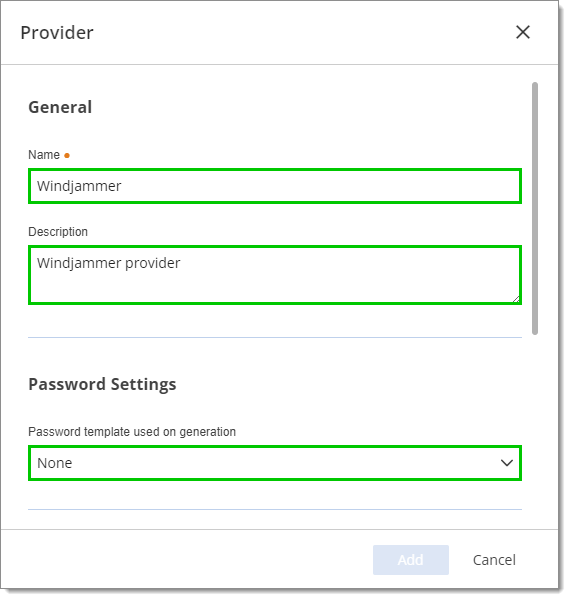
Enter a Name (mandatory) for your provider. Optionally, enter a Description and select a Password template.
Name, Description, and Password template
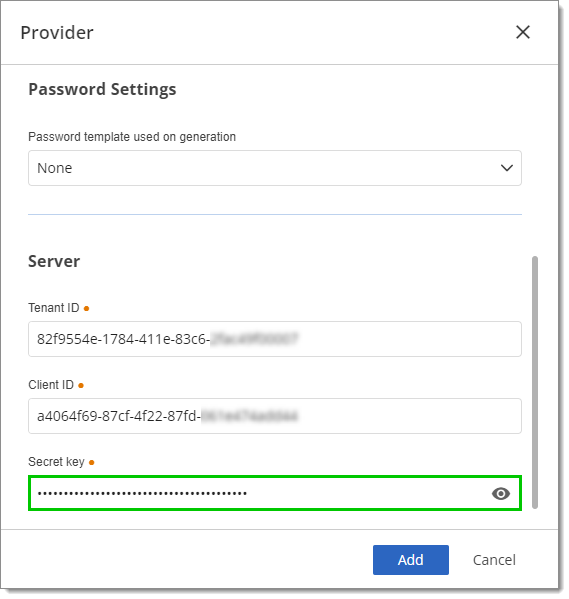
Enter the Tenant ID and Client ID that you previously located in the Overview page of the enterprise application in your Azure Portal.
Tenant ID and Client ID
Do not close the provider settings window as you still need to enter the Secret key. Follow the steps below to create a client secret.
Create a client secret
In the Azure Portal
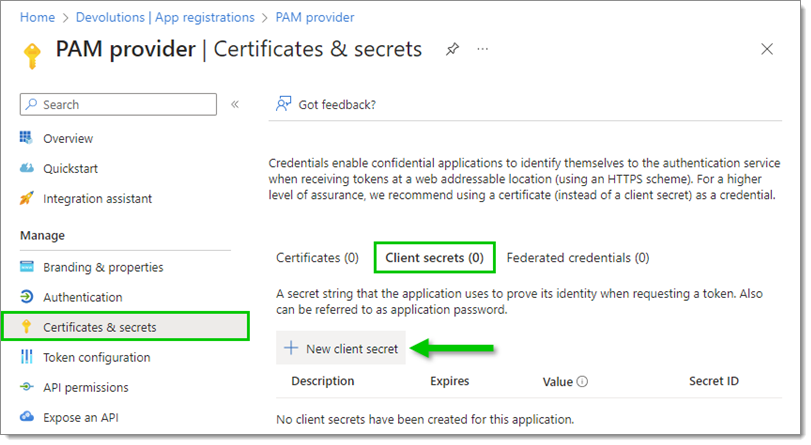
In Certificates & secrets, select Client secrets, then click on New client secret.
New client secret
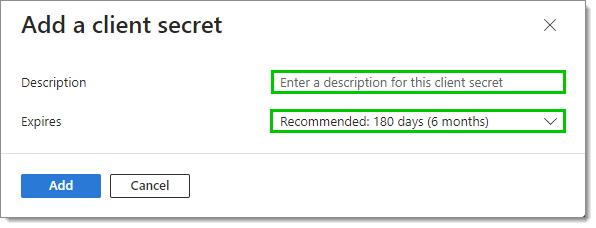
Enter a Description and set an expiry date (or use the recommended one).
Add a client secret
Click Add.
Copy the Value of your new client secret (not the Secret ID).
Client secret value
In Devolutions Hub Business
Paste the client secret Value in the Secret key field.
Secret key
Click Add.
Your new provider has now been added to the list of Providers.
Set API permissions
In the Azure Portal
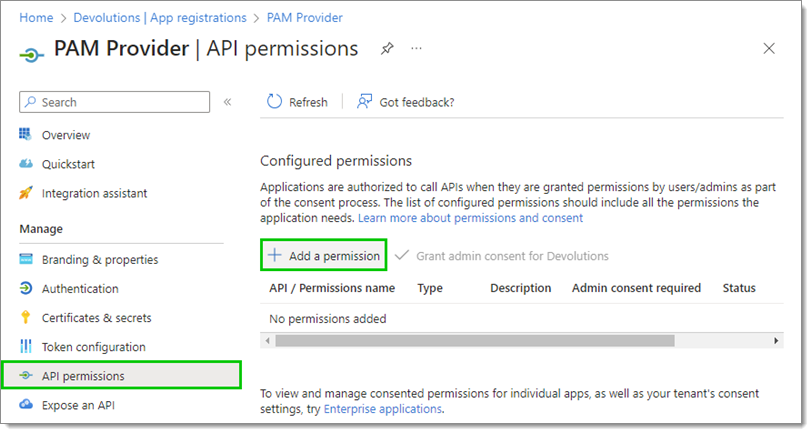
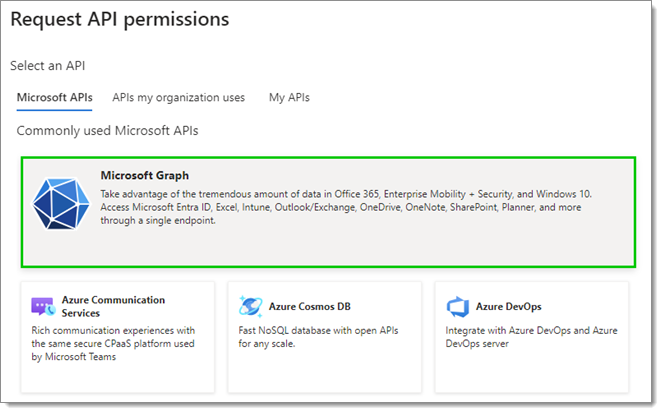
In your recently created application page, go to API permissions and click on Add a permission.
Add a permission
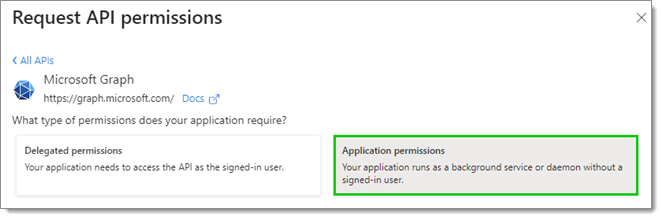
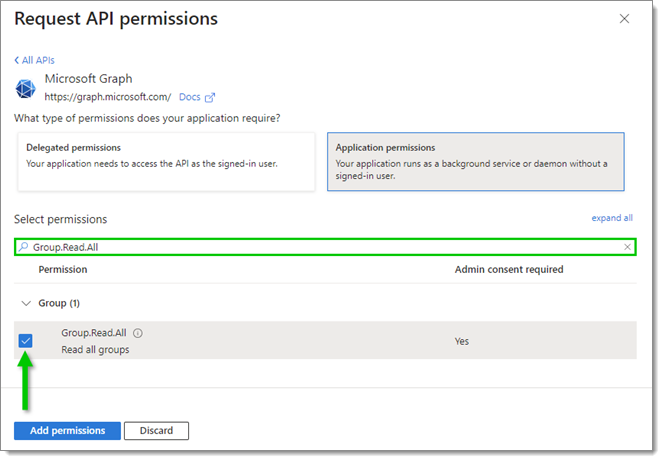
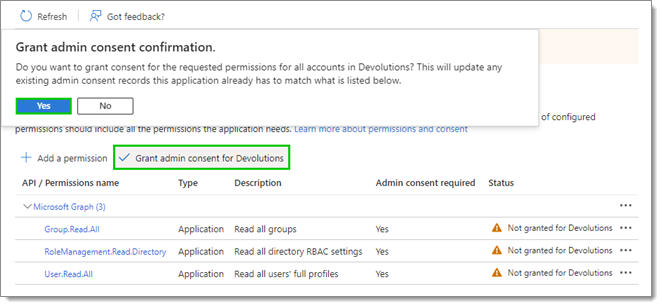
Locate and check the boxes next to the following Microsoft Graph API permissions:
Group.Read.All
RoleManagement.Read.Directory
User.Read.All
Select permissions
Click on Add permissions at the bottom.
Click on Grant admin consent for [your organization], then confirm by clicking Yes.
Grant admin consent
The Status next to each permission should now be updated.
Enable the application to rotate passwords
In the Azure Portal
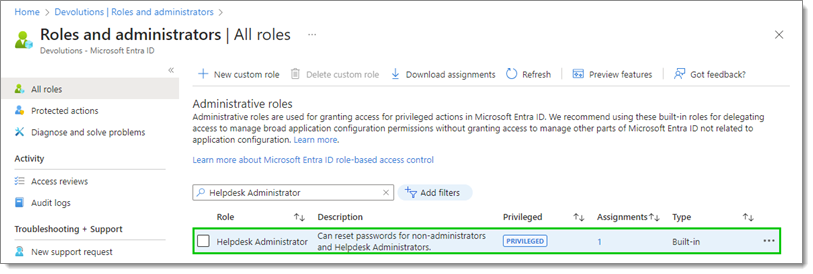
Go back to Microsoft Entra ID, then go to Roles and administrators in the left menu.
Make sure to go back to the main overview of Microsoft Entra ID. If you go to Roles and administrators while in the overview of your app registration or enterprise application, for example, you will only have access to administrative roles that are available for that section.
In All roles, search for the Helpdesk Administrator role. If the accounts managed by the PAM module are members of any administrator roles or groups, then also search for the Privileged Authentication Administrator role and complete the next steps for both roles.
Click on the name of the role (do not check the box).
Roles and administrators
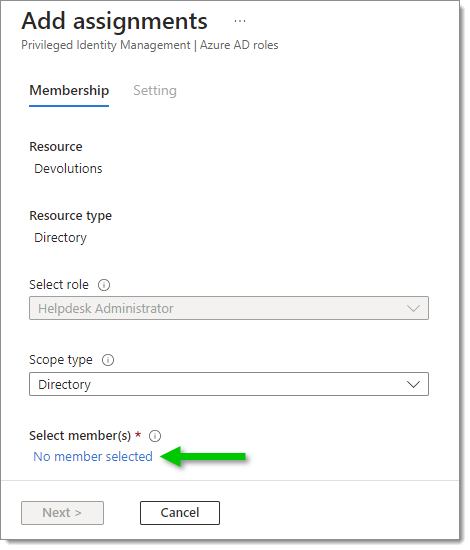
Click on Add assignments.
Add assignments
Click on No member selected.
No member selected
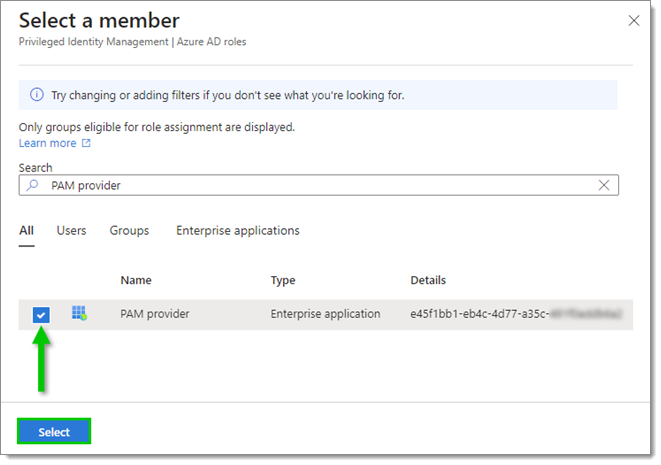
Search through the list to find the application.
Check the box next to the application, then click Select.
Select the application
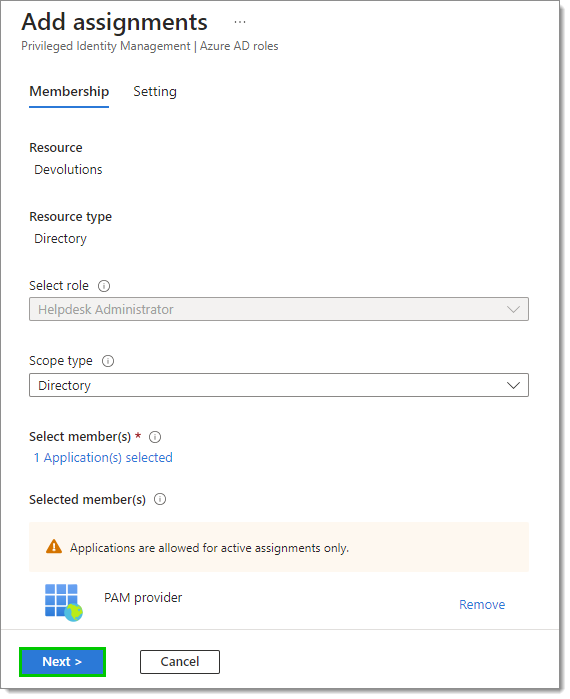
Click Next.
Next
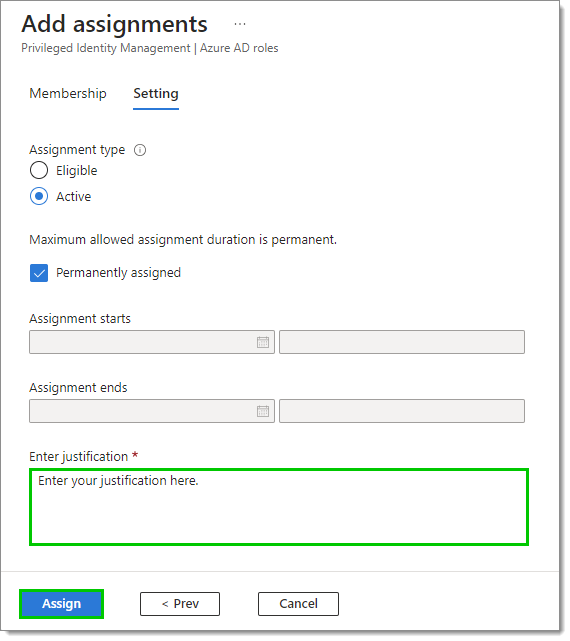
Enter a justification for the assignment, then click Assign.
Enter justification and Assign
Your application has now been added to the list.
If the accounts managed by the PAM module are members of any administrator roles or groups, remember to complete the above steps with the Privileged Authentication Administrator role as well.