The Temporary access feature allows users to request a temporary elevation of their permissions for a specific entry. The approver must then approve or deny the request.
If a temporary access request was made in Remote Desktop Manager from a Devolutions Hub database, the authorization process must be performed in Devolutions Hub. See Approve temporary access to an entry in Devolutions Hub Business.
When using Devolutions Server, Microsoft SQL Server, or Microsoft Azure SQL data sources, you must first enable temporary access in Remote Desktop Manager.
To view all your past and current requests, use the following Pending access requests box to open the Temporary access requests window.


In the Temporary access requests window, you can see all your temporary access requests and sort them by Status, Username, Data source user, Entry, Action, Requested on, Requested duration, Requested start time, Requested end time, Authorized duration, Authorized start time, Authorized end time, Authorizer username, and Authorizer data source user.
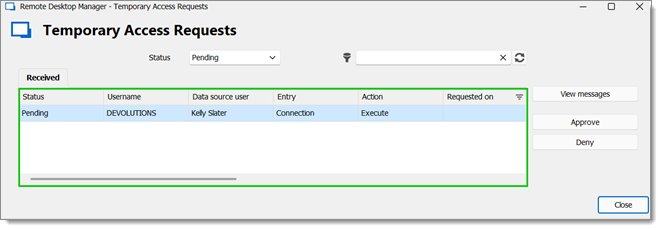

It is also possible to only display certain requests with the Status drop-down menu or with the filter bar at the top.
Using View messages, you can view the Request message and the Authorization message of a specific request.
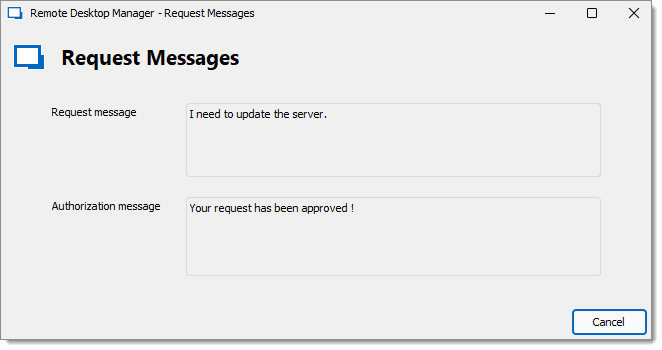
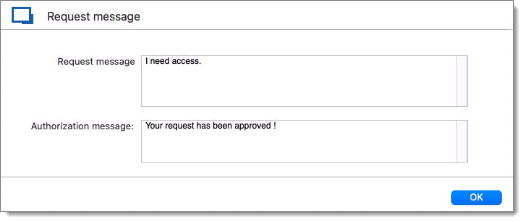
Using View messages, you can view the Request message and the Authorization message of a specific request by clicking on the eye icon.
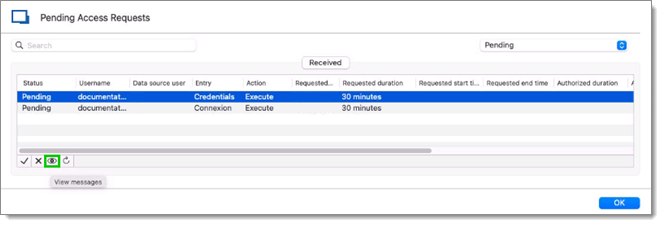
The Request message window opens.
Finally, clicking on Approve or Deny opens the Temporary access response window, which is detailed in the next section.
The temporary access duration begins when the request is approved.
To respond to a request, you need to open the Temporary access response window. There are two ways to access it.
The first option is to use the Pending access requests box (see image below) in the Overview tab of your Dashboard. Clicking on either the green check mark (approve the request) or the red "X" (deny the request) next to a request will open the Temporary access response window.


The second option requires you to go through the other Pending access requests box described in the previous section. Whatever way you choose to access the response window, the result will be the same.
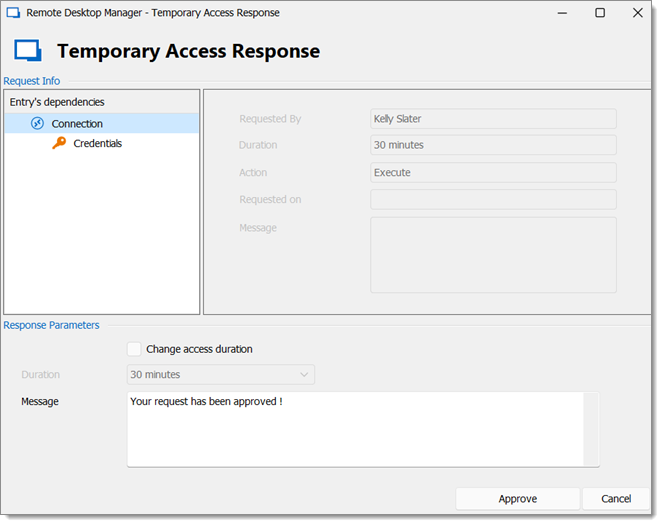
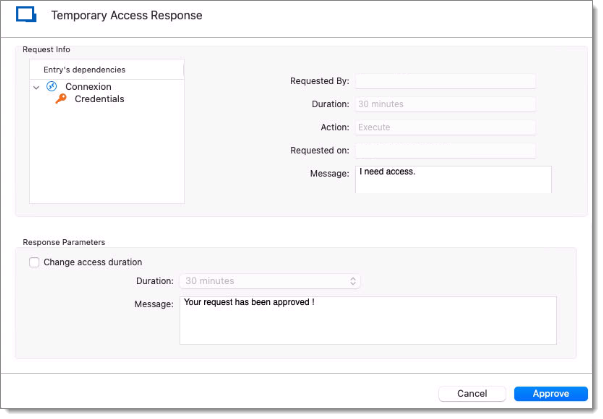
This view is divided into two sections:
The Request info section contains information about the user's request. Because this was done on the user's side, fields in this section cannot be edited. Entry's dependencies, such as credentials and linked VPNs, are listed on the left menu.
The Response parameters section allows you to change the temporary access duration specified by the user. It is also possible to write a message to the user explaining your decision, but it remains optional.
Clicking on Approve or Deny will approve or deny the request, depending on what you selected earlier. A confirmation window will pop up which you can make disappear by clicking on OK.
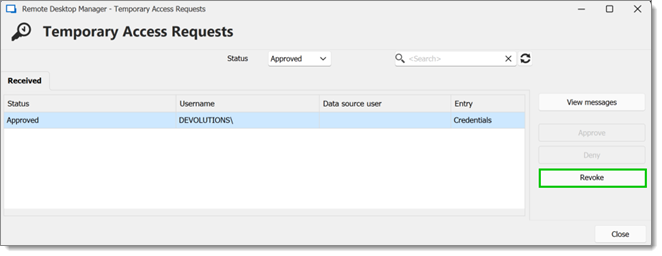
After the approbation, for any reason, you may revoke the user's temporary access by clicking on Approved access requests in the dashboard. Be sure you want to do this first, since to regain access to the entry, they will need to make another request. Otherwise, their access will end within the set time frame.
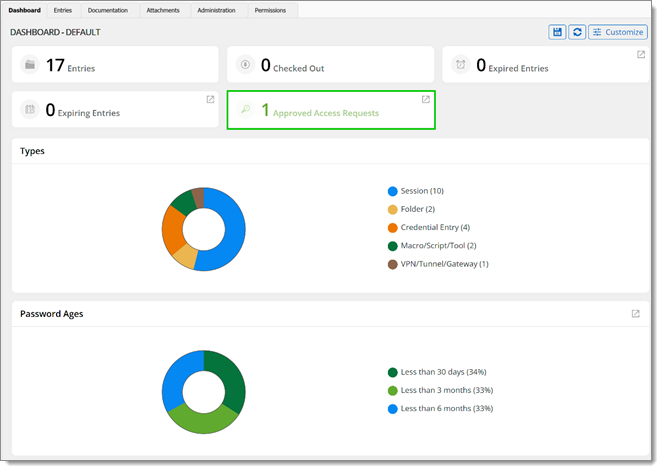

Click Revoke.

To learn more about the end user experience in Remote Desktop Manager, visit Request temporary access to an entry in Remote Desktop Manager.