User groups in Remote Desktop Manager manage multiple users at the same time by grouping them. The management of permissions granted to user groups is quite similar to the corresponding notions for users, but instead of a single user, they apply to all users to which you have assigned the user groups.
This feature is only available with an advanced data source.
User groups in Devolutions Server are in fact links to Active Directory groups. By leveraging Active Directory integration you can easily define access rights for all domain users in your organization. Once a domain user log in the Devolutions Server data source, their user account will be created if needed and users rights will be controlled by the defined groups.
Please note that the Unsecured group permissions (the ones above the grid) are ignored. You must set them on each user individually.
For more information please see Devolutions Server user groups management.
User Groups in Remote Desktop Manager are mainly used to group users. You can assign multiple user groups to each user. The end result is the union of all permissions given to the user groups.
To create a user groups, in the User and security management window, click the Add user group button in the User groups section. From the same menu, you can also edit, assign users, delete, or refresh. 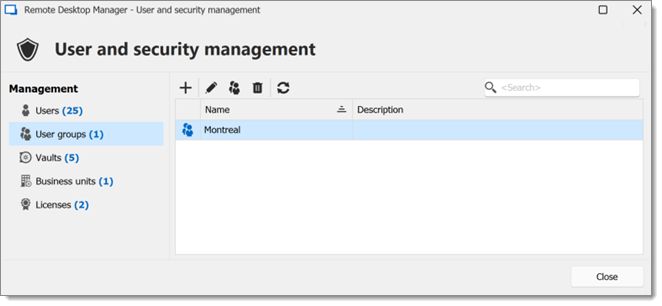
User groups in Remote Desktop Manager macOS are simply permission sets that you assign to a user. You can assign multiple user groups to each user and the end result is the union of all permissions.
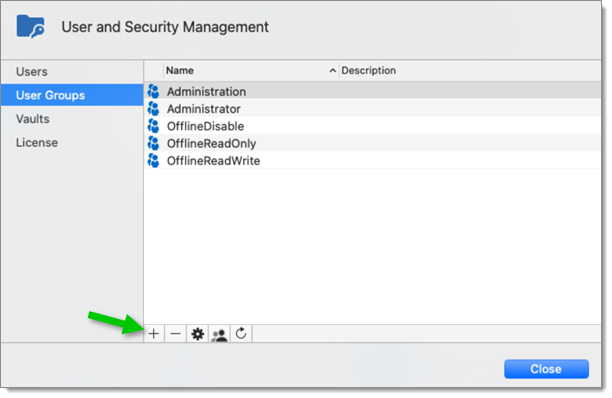
Create a new user groups in Administration – User groups and click on the plus to create a new one.
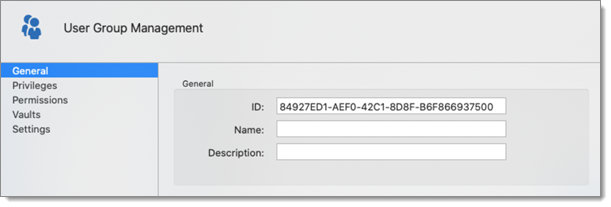
The General side menu is used to define general information about the new user group.
| OPTION | DESCRIPTION |
|---|---|
| Login | The login name is the name displayed in your user groups list. |
| Description | Enter a short description of your new user group. |
The Privileges side menu lets you add particular privileges to the user groups. These privileges needs to be enabled for certain features to be available to users like the rights to import or export sessions.
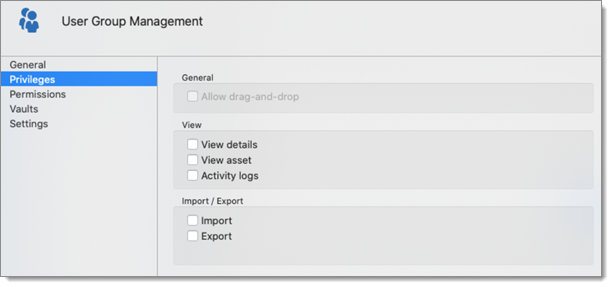
| OPTION | DESCRIPTION |
|---|---|
| Allow reveal password | Allows the user to use the Reveal Password command. |
| Allow drag-and-drop | Allows the user to move the sessions using drag-and-drop from other applications. |
| View details | Allows the user to see the content of the Details tab for all sessions. |
| View information | Allows the user to see the content of the Information tab for all sessions. |
| View shared logs | Allows the user to see the content of the logs that applies to a session. |
| Import | Allows the user to import sessions. The import menu (File – Import) and the import feature in the context menu will be grayed out if the option is not active. |
| Export | Allows the user to export sessions. The export menu (File – Export) and the export feature in the context menu will be grayed out if the option is not active. |
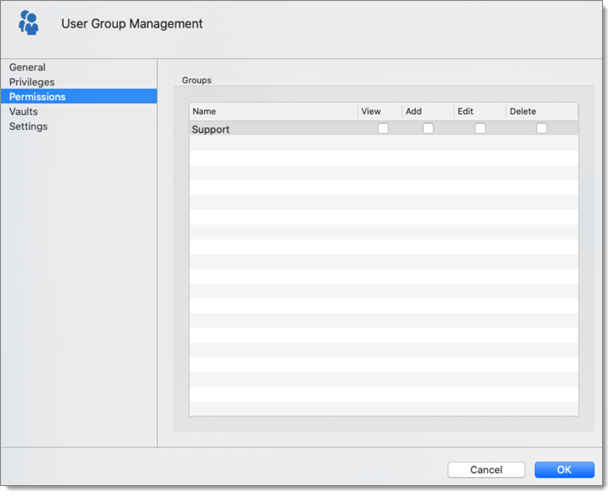
Use the Permissions side menu to assign the View, Add, Edit, and Delete permissions to your user groups.
The Settings side menu lets you define the offline mode rights for your user groups.

| OPTION | DESCRIPTION |
|---|---|
| Disabled | No offline cache allowed for that user group. |
| Read-only | A read-only cache is allowed for advanced data sources. |
| Read/Write | An advanced cache, with change synchronization, is allowed for advanced data sources. |
To assign user group to a user or to manage user groups for a user go in Administration – User groups and click on Assign user groups.
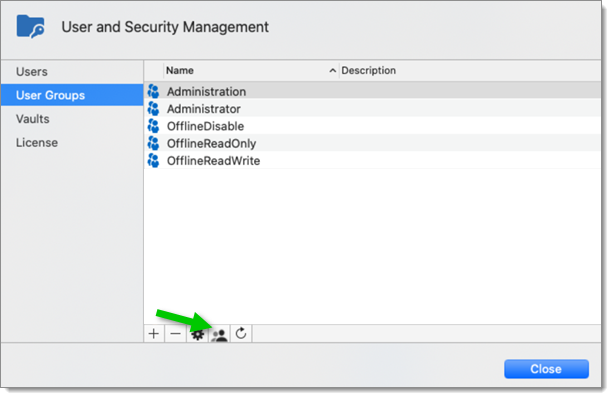
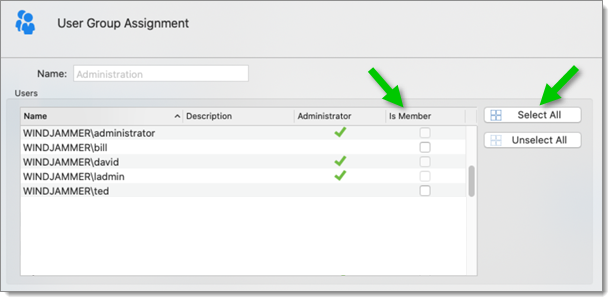
It is possible to assign a user group to multiple users at the same time. Select the users you wish to apply the selected user group or you can simply click Select all or Unselect all.
