You can configure an MMC snap-in console to run on any of your servers. The snap-in needs to support remote access.
-
Open Remote Desktop Manager.
-
Create a new entry.
-
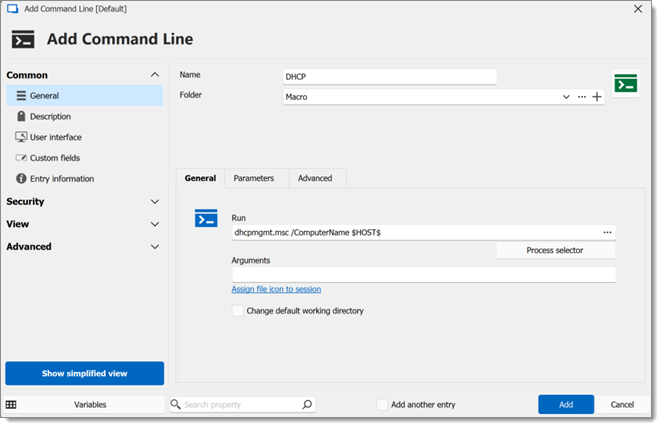
In Macros/Scripts/Tools, select the Command Line entry type.
-
Name the session DHCP.
-
Under the General tab, in the Run field, type dhcpmgmt.msc /ComputerName $HOST$ ($HOST$ is the variable that will be replaced by the server name or IP address).
-
Under the Advanced tab, enable Run as Administrator.
If you are running a Windows 64-bit edition, enable Run in 64-bit mode as well.
-
Click Add to save your entry.
-
Verify that your sessions use the appropriate credentials to run the tool. In the Management Tools – Tools section of each session, make sure you have selected the proper credentials to be supplied.
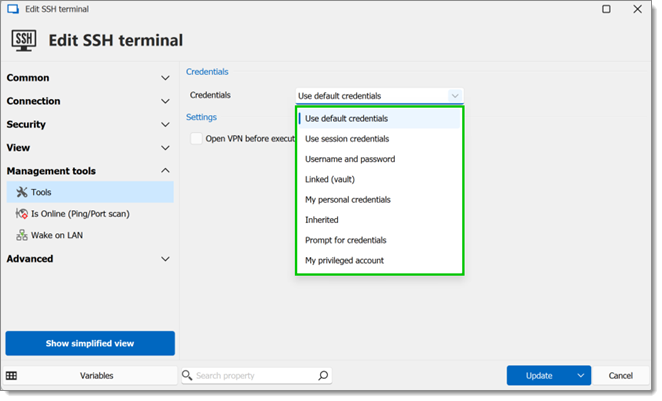
Option Description Use default credentials Use the credentials from the Windows session. Use session credentials Use the same credentials as the session. Username and password Username, domain and password can be entered manually. Linked (vault) Specify a set of credentials from a specific vault. My personal credentials Use My Personal Credentials set in File – My account settings. Inherited Inherits credentials from a higher level entry. Prompt for credentials Prompts for the credentials on use. My privileged account Use My Privileged Account set in File – My account settings.
-
To run snap-ins, select your session and execute the Command Line entry type (DHCP) from the dashboard under Macros/Scripts/Tools.
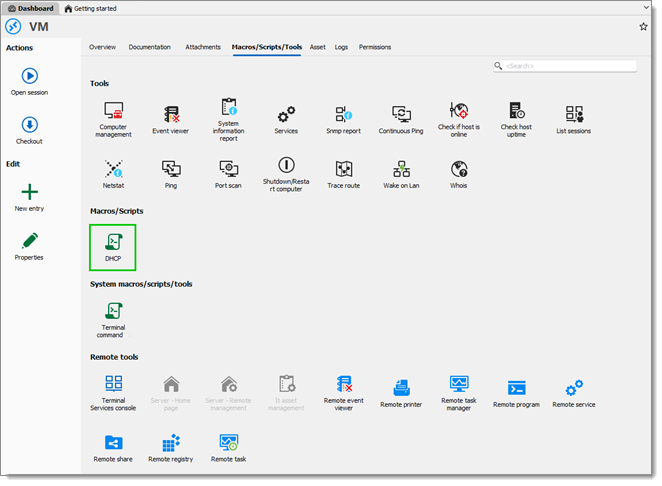
Execute the Command Line entry type (DHCP) from the dashboard under Macros/Scripts/Tools -
Execute Windows run.
-
Type Microsoft Management Console (MMC) and press enter.
-
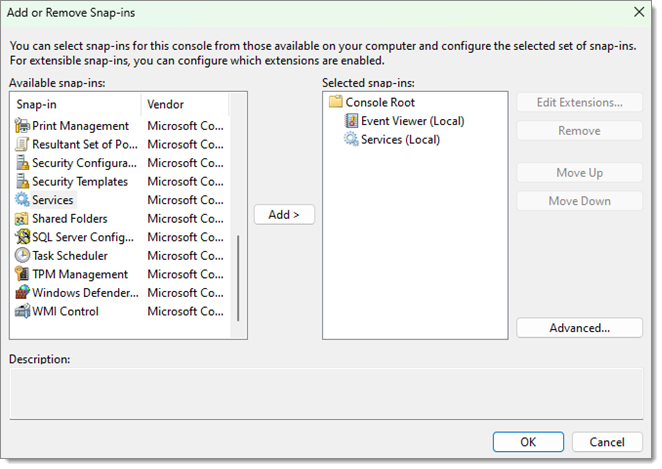
Go to File - Add/Remove Snap-in.
-
Select the snap-ins and click OK.