For security, usability, and efficiency reasons, multiple data sources are tagged as deprecated in Remote Desktop Manager.
Here are the steps to follow when copying data from one data source to another. The migration is an export of your original data source followed by an import in the new destination data source.
If you are using a self-managed RDBMS such as an SQL Server, you can use their management tools to move the database to another server. Please follow Microsoft's documentation on how to successfully transfer not only that data, but also the user accounts.
Select the data source you wish to export.
If your data source contains multiple vaults, you must export each vault separately or use the Export all vaults (.rdx) option in the Administration tab.
-
Select File – Export – Export vault (.rdm).
-
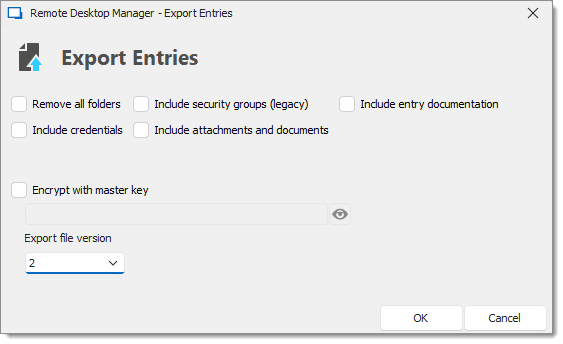
For a typical migration, enable the following options:
Include credentials: includes the credentials stored in your entries. If disabled, entries will be imported without any credentials.
Include attachments and documents: includes all attachments and documents stored in your entries. If disabled, entries will be imported without any attachment or document.
Encrypt with master key: adds a layer of security by prompting for a master key when opening the file. Ensure that you do not forget the master key as you will not be able to decrypt the data without it.
-
Save the file.
-
Validate that your new data source is created and selected in the navigation pane.
-
Select File – Import – Import (.rdm).
-
Find your previously saved file on your computer, select it, then click Open.
-
In Import entries, select if you wish to Import in root, Import in current folder, or Import in specific folder.
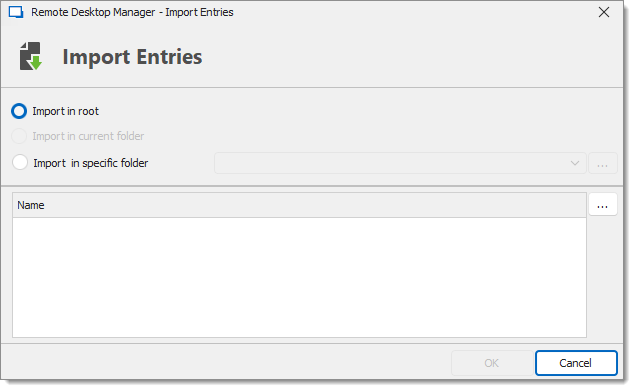
Option Description Import in root Import your entries in the root of your data source. In other words, the exact same original structure (group, folder, credentials) is kept. It is the recommended import method. Import in current folder Import all your entries under the selected folder of the data source. Import in specific folder Import all your entries under the specific folder chosen of the data source. -
Click Ok.
-
In the next dialog, you are presented with a list of all entries that are in the data file. Select which entry or entries you wish to import or check Select all to import all of your entries.
-
Press Ok to complete the process.