X11 forwarding allows you to run graphical applications installed on a remote Unix/Linux host and display them locally on a Windows machine. When using Xming and SSH, a proper setup is required to avoid common errors such as missing display variables or authentication failures.
This guide outlines the prerequisites for X11 to function properly and provides step-by-step troubleshooting tips if issues arise.
Before starting, make sure the following conditions are met:
-
Xming is installed and running on your Windows machine.
-
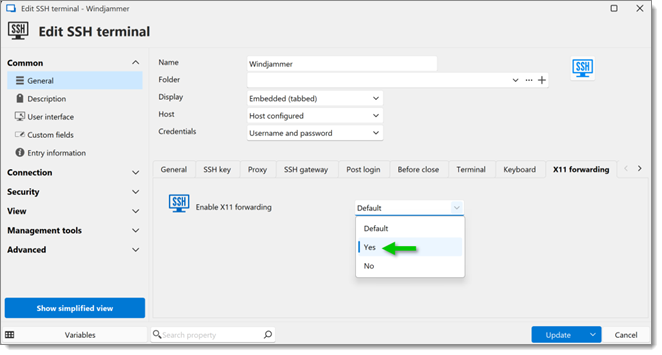
X11 forwarding is enabled in your SSH client settings (entry properties - X11 forwarding - Enable X11 forwarding).

Enable X11 forwarding -
The remote host has X11 applications installed (e.g., xclock).
Start Xming on your Windows machine.
Connect to the remote host via SSH with X11 forwarding enabled.
Run an X11 application on the remote host (e.g., xclock).
Check echo $DISPLAY. The expected output should be something like localhost:10.0. If the output is empty, X11 forwarding is not working. Check that it is enabled in the SSH client settings.
This error indicates that the X11 transport is working, but the authentication has failed.
Check for .Xauthority file by opening a terminal and entering
ls -l ~/.Xauthority.If the file is missing or owned by another user, authentication can fail.
View X Auth list.
You should see an entry like: midopd1/unix:10 MIT-MAGIC-COOKIE-1 <long_hex_string>. If this is not the case, create the entry.
From the original SSH user, enter
xauth list - /tmp/xauthcookies.Switch to the new user.
Enter
xauth merge /tmp/xauthcookies.Try running the X11 application again (e.g., xclock).
Following the steps above ensures that X11 forwarding via SSH using Xming on Windows is correctly set up. Most issues are either due to misconfigured DISPLAY variables or X11 authentication problems. Addressing these common pitfalls should resolve typical X11 forwarding problems.