The following steps explain how to set up the Password propagation feature. This can be done either by Creating a template, or using a Devolutions template.
This method covers all PAM account providers.
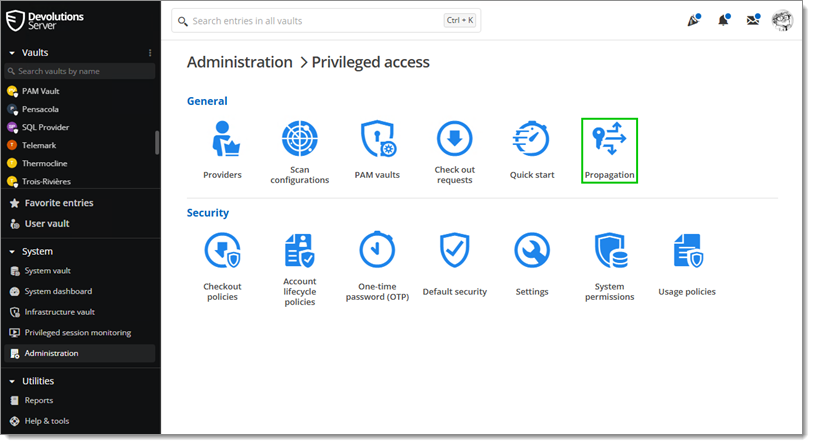
Go to Administration – Modules – Privileged access – Propagation.
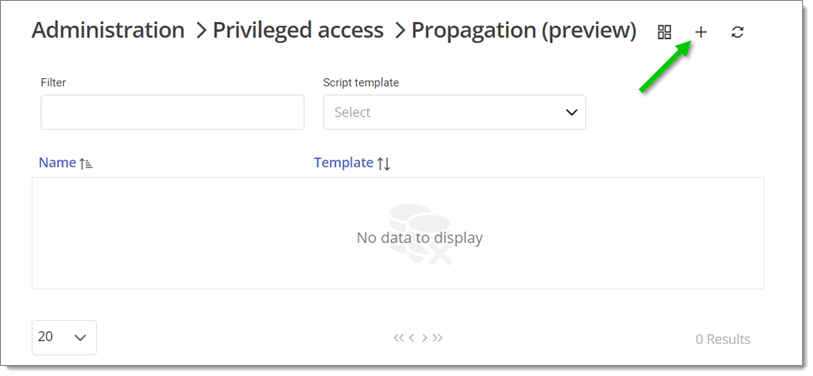
Click on Add.
Select the desired template and click on Select.

In the General tab, name this configuration.
In the Propagation properties tab, enter the information for the remote machine.
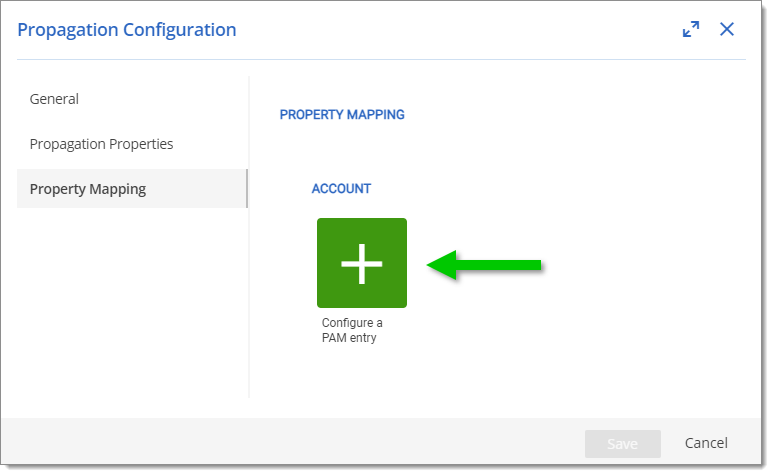
In the Property mapping tab, click on Configure a PAM entry to select a privileged account type.
Click on Continue.
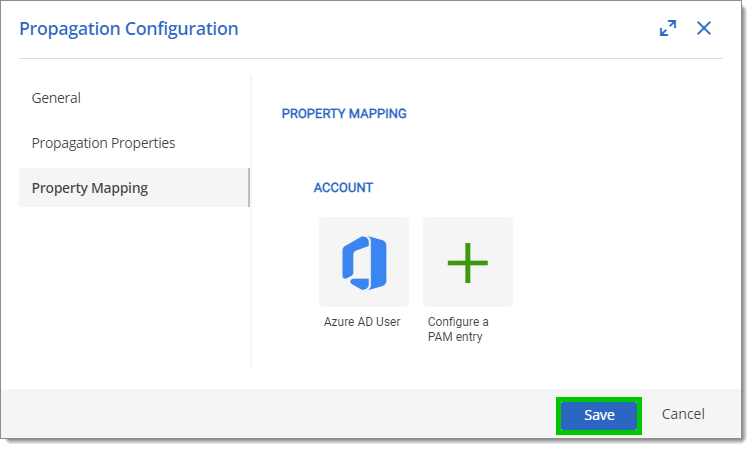
Select the fields of the account (or provider) to associate with the variables and click Save.
Click Save to save this new configuration and close the window.
Go to the Privileged access tab, select an account type previously configured with Propagation, and click on the Edit button.
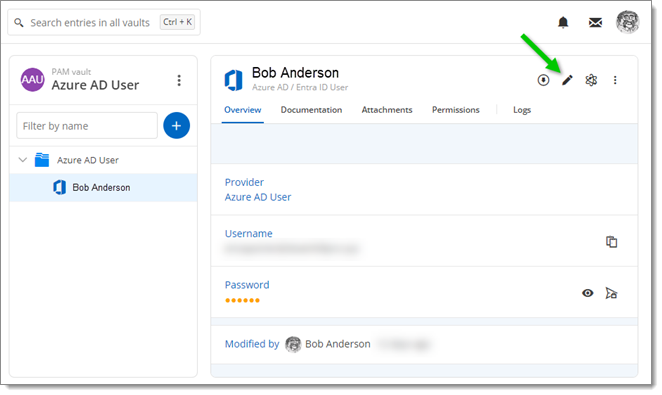
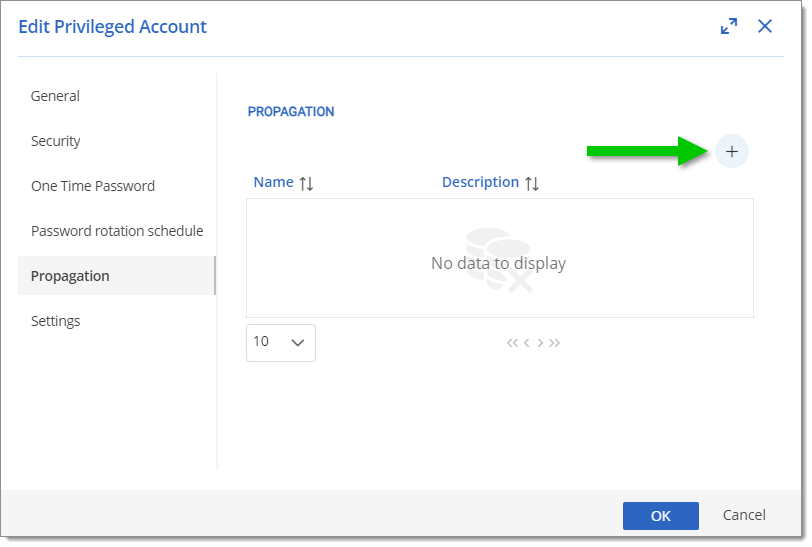
Go to the Propagation tab and click on the + button.
Select the configuration to link to that account, and click Confirm.
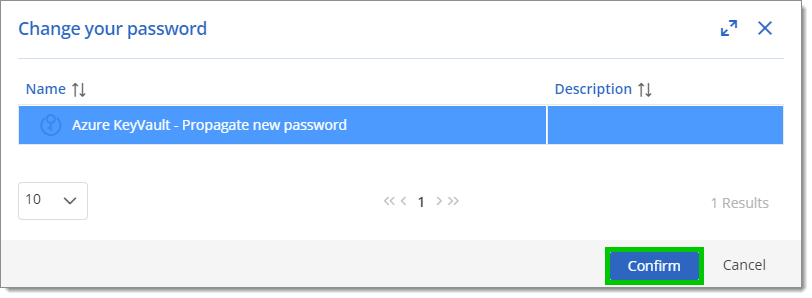
It is possible to select multiple configurations.
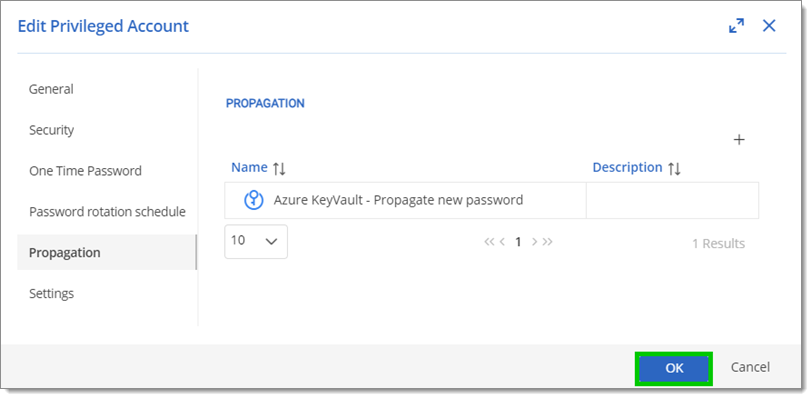
Click OK to save the changes and close the window.
To test if the link is successful, click on More and then Reset password. If working correctly, the newly created file will appear on the remote machine. If not, it is recommended to check the logs of the account.
The WinRM must be properly configured as described in WinRM and Trusted Hosts List article.
This Password propagation feature is only available for Domain accounts.
The following section describes the properties of the Active Directory Password propagation feature within the Privileged Access Management solution. 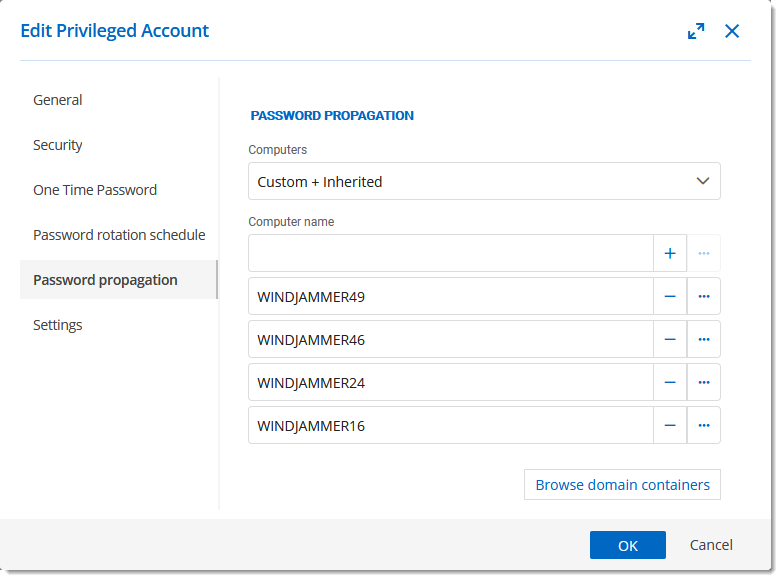
| OPTION | DESCRIPTION |
|---|---|
| Computers | Inherited: Inherits the computer's list from the parent's folder. Custom: Set a custom list of computers. Custom + Inherited: Inherits the computer's list from the parent's folder and set a custom list of computers. |
| Computer name | Name of each computer on which the password propagation will take place. |
| Browse domain containers | Browse the domain to select the computers. |