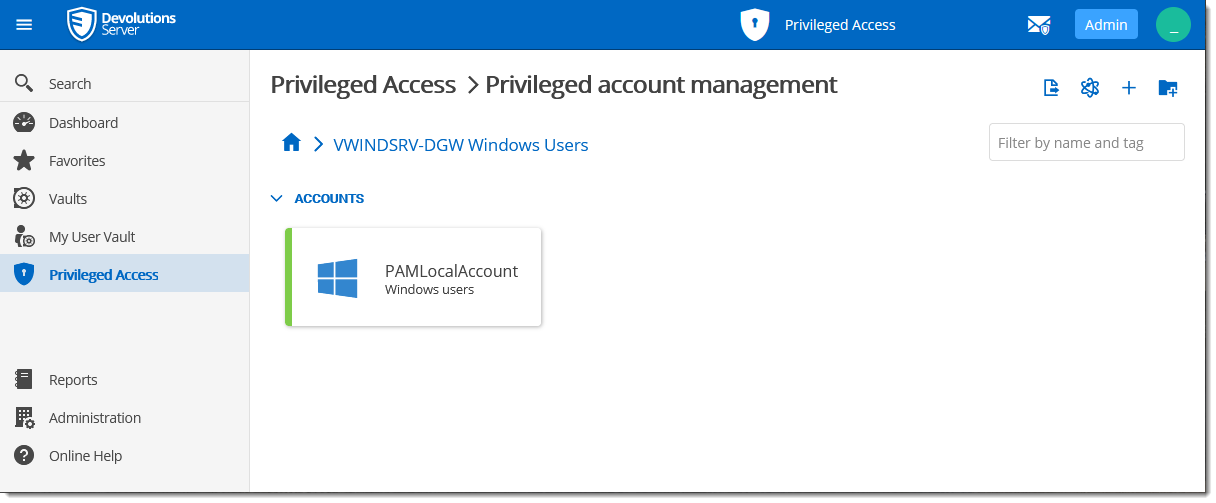
This guide provides steps to create a Windows user provider to manage Windows local accounts in the PAM module of Devolutions Server.
The Scheduler service must be installed and running to use this feature.
If you use a different administrator than the default built-in one, you need to enable the "User Account Control: Admin Approval Mode for the Built-in Administrator account" policy. See Microsoft's article for more information: Description of User Account Control and remote restrictions in Windows Vista.
Ensure that WinRM is properly configured and that all remote machines are added in the Trusted Hosts list as stated in WinRM and trusted hosts list.
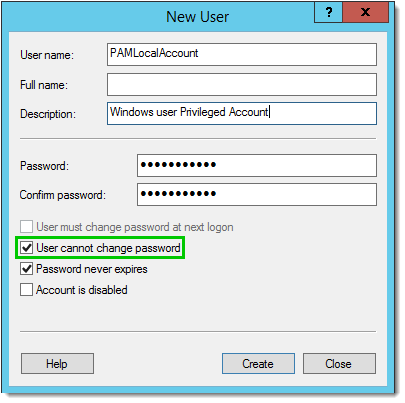
Create a local account on the remote host that will be managed by the PAM module as a privileged account. The local accounts must have the User cannot change password option enabled to avoid problems with the synchronization of the password in the Privileged Access module. If this account needs to have administrative rights, then add it to the local Administrators group.
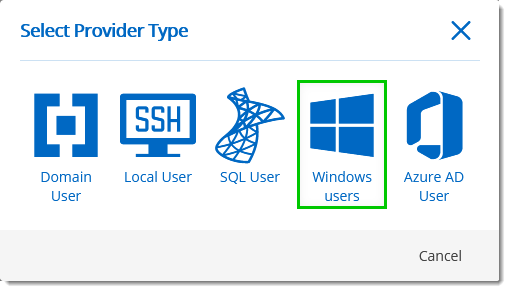
Go in Privileged access – Providers on the Devolutions Server web interface to add a Windows users provider.
Set the Name of the provider; Set the Computer name and Domain information of the remote host in the Host section; Set the Username and Password values for the provider account in the Credentials section. This account must have proper administrative rights on the host to manage local user accounts. In this sample, david@windjammer.loc is a domain account that is a member of the local Administrators group of the remote host.
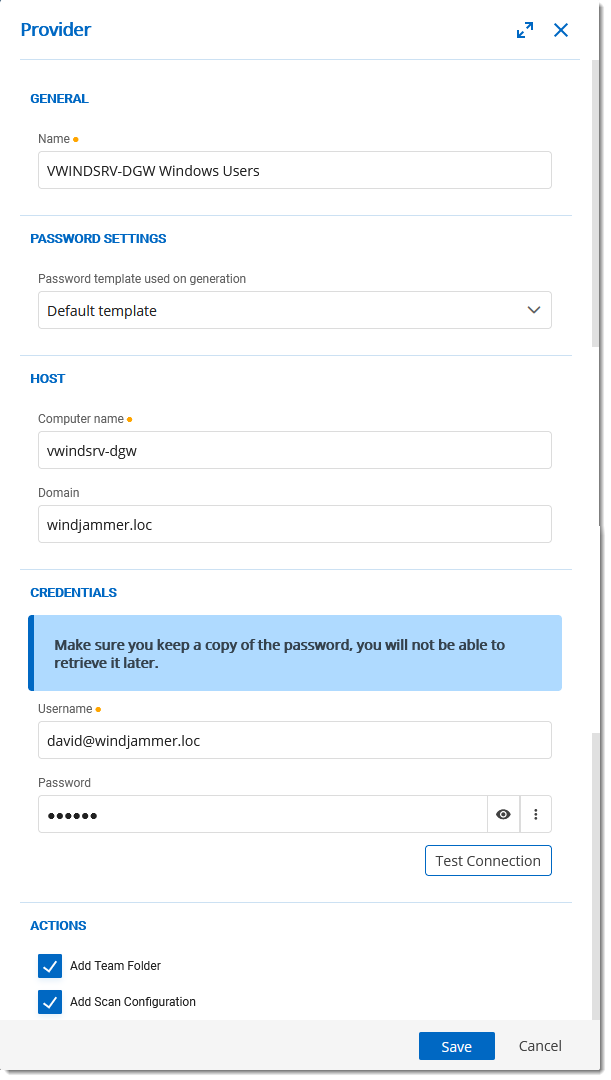
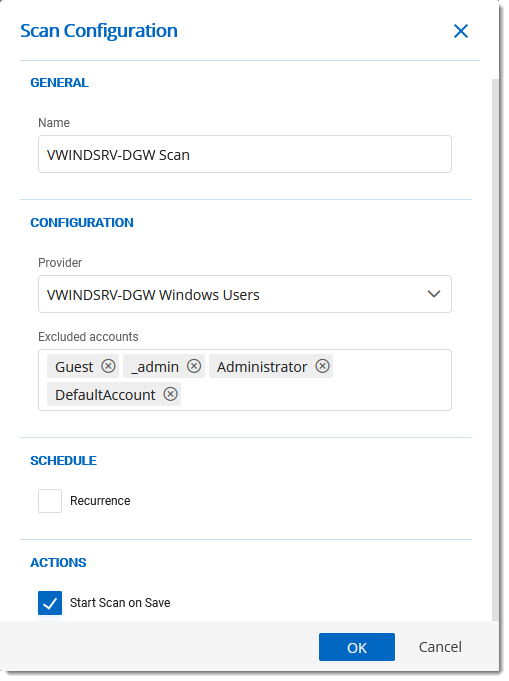
With the Add scan configuration option enabled, create the scan configuration to scan for local accounts. The built-in Administrator account cannot be managed by the Privileged Access module because of the option mentioned in step 3 above that cannot be enabled.
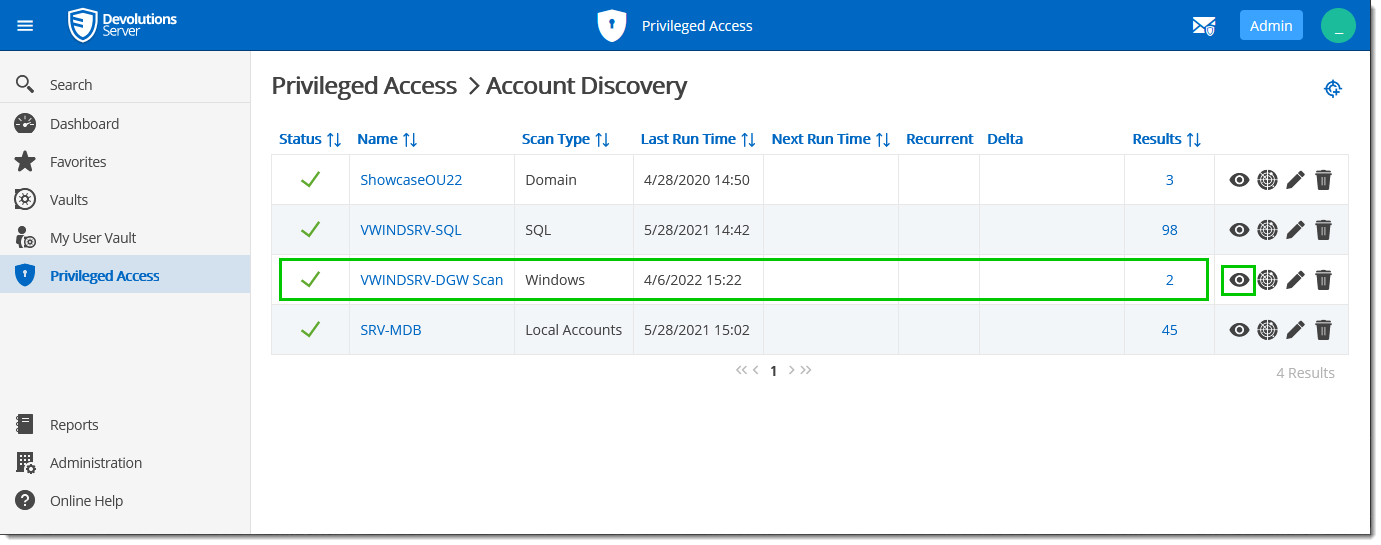
Once the scan is completed, a list of accounts is available. Click on the Eye button to see the discovered accounts.
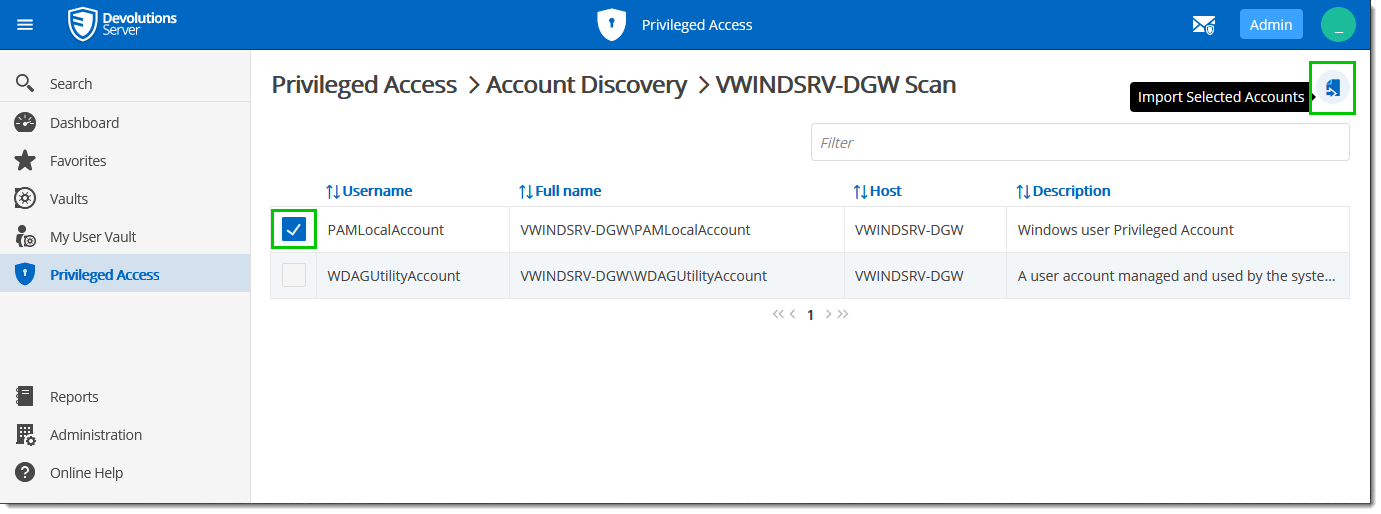
Select the account that will be managed and click on the Import selected accounts button.
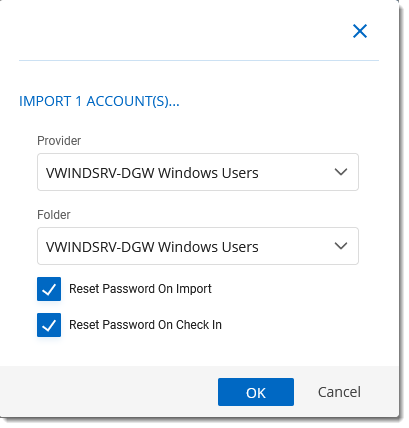
Select the folder where the account will be located in Privileged access – Accounts page.
On success, this prompt box should be displayed on the top right corner.

The account is now available in the folder.
