An account discovery configuration is a set of instructions that dictate which provider to use, along with an optional recurrence schedule for periodically running the account discovery action on that provider.
To manage all existing account discovery configurations and create new ones, navigate to Administration – Privileged access – Account discovery configurations. To create a new account discovery configuration, click on the Add a new account discovery configuration button.

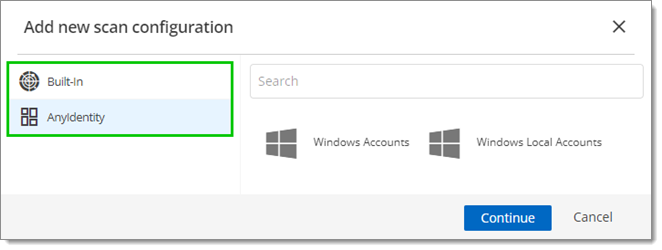
Account discovery configurations can be applied to both managed and custom PAM providers. Either option can be chosen here.

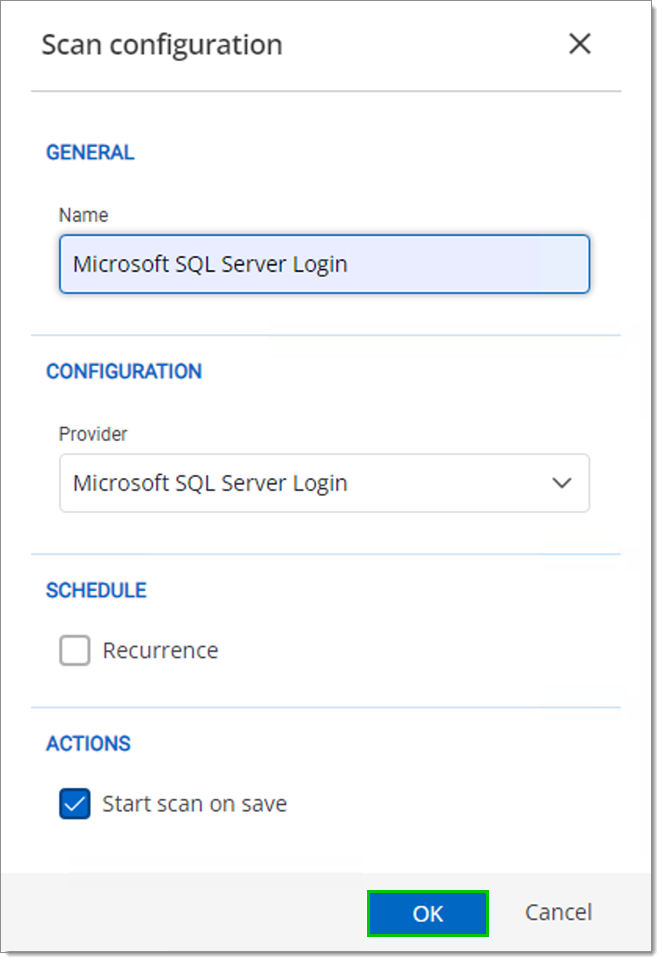
Select a provider, choose Name for it, then click OK.

While any name can be assigned to a account discovery configuration, it is recommended to name it based on the provider it is associated with.
Upon creating the account discovery configuration, a job will be queued, indicated by an hourglass icon next to it. The job is scheduled by the Devolutions Server Windows service on the Devolutions Server host. Depending on the backlog, this process may take a few minutes.

Once the job is complete, the status will display a green check mark, and the results will be shown.

Each result represents an account that the account discovery action has found. If results are visible at this stage and they align with what the account discovery action returned, it indicates that the account discovery action is functioning correctly.
By clicking on the results, you can view all of the accounts identified by the account discovery action.

For more information, refer to Account discovery configurations.