To get started with the privileged access management (PAM) features in Devolutions Server, first log in as an administrator in your Devolutions Server. Then, follow the configuration steps below.
In Devolutions Server, head to Administration – Licenses.
Add your PAM license using the Add (+) button. When done, the license appears in the license list and the Privileged access menu appears in the side panel of your Devolutions Server.

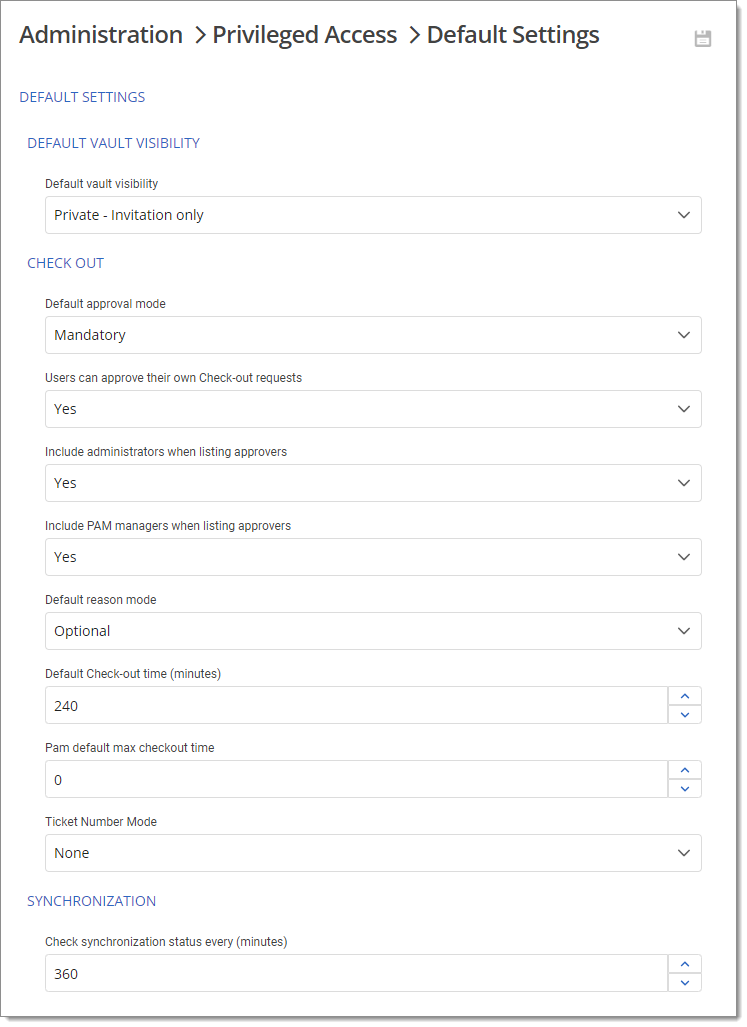
In Administration – Privileged access – Default settings, configure the settings for the vault visibility, checkout system, credentials brokering, sensitive information access, default checkout times, and synchronizations.

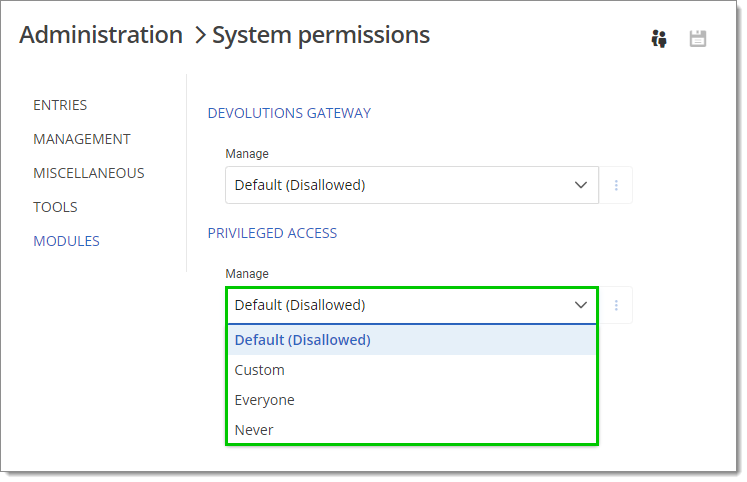
Next, head to Administration – System permissions – Modules.
Configure access to the PAM system for users/admins and give privileged accounts rights to those you want to edit the privileged entries. Then, click Save.

For custom PAM providers, also see Import a custom PAM provider.