Launch RDP connections and other session types directly from the browser via the Devolutions Server web interface.
Based on IronRDP (Rust implementation of the RDP protocol) and its web assembly component, the web client, passing through a Devolutions Gateway, ensures a secure communication using the protocol directly. Unlike Apache Guacamole, no intermediate protocol is used and unlike RD Web Access, there is no redundant extra TLS layer. This ensures good performance.
To use this feature, certain requirements must be met, namely:
The browser must meet these minimal version requirements:
Chrome: 102
Firefox: 102
Safari: 16.4
Windows 10 or 11.
Windows Server 2016 and later.
Have a Devolutions Gateway version 2023.1 or later.
Have a Devolutions Server version 2023.1.3 or later.
Have an RDP type connection with a gateway type VPN configured.
Have the View password permission if you are the one to use the session.
When using IronRDP, a call is generated to the tool, and the password can be seen when the developer tools are enabled.
Have a Remote Desktop Manager or Devolutions Launcher license assigned to the user who will launch the session.
If HTTPS is used for Devolutions Gateway communications, it is highly recommended to use Subject Alternative Name (SAN). In most cases, a Common Name (CN) is only used as fallback and typically ignored when SAN is set. It is best security and compatibility practice, however, to make the CN match one of the SAN entries.
Other session entry types can be launched via the Devolutions Server web interface:
Active Directory
Apple Remote Desktop (ARD)
PowerShell (remote)
RDP (Microsoft Remote Desktop)
SSH terminal
Telnet
VNC
Follow the steps below to properly configure your RDP session to launch it in a browser:
The steps below assume that you already have an RDP session entry. If you have not yet created it and want to learn how, see Create entries manually.
-
In the Devolutions Server web interface, go to the Properties of your RDP entry.
-
In the VPN/Tunnel/Gateway section, select Devolutions Gateway in the VPN type drop-down list.
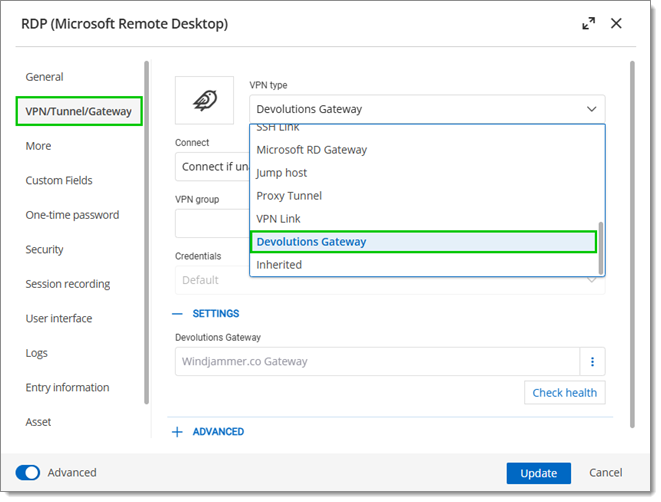
VPN/Tunnel/Gateway – VPN type -
In the Connect drop-down list, select Connect if unable to ping/port scan.
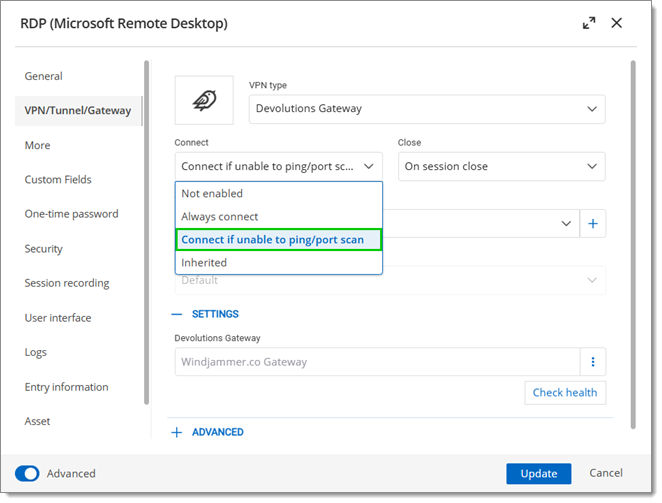
VPN/Tunnel/Gateway – Connect – Connect if unable to ping/port scan -
Under Settings, select the Devolutions Gateway to use for this connection, then click on Check health to make sure the Gateway is functional. Its version must be 2023.1 or later.
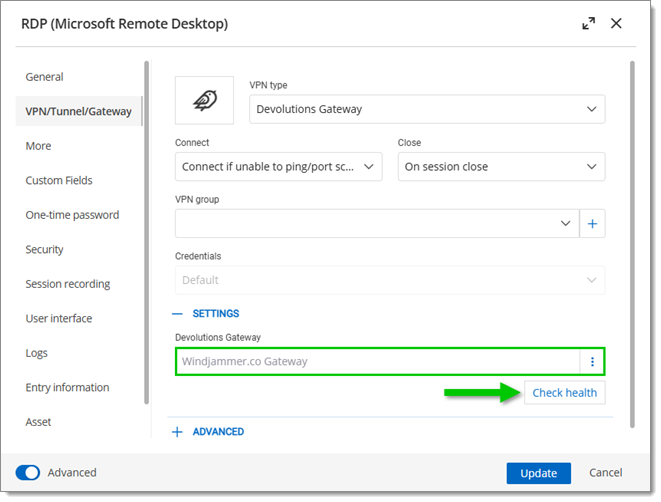
VPN/Tunnel/Gateway – Settings – Check health -
In the Session recording section, set the recording Mode.
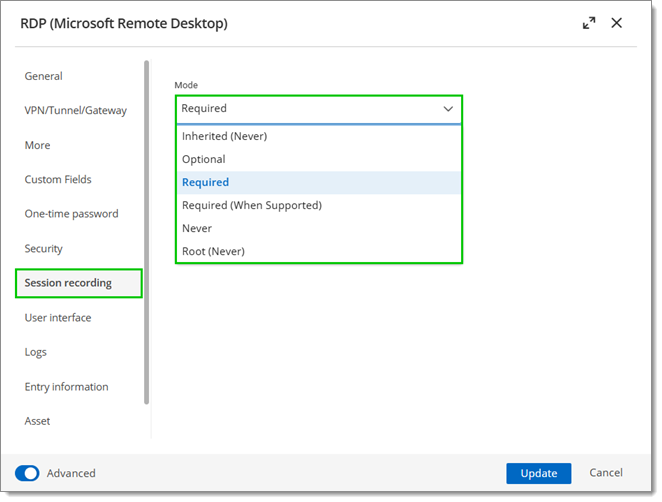
Session recording – Mode -
Click Update to save your changes.
Once all the conditions are met, you can press the Open in web client button to launch the connection from the web client.

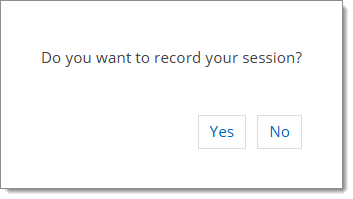
If the session recording mode was set to Optional in the entry properties, you will be asked if you want to record this session.
A new browser tab should open and your session should start.
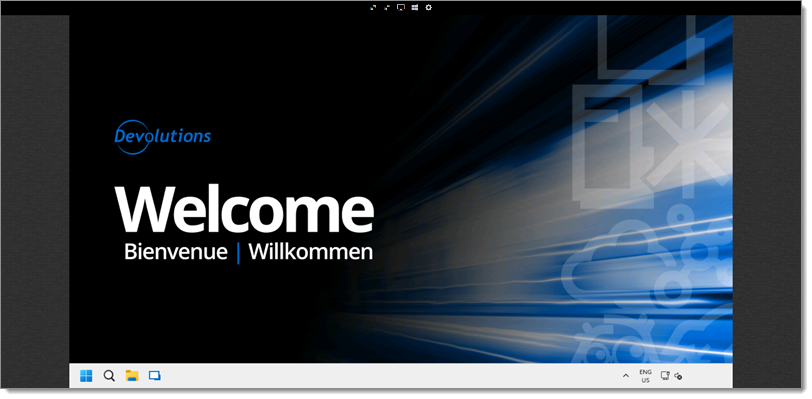
If the connection does not work, check the Requirements again or visit RDP Web client not showing.
The tools menu in the RDP web interface contains what is currently supported. Note that the copy/paste feature (including the clipboard) is also supported.

| Icon | Option | Description |
|---|---|---|
| Full screen | Displays the content of the session, making sure to always occupy the maximum space on the screen. | |
| Fit to screen (default) | Adapts the size to best fit the available space so that the entire session is always visible. | |
| Real size | Conforms to the resolution of the target host. | |
| Windows key | Sends the signal of the Windows key (however, the key must also work). | |
| Ctrl + Alt + Del | Sends the command to the host system. |
With Devolutions Gateway session shadowing support, it is possible to watch an in-progress session recording to assist or audit in-process work. Navigate to the recording tab of an entry to see a pulsing icon indicating an in-progress recording, then click to watch in real-time.
Launch a web-based RDP session in the Devolutions Server web interface.
The Gateway automatically starts recording the session in the background.
Run a stopwatch script to show the elapsed time.
Go back to the Devolutions Server web interface.
Select the RDP entry.
Open the RDP entry's recording tab to view the session in real time.