Using the Side menu tabs, you can access various Workspace browser extension features. Each tab displays a different view in the Content area.
When using the Workspace browser extension with Devolutions Hub Personal, the available tabs are the Matching tab, the Favorites tab, the All entries tab, the Password generator tab, and the Settings tab.
In all tabs except the Password generator tab, when hovering over an entry, three new options appear: the Copy username, Copy password, andView buttons. Go to the Entries functionalities section for more information.
The extension opens on the Matching tab. This is where you will see the list of credentials available for the particular website you are on.
For methods of retrieving your credentials, visit Retrieve credentials from Devolutions Hub Personal with the Workspace browser extension.
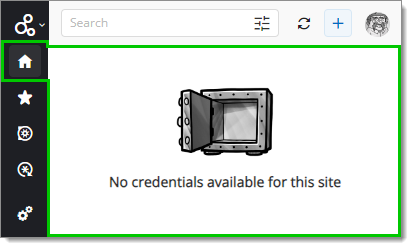
At the top, you can use the Search bar to filter through all your credentials, not just those applicable to the website. You can also use the Refresh button next to it to update the search results.
The Add Website button (+) opens a new browser tab that allows you to manually add a website entry in Devolutions Hub Personal through the Workspace browser extension.
For a complete list of the available entries and fields in the Add website window, visit Add website. You can also consult our step-by-step guide on how to add an entry.
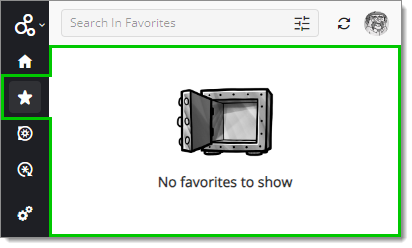
The Favorites tab contains all favorited entries. To search for a particular entry, use the filter option located in the Top menu.
The All Entries tab allows you to browse through all your folders and entries.
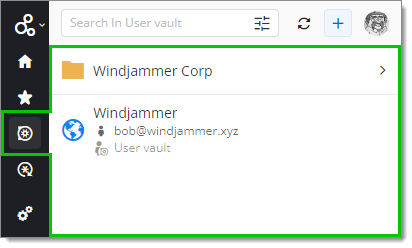
At the top, you can use the Filter bar to search through all your folders and entries.
To access an entry in the Workspace browser extension, navigate through the folders to manually find the entry you are looking for. The folder structure is identical to that of your Devolutions Hub Personal.
The Password generator tab assists you in creating a strong and secure password adapted to your needs and to website requirements for your new account.
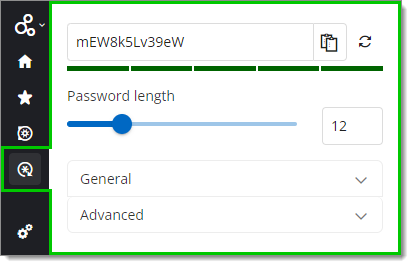
Your custom password is generated at the top of the Content area with a strenght indicator below it. You can copy it or generate a new one using the Copy to clipboard and Generate password buttons respectively. The Password lenght, which is set to 12 by default, can also be adjusted.
In the General drop-down section, you are able to select the types of characters that your password must contain as well as the minimum number of characters of each type that must be included. 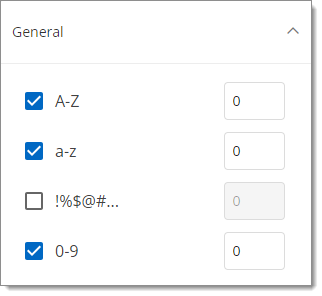
In the Advanced drop-down section, you are able to further customize your password by entering characters you want included in your password, followed by the minimum number of times they must appear. In the second field, you can also enter characters you want excluded from your password. 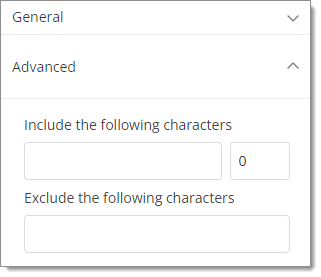
To learn how to use the Password generator when creating an account on a website, visit Create an account for a website in Devolutions Hub Personal with the Workspace browser extension.
No matter what tab you are in (except the Password Generator tab), when hovering over an entry, three new options appear: the Copy Username, Copy Password, and Overview buttons.
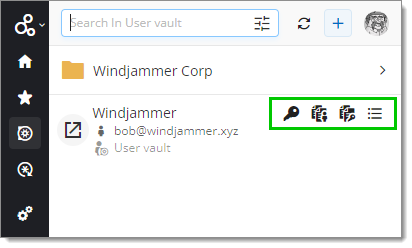
The Copy username and Copy password buttons copy the username/password of the entry to your clipboard.
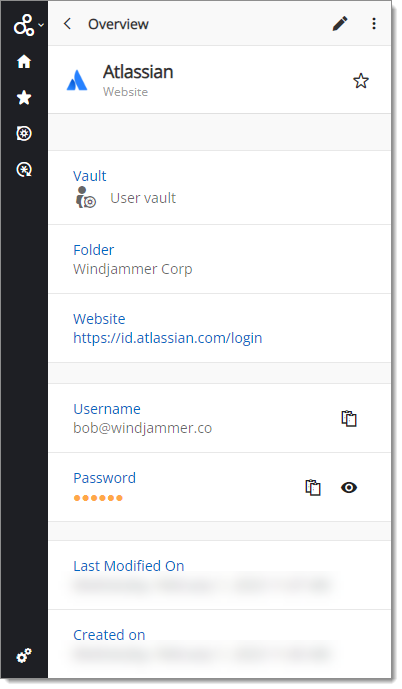
The Overview button gives you an overview of the entry as well as additional functionalities. The availability of information and functionalities depends on the type of entry and the information provided in the entry, although some of them are always available:
Edit/Delete the entry with the ellipses button at the top right.
Mark your entry as favorite by clicking on the Add to favorites icon next to the entry name. The entry will then show in the Favorites tab.
View the location of your entry under the Folder section (if it is located under a folder).
See when the entry was last modified and created under the Last modified on and Created on sections respectively.
Access and view files attached to the entry using the Attachments button.
Other information and functionalities will depend on what you provided when creating the entry (username, password, tags, description, etc.). 