The following topic focuses on making a check out request from the Devolutions Hub Business web interface. Note that this functionality is also available in Remote Desktop Manager with Devolutions Hub Business, either by accessing the privileged account entry in the PAM vault, or by connecting to a linked remote session.
You can also access the privileged account in the Devolutions Hub Business web interface even if you make the request in Remote Desktop Manager.
To learn how to approve or deny a request, visit Approve access to a privileged account.
The PAM Check out feature allows users to request temporary access to a privileged account entry in a PAM vault. The approver must then approve or deny the request.
The duration of the access begins when the request is approved.
Follow the steps below to learn how to make a check out request:
In the Vault tab, select the PAM vault using the selector.
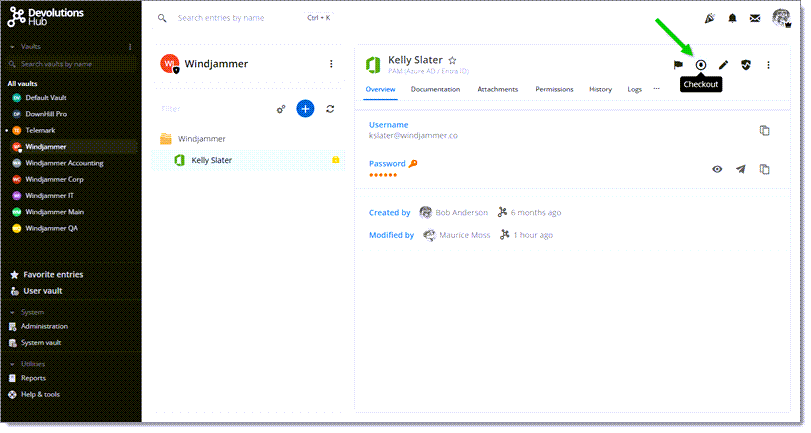
Select the privileged account entry you want to access, then click on Check out.
Using the buttons to copy and view the password also opens the same Check out request window.
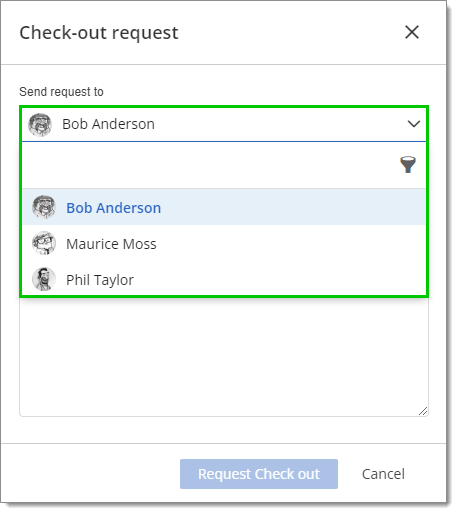
In the Check out request window, select the approver you want to send your request to using the drop-down list. You can also use the filter bar to refine your research.
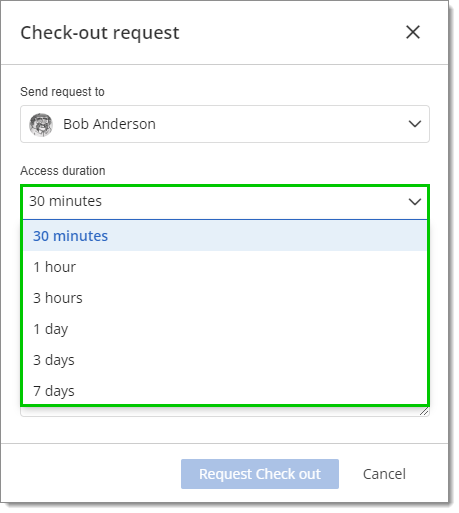
Select the Access duration in the drop-down menu.
Write a short Comment to the approver explaining why you want access to this entry.
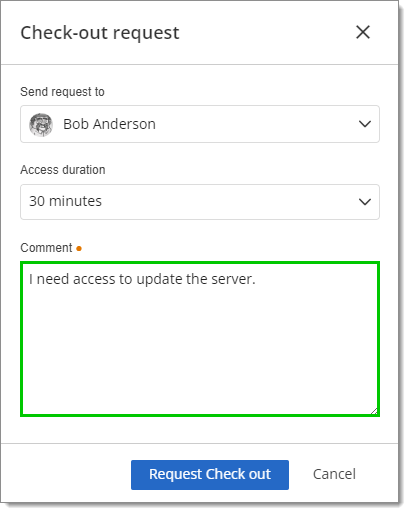
When you are done, click on Request check out.
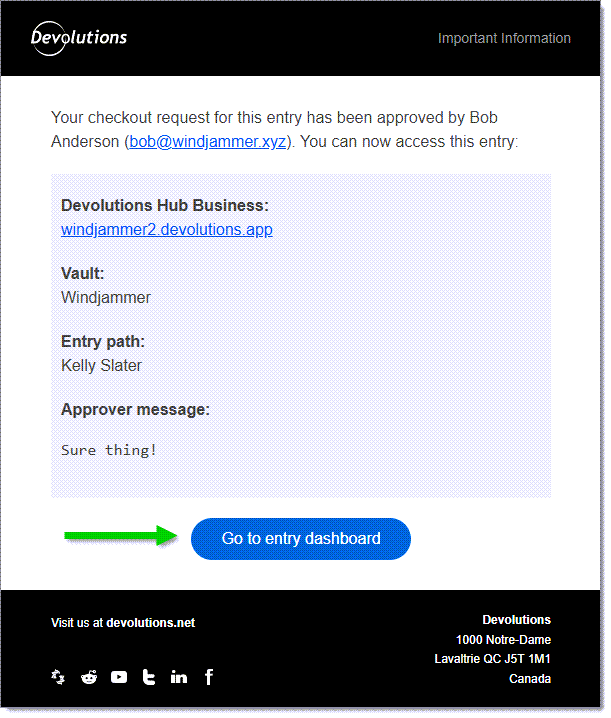
You now have to wait for the approver to respond to your request. You will be notified by email whether the answer is positive or negative. The next section details what to do once you have received a response.
If your request is approved, your email will have a button at the bottom that will bring you directly to your entry in Devolutions Hub Business. It is also possible to manually go to your entry.
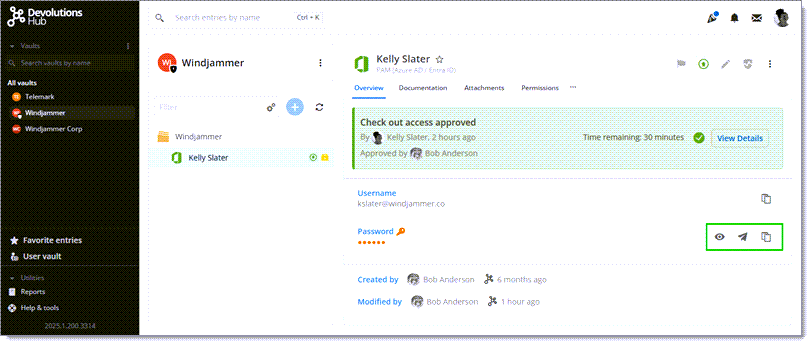
Once you are on the entry in the PAM vault, you will see at the top that your check out request has been approved and that the entry is already checked out by you. A check mark validates that your request was approved. Next to the check mark is the Time remaining on your request. There is also a View details option which is described in the next section.
Now that you can copy and view the password of this privileged account using the corresponding icons, you can perform your tasks.
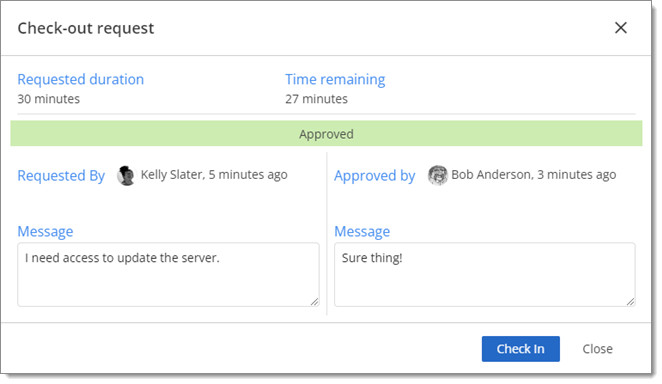
View Details allows you to see information about your check out request as well as check in the entry.
In the top section, you can view the Requested duration and the Time remaining on your access. The approver can modify your access duration if necessary when approving the request.
Further down is your message and the approver's message.
Finally, you can check in your privileged account entry by clicking on Check in or by using the same button you used to check it out. When you check in the entry, the privileged account password automatically resets and the old password is rendered useless. Be sure you want to do this first, since to regain access to your entry, you will need to make another request. Otherwise, your access will end within the time frame set by you and the approver.
