Three scheduled email reports in a .csv file can be automatically generated by the Devolutions Hub reporting service and listed in the Scheduled reports section:
Expired Entries: Lists entries that have already expired.
Expiring Entries: Flags credentials nearing their expiration date.
Password Analyzer: Evaluates password strength and detects weak or compromised credentials.
It requires a self-hosted installation using the Devolutions Hub Services and an Application identity must be configured when the service is installed. Additionally, the service requires specific access to the vaults.
Manage system configuration and Manage scheduled reports system permissions are assigned to the Application identity.
-
Go to Devolutions Hub.
-
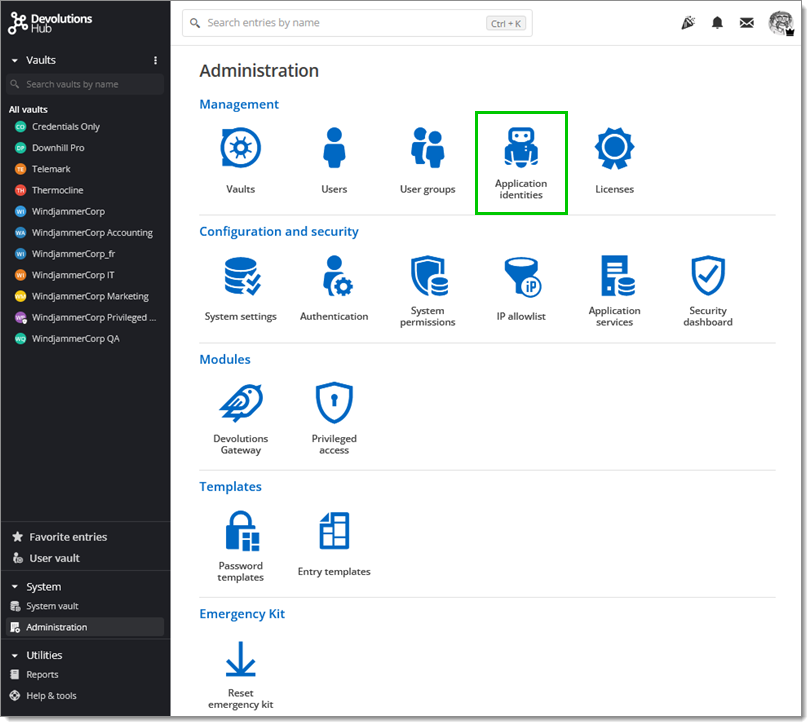
Click Administration – Application Identities.
Administration – Application Identities -
Select Add Application Identity (+).
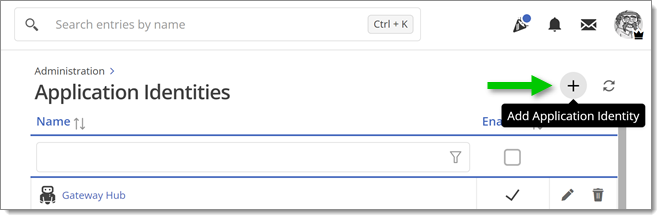
Add Application Identity (+) -
Enter a name and click Add.
-
Save the given Application Secret and Application key to your clipboard or as a PDF file. It will be needed during Devolutions Hub Services' installation.

Save the given Application Secret and Application key to your clipboard or as a PDF file
Go to Devolutions Hub.
Click Administration – System Permissions.
Go to the edit form.
Select System.
Select your Application User in the drop-down menu under Manage privileged access tasks and Manage privileged access providers.
In Devolutions Hub, go to Administration – System Permissions.
Go to the edit form.
Select Vaults.
Choose your Application User in the drop-down menu under the Contributor section.
Click Update to close the window.
-
Launch the installer that you downloaded.
-
Click Next.
-
Read the End-User License Agreement and click I accept the terms in the License Agreement.
-
Click Next.
-
Select Reporting in the Custom Setup.
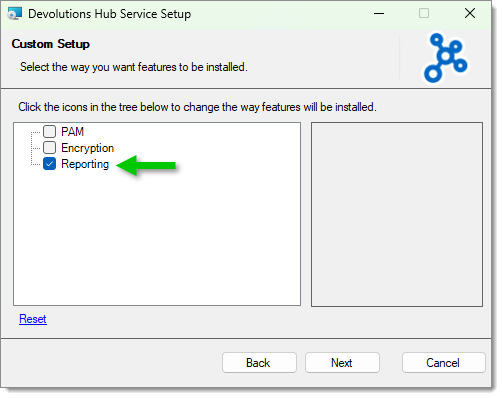
Select Reporting -
Click Next.
-
Enter your Host URL.
-
Enter the Application Secret and Application key previously saved.
-
Click Next.
-
Click Finish to complete the installation.
-
Click Test Connection.
-
If your connection is successful, press Next.
-
In Devolutions Hub, go to Administration – Application services.
-
Click Add (+).
-
Select Scheduled reports service.
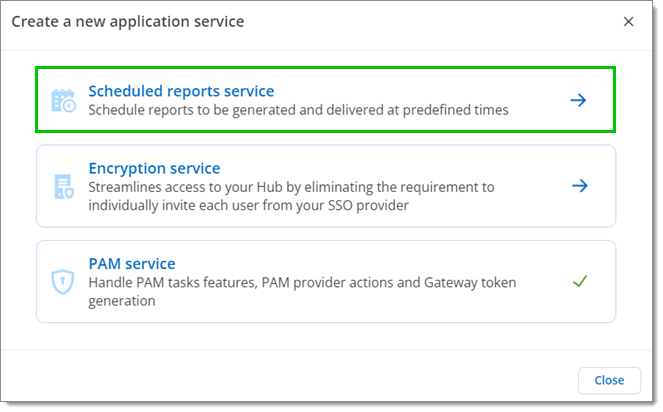
Select Scheduled reports service -
Enter the Application service name, a description if needed, and select the Application identity in the drop-down menu.
-
Click Save.
-
Go to Reports – Scheduled reports.
-
Click Add in the upper-right corner to create a reporting rule.
-
Choose a Report type and enter the information.
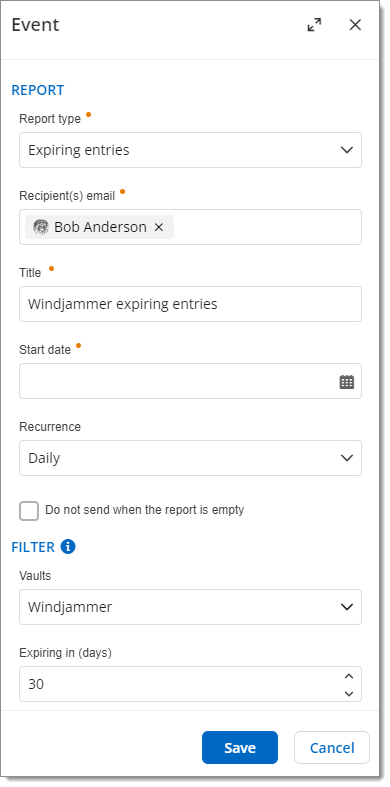
Choose a Report type -
Click Save to close the window.
-
Reports are sent as scheduled.
-
Go to Reports – Scheduled reports to view your reports.
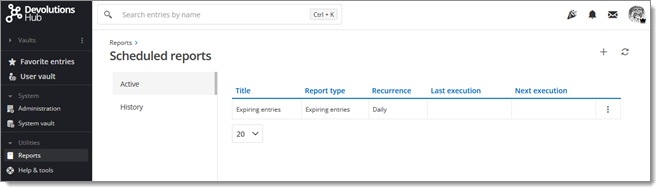
Scheduled reports
Devolutions Hub Services logs are available here: C:\ProgramData\Devolutions\Hub\Reporting Service\Logs.