This guide covers the steps required to export data from Devolutions Server and import it into a Devolutions Hub Business vault using the Devolutions Hub Importer.
Navigate to the Devolutions Server web interface.
Select a vault.
Right-click on the vault root.
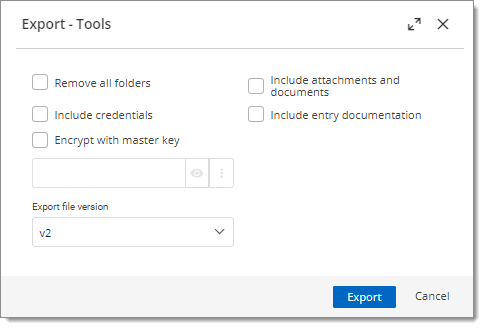
Select More and Export (.rdm).
Check the options to include the needed data.
Click the Export button to save the data locally.
Navigate to Devolutions Hub Business.
Go to the Administration section.
Select Vaults.
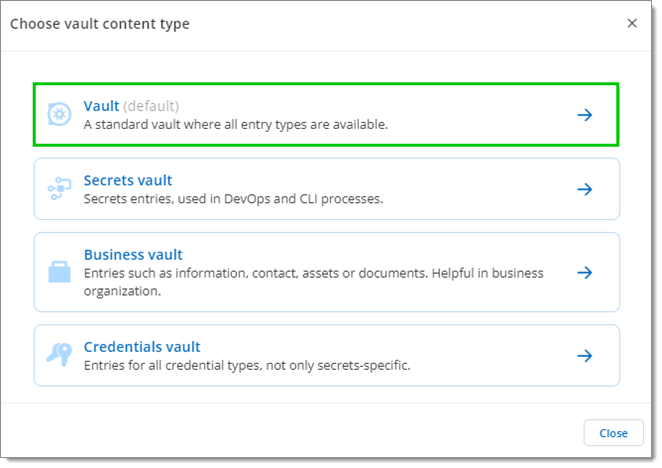
Click Add vault to create a new vault:
Choose the Vault (default) option.
Provide the necessary name and details for the new vault.
-
Download and install the Devolutions Hub Importer.
-
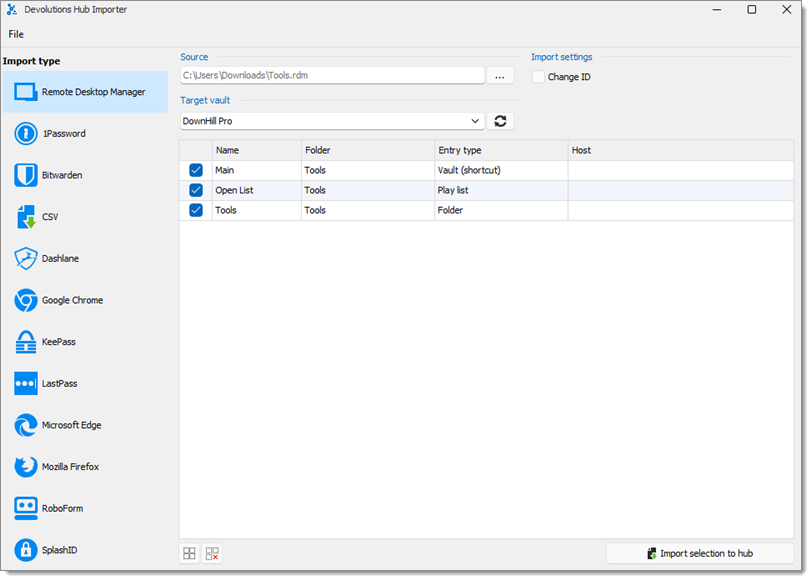
Open the Devolutions Hub Importer tool.
-
Connect to Devolutions Hub Business.
-
Click Open and select the source file to be imported (
.rdmfile). -
In the Target vault section, choose or create a vault where the data will be imported (e.g., your newly created vault).
-
Click Import Selection to hub to complete the import process.
Devolutions Hub Importer -
The import has been completed.