When getting started with Remote Desktop Manager, you must configure your entries. There are many types of entries; you should know what third party or technology you will use to choose the appropriate entry type(s) that you plan on configuring.
Create an entry
From the Ribbon
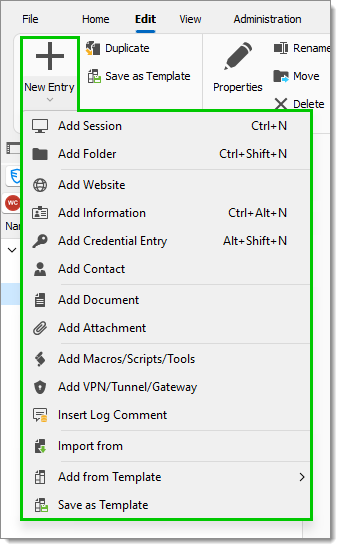
In the Navigation pane, select where you wish the entry to be located. In the Ribbon, go to Edit and click on New Entry. You will be prompted to customize your settings in the entry properties window.
From the contextual menu
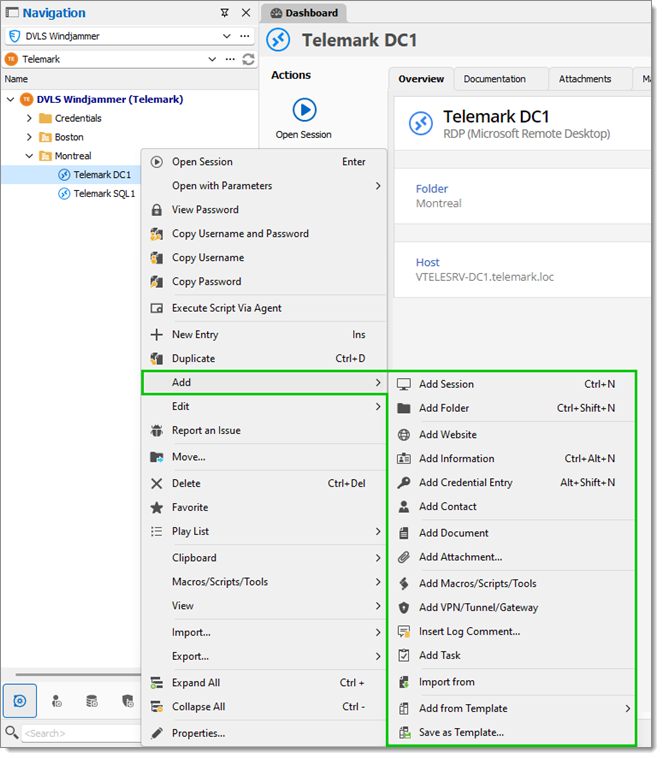
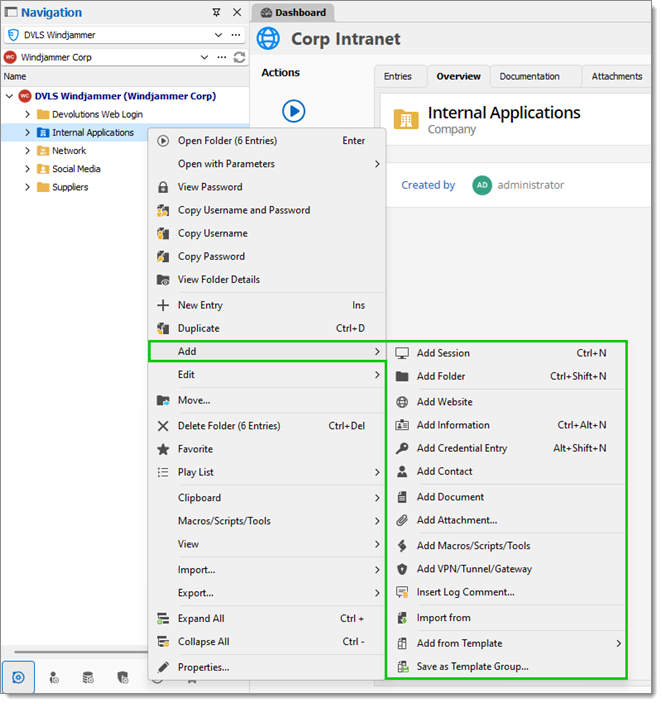
In the Navigation pane, right-click where you wish the entry to be located and select Add from the menu. To initialize a new session, you can specify either the type of session or a template. You will be prompted to customize your settings in the entry properties window.
With drag and drop
You can also create a session by dragging and dropping an RDP file in the Navigation pane. By doing so, Remote Desktop Manager will ask you whether to import the content and create a new session, or create a session linked to the RDP file. It is also possible to drag and drop the LogMeIn desktop shortcut to create a LogMeIn session.
It is possible that drag and drop will not work because of your security settings. They may prevent applications running in different contexts from interacting. For example, if Remote Desktop Manager is running in an elevated context (administrator mode) and Internet Explorer is running in default mode, Windows will not allow you to drag a URL link in the application.
By importing a configuration
You can also import entries by using the Import Computer Wizard, or by importing its configuration directly from any compatible applications supported by our import tools. Learn more in Import.
Create a sub entry
Since Remote Desktop Manager version 2022.3, sub entries have replaced sub connections. They are different in that sub connections were stored as XML in their parent entry, which is not the case with sub entries, making them much more versatile.
The migration of preexisting sub connections to the new sub entries is automatic when updating from Remote Desktop Manager version 2022.2 or prior to version 2022.3 or later.
Sub entries are full-fledged, independant entries located bewlow a "parent" entry in the tree view. They refer to their parent with an ID. They are compatible with attachments, documentation, full history, etc.
They can be found under the parent entry or in the Sub Entries tab of the parent entry Dashboard.
To create sub entries, make sure the Allow sub entries option is enabled in the option lists in File – Settings – Advanced.
To see sub entries in the Navigation pane, make sure the Load sub entry in tree view option is enabled in the option lists in File – Settings – User Interface – Tree View.
From the Ribbon
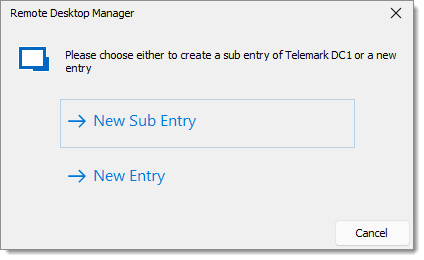
In the Navigation pane, select the entry under which you wish to place a sub entry. In the Ribbon, go to Edit and click on New Entry. Since you have previously selected the parent entry, you will be prompted to choose either to create a sub entry or an entry. Select New Sub Entry. Then, customize your settings in the entry properties window.
You cannot create a sub entry under another sub entry.
From the contextual menu
In the Navigation pane, right-click the entry under which you wish to place a sub entry and select Add from the menu. To initialize a new session, you can specify either the type of session or a template. You will be prompted to choose either to create a sub entry or an entry. Select New Sub Entry. Then, customize your settings in the entry properties window.
You cannot create a sub entry under another sub entry.