


The Security Provider allows for encrypting the data source content. To access the security provider, navigate to Administration – Security Provider.
This feature requires an Advanced Data Source.
Regardless of the selected security provider, passwords stored in data sources are ALWAYS encrypted using AES 256 bit encryption.
When configuring a Certificate Security Provider in a published app environment (Citrix, RemoteApp, XenApp) as a Security Provider, the user who will run Remote Desktop Manager in the RemoteApp environment (Citrix) will require a Read permission on the certificate.
If the Read permission is not correctly set, Remote Desktop Manager will generate the CryptographicException - Keyset does not exist error dialog. Follow Certificate Security Provider in a Published app Environment to resolve the issue.
By using a security provider, you ensure that nobody can read entries configuration data, even when people have a direct access to the database(s) or a backup. Shared data sources should always be secured with a security provider.
Prior to applying a new or changing an existing security provider, make sure that every users are disconnected from the data source. If you are changing an existing Shared Passphrase or Certificate, please note that users will get back access to the data source when they enter the new Shared Passphrase or Certificate on their computer.
Settings
Please note that changing a security provider on a data source with a great number of entries is a lengthy operation.
Applying a new security provider does process the whole database, therefore we advise you to create a backup prior to this operation.
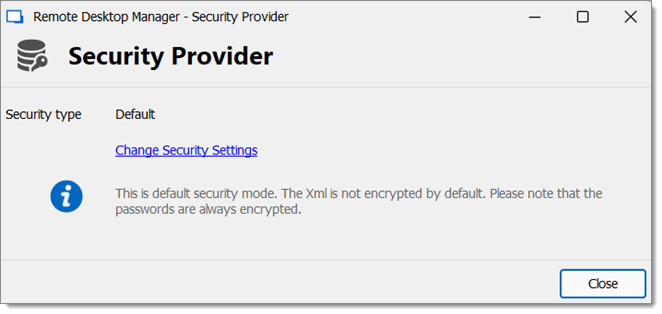
- Go to Administration – Security Provider in the ribbon of Remote Desktop Manager.
- Click on Change Security Settings to change the security provider.
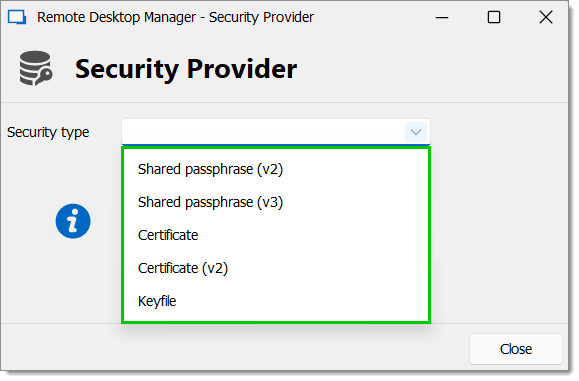
Security Provider - Select a security type from the drop-down list.
Security Type
| OPTION | DESCRIPTION |
|---|---|
| Default | This is the default security mode. The XML is not encrypted by default. Please note that the passwords are always encrypted. |
| Shared passphrase (V2) | The security provider encrypts the whole XML using AES with a passphrase mixed to a private key. The passphrase will be asked once on each machine.Provider. |
| Shared passphrase (V3) | The security provider encrypts the whole XML with a passphrase. The passphrase will be asked one on each machine. |
| Certificate | Set up a Certificate for the Security Provider. Require elevated privileges. |
| Certificate (V2) | The security provider encrypts the whole XML using the private key of a certificate. |
| Keyfile | The security provider encrypts the whole XML using a keyfile provided by you. |
Shared Passphrase
If the passphrase is lost, nothing that can be done to recover the data. When using a passphrase, always copy it to a secure location.
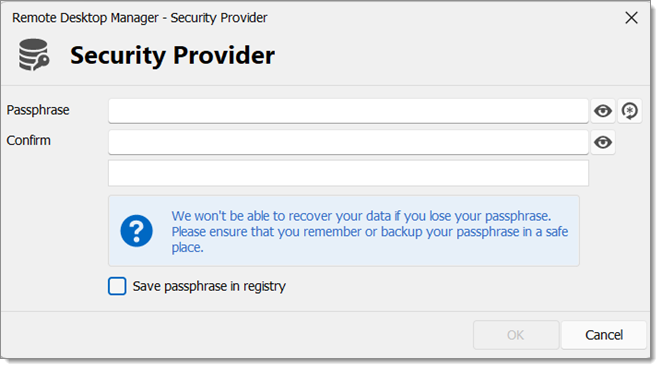
Entries configuration data is encrypted using a mix of a key stored in Remote Desktop Manager and the passphrase you have entered.
The passphrase is required only when configuring the data source. A policy can be enabled to always prompt for the passphrase when connecting to the data source.
When configuring a security provider with a shared passphrase, you have the choice of whether or not you wish to save it in the registry. Remote Desktop Manager will try first to save it on the LOCAL_MACHINE, if unable it will save it in the CURRENT_USER instead.
- HKEY_CURRENT_USER\SOFTWARE\RemoteDesktopManager
.shk - HKEY_LOCAL_MACHINE\SOFTWARE\RemoteDesktopManager
.shk
If the option is not enabled, then the passphrase is saved locally at the following location:
- %LOCALAPPDATA%\Devolutions\RemoteDesktopManager
.shk
In a Terminal Services environment, it should be saved at this location:
- %APPDATA%\Devolutions\RemoteDesktopManager
.shk
In a portable installation of Remote Desktop Manager, the passphrase will be saved at the same location as the portable Remote Desktop Manager instance.
Certificate
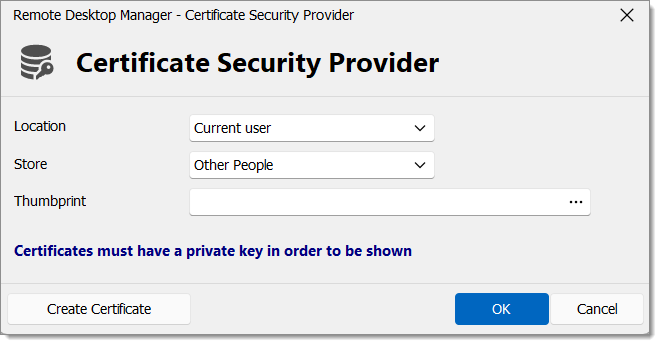
When choosing Certificate as Security Provider, entries configuration data is encrypted using a mix of a key stored in Remote Desktop Manager and the private key contained in the certificate.
| OPTION | DESCRIPTION |
|---|---|
| Location | Indicate the certificate location. Select between:
|
| Store | Indicate the store location of the certificate. Select between:
|
| Thumbprint | Select an existing RSA certificate. |
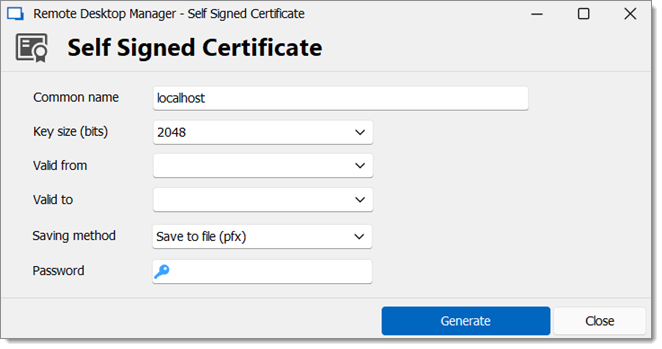
Create Certificate
It is possible to create a Self Signed certificate by clicking on Create Certificate.
| OPTION | DESCRIPTION |
|---|---|
| Common name | Name of the certificate. |
| Key size (bits) | Indicate the key size (bits) of the certificate. Select between:
|
| Valid from | Start date of the certificate. |
| Valid to | End date of the certificate. |
| Saving method | Save the certificate as a pfx file and secure this certificate with a password. Indicate the location and the store to save the certificate. |
| Password | Specify a certificate password. |