


Devolutions Gateway allows for just-in-time connections at the session level, eliminating the need to change the system's global configuration. Devolutions Gateway provides a flexible and secure alternative to VPNs, allowing for easy access management and efficient use of network resources.
Each Devolutions Hub Business instance comes with a Devolutions Gateway. It is user-based and supports up to 5 users.
If your clients fail to connect with Devolutions Gateway, ensure the certificate contains the entire chain. This certificate chain includes any intermediate certificates. For example: Root Certificate Authority – Secure (Intermediate) Certificate Authority – Purchased XYZ Certificate
The following instructions explain how to manually install Devolutions Gateway through Devolutions Hub Business.
As the installer is an MSI file, this method only works on Windows.
-
Log in with an administrator Devolutions Hub Business account.
-
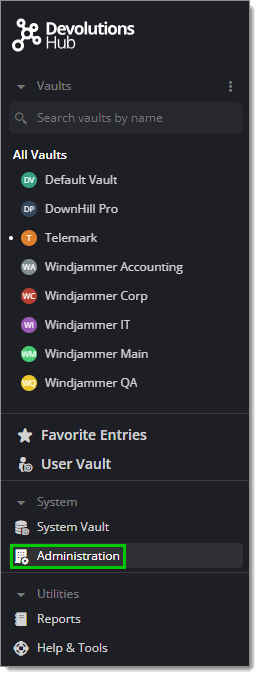
Click on the Administration tab.
Administration tab -
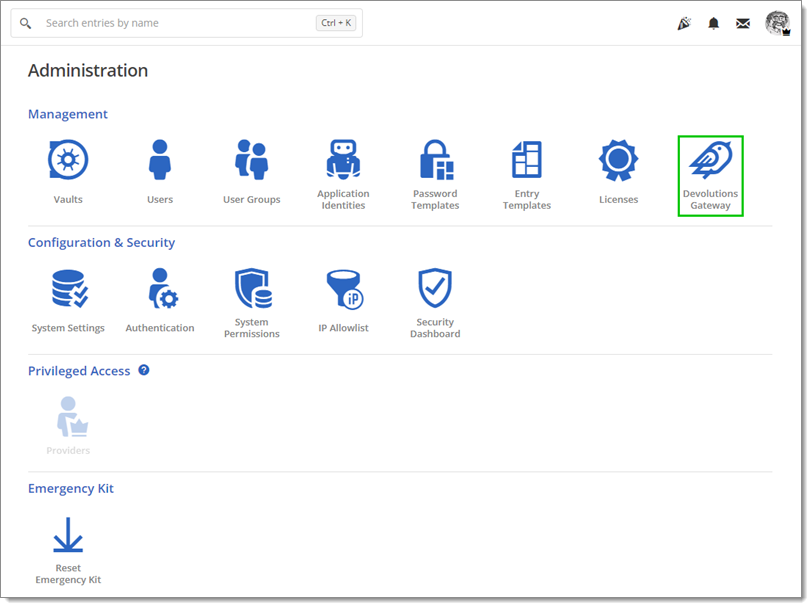
Click on Devolutions Gateway, which is under the Management section.
-
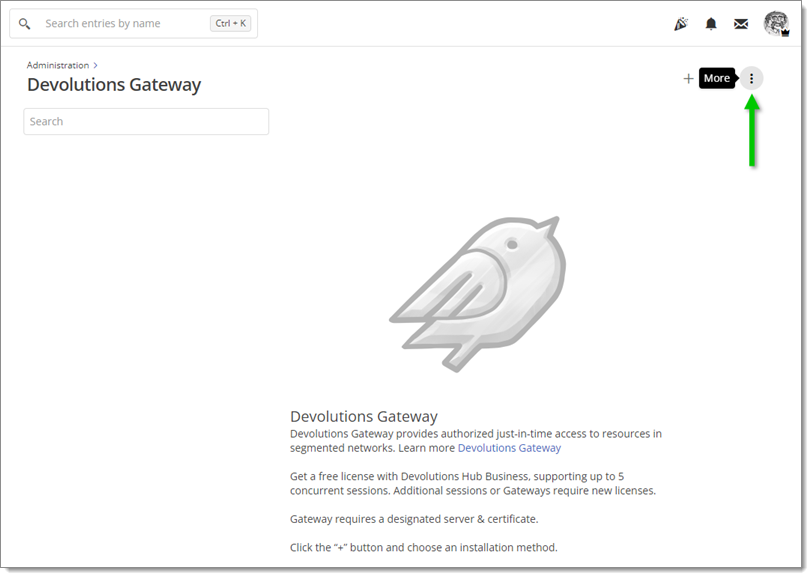
Click on the More button in the top right.
More button -
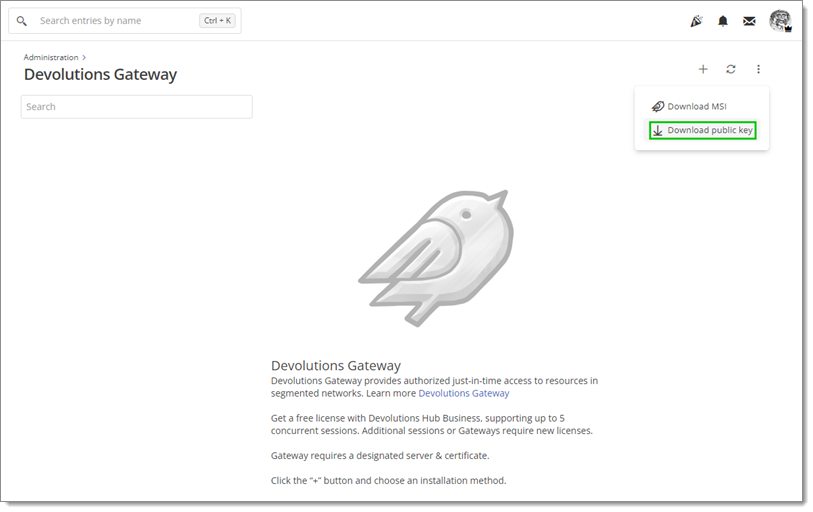
Click on Download public key. This key is unique to the Devolutions Hub Business account. It is automatically renamed to provisioner.pem. Keep track of where you saved this key, as you will need it later.
Gateway public key -
Select Download MSI from the dropdown.

Download MSI -
Execute the installer.
The installer should be run on the server hosting Devolutions Gateway.
-
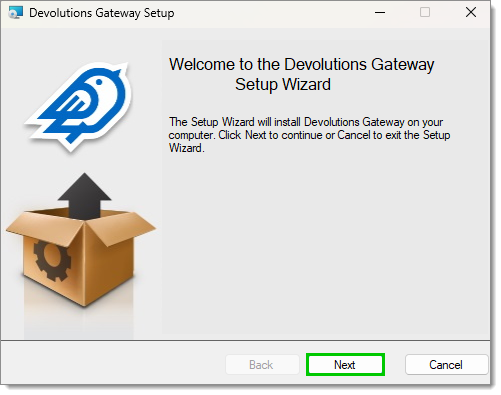
Click Next.
Setup Wizard -
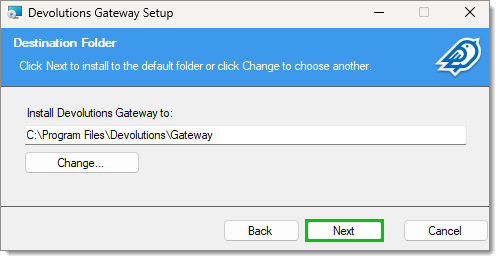
Once the desired installation path is selected, click Next.
Destination Folder -
Click Next.
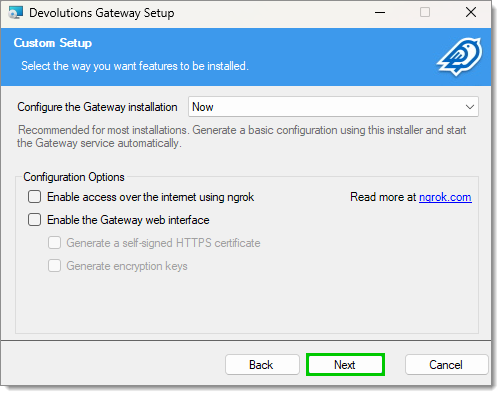
Configure the Gateway installation The Devolutions Gateway web interface option (used for Devolutions Gateway Standalone mode) should not be enabled in combination with Devolutions Hub Business.
-
Change the Ports to the desired value and click Next.
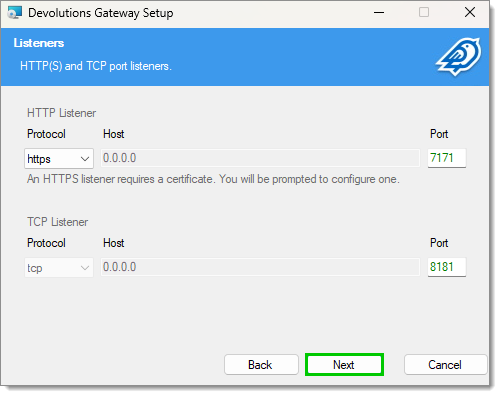
Listeners HTTP(S) and TCP default ports are 7171 and 8181, respectively, but can be changed.
-
Input the Devolutions Hub Business access URI and click Next.
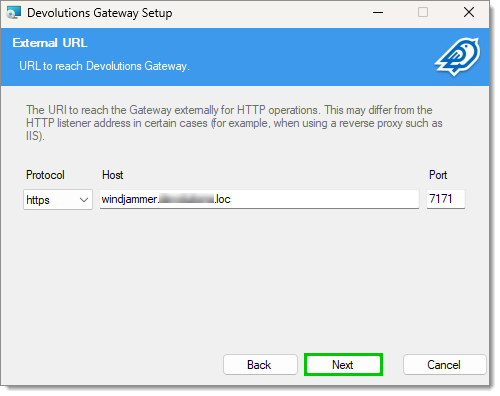
Access URI -
After clicking the top ellipsis button, select either a PFX file or a Certificate file, then enter the corresponding password. (If the listener is HTTP this step is automatically skipped)
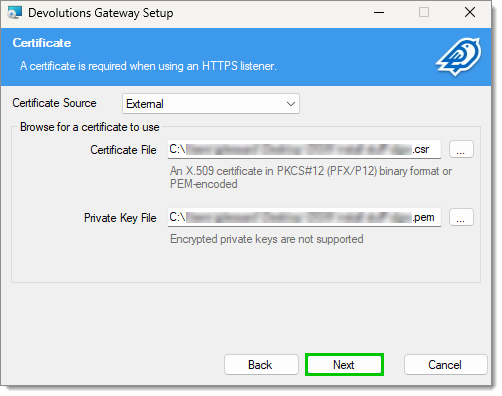
Certificate -
Click on the ellipsis button and select the Provisioner Public Key which was generated in Step 5.
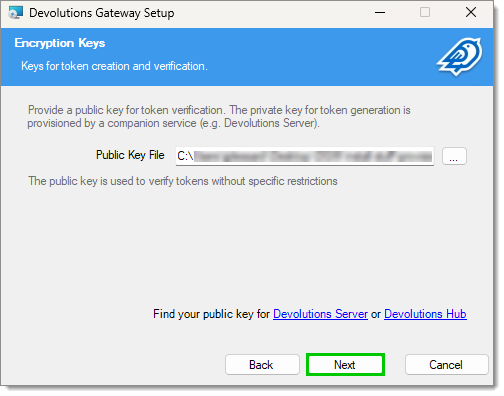
Public Key File -
This screen shows a summary of the current paths/settings. It is possible to go Back and modify them. If the settings are correct, click Next.
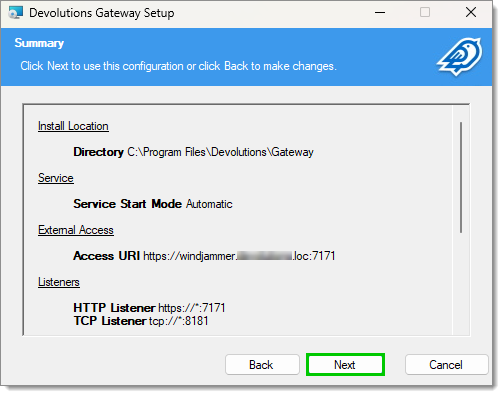
Gateway setup summary -
Click Install.
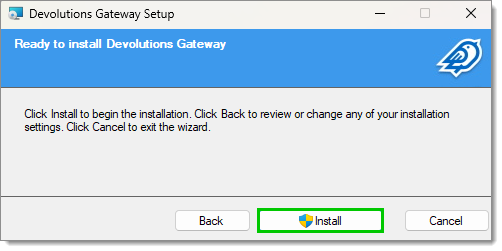
Install button -
Click Finish when the setup is complete.
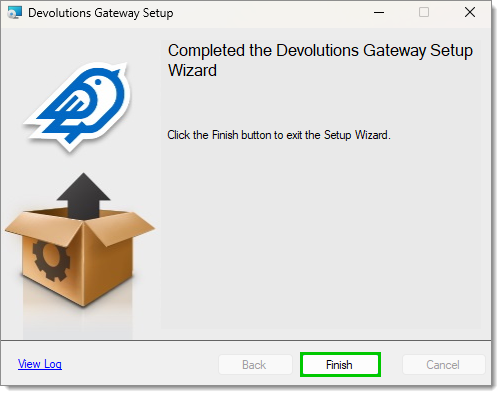
Finish button -
Go back to the Administration – Devolutions Gateway page in Devolutions Hub Business.
-
Input the correct information.
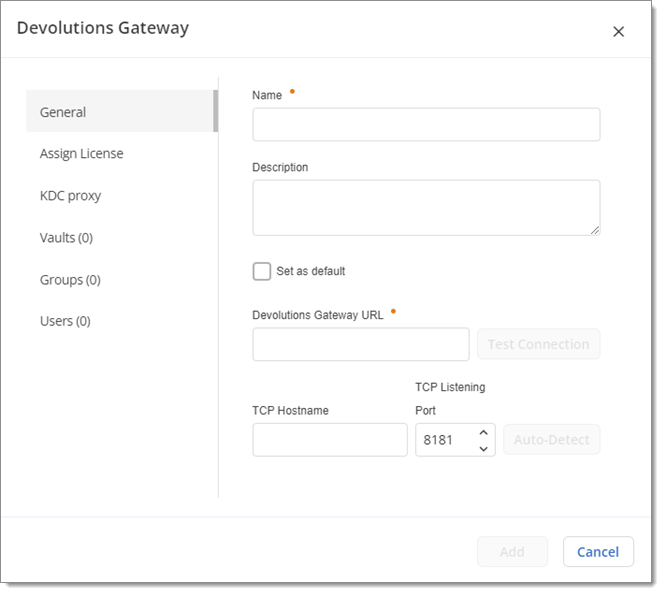
Information fields Once the Devolutions Gateway URL is entered, click on Auto-detect next to the TCP hostname to fill in the value automatically.
-
By checking the Default box, this Devolutions Gateway will be the one selected if none are specified or if Default is chosen when connecting.
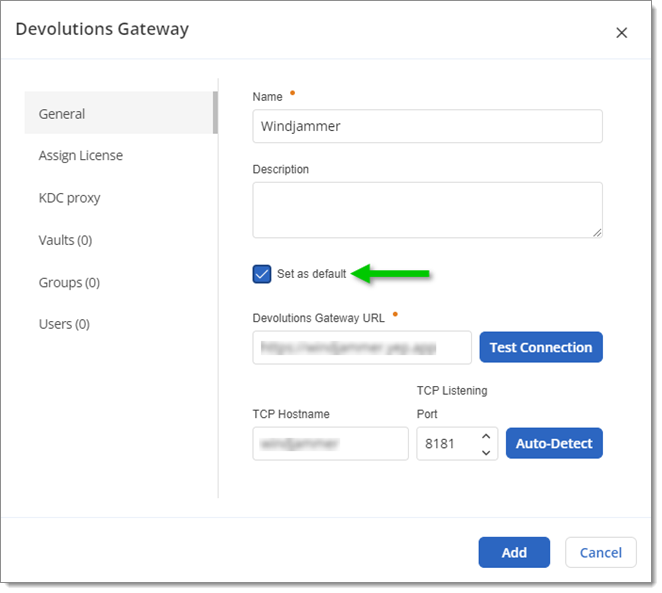
Default option -
Make certain the gateway can be reached by clicking Test Connection.
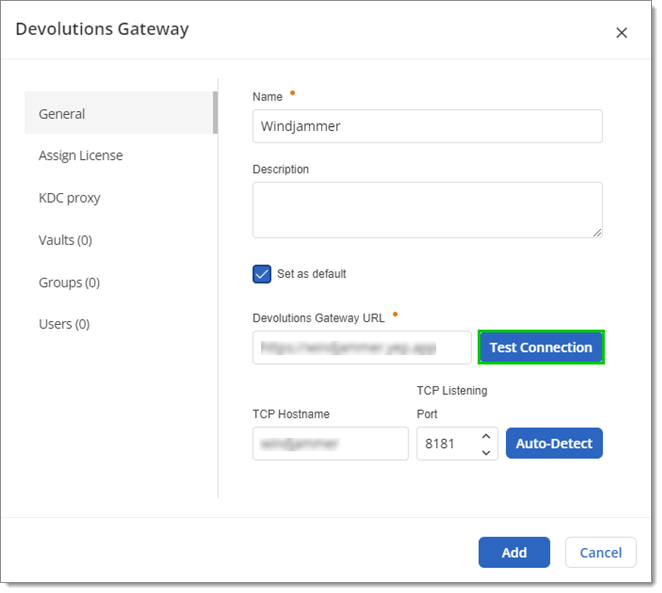
Test Connection button -
Click the Add button to link your Devolutions Gateway installation to your Devolutions Hub Business.
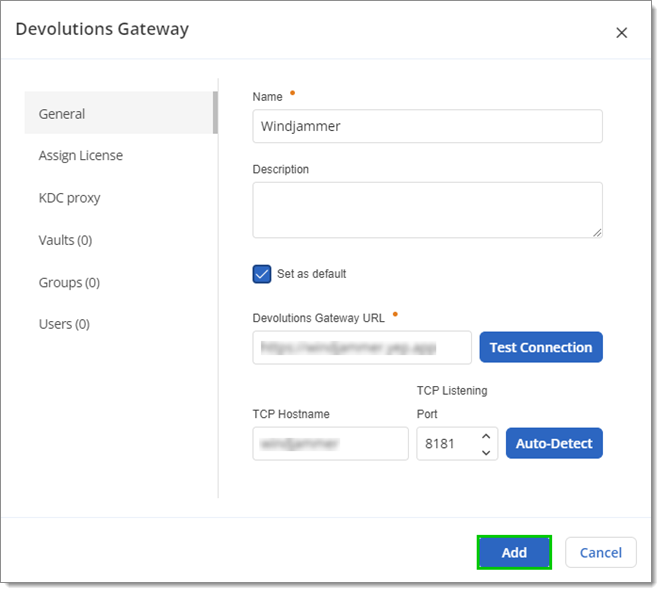
Add button -
A rectangle will show the information for every Devolutions Gateway Hub link(s).
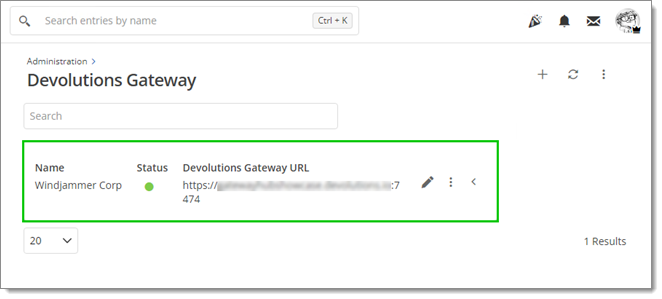
Successful link
Visit Remote Desktop Manager configuration to learn more about linking Remote Desktop Manager and Devolutions Gateway.